


Table of Contents
Overview
The aggregator is used to combine the incoming chunks of messages into one single message. The Aggregator will do multi-mapping while combining the messages.
There are two kinds of Aggregation Algorithm available.
- Combine : This will combine the incoming messages without any gurantee on the order of the messages.
- Combine In Sequence : This will combine the incoming messages in exact order.
Example
The incoming message is in the below format,
<Order_MT>
         <orderNumber>1</orderNumber>
         <prodID>1</prodID>
         <supplierName>Walt</supplierName>
         <productName>Timber</productName>
         <lastProd>No</lastProd>
</Order_MT>
The requirement is to Aggregate the incoming messages having different prodID with orderNumber=1 as a single message until lastProd=Yes.
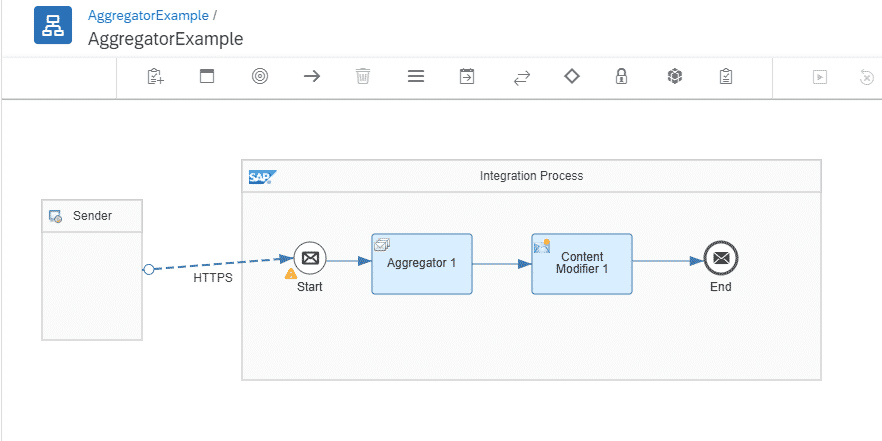
The sample integration flow will look as below
Execution Steps
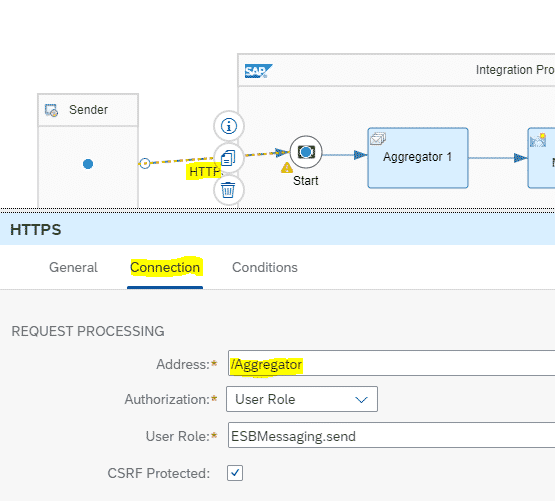
Step 1: Configure the HTTPS sender adapter to create an endpoint to access the Integration Flow.
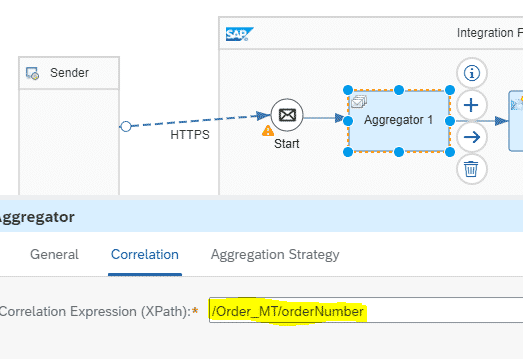
Step 2: Select Aggregator from Routing pallet and configure as below.

| Field | Tab Name | Value | Explanation |
| Correlation Expression (Xpath) | Correlation | /Order_MT/orderNumber | Expression to the node relative to which the Aggregation should happen. Here we need to aggregate the message with the similar order number. |
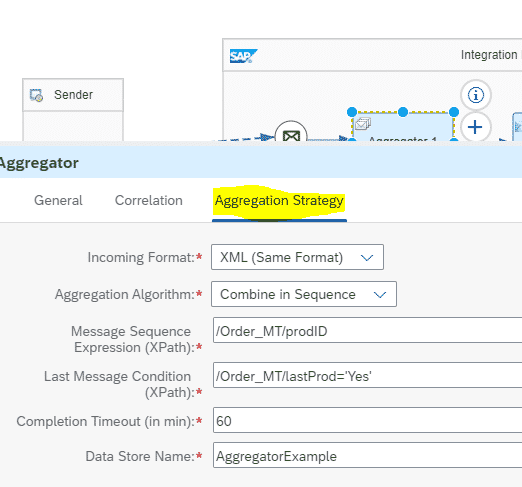
| Incoming Format | Aggregation Strategy | XML(Same Format) | The format of the Incoming Message. To date, the only XML is allowed |
| Aggregation Algorithm | Aggregation Strategy | Combine in Sequence | Combine in sequence : Aggregated message will retain the original Sequence |
| Message Sequence Expression(Xpath) | Aggregation Strategy | /Order_MT/prodID | Expression to the node based on which the sequence is determined. Here we need a sequence based on prodID. |
| Last Message Condition (Xpath) | Aggregation Strategy | /Order_MT/lastProd=’Yes’ | Expression with a value represents the end of the message. Here if the value in lastProd is Yes, then it indicates that it is the last message with that orderNumber.The Aggregation stops here. |
| Completion Timeout (min) | Aggregation Strategy | 60 | The time interval between two messages (idle time) before the Aggregation stops automatically. |
| Datastore Name | Aggregation Strategy | AggregatorExample | The name of the data Store where the individual messages are stored for aggregation. |
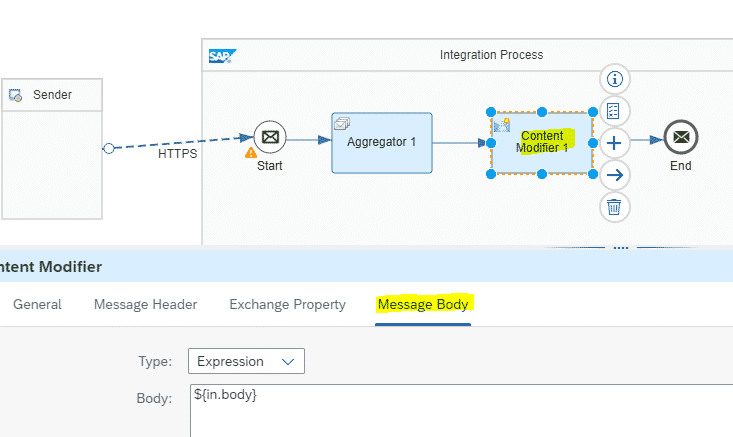
Step 3: Use a Content Modifier step to add an incoming message as the body.
Step 4 : Save and Deploy the flow.
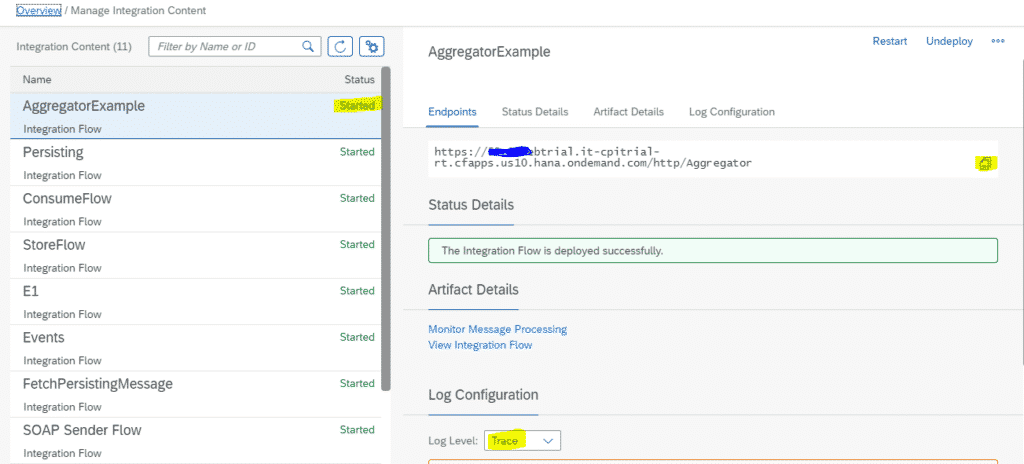
Step 5 : Copy the EndPoint from Overview –> Manage Integration Content –> All. Change the Log Level to Trace under Log Configuration as shown below. This will allow you to see the payload at runtime.
Testing the Flow using Postman
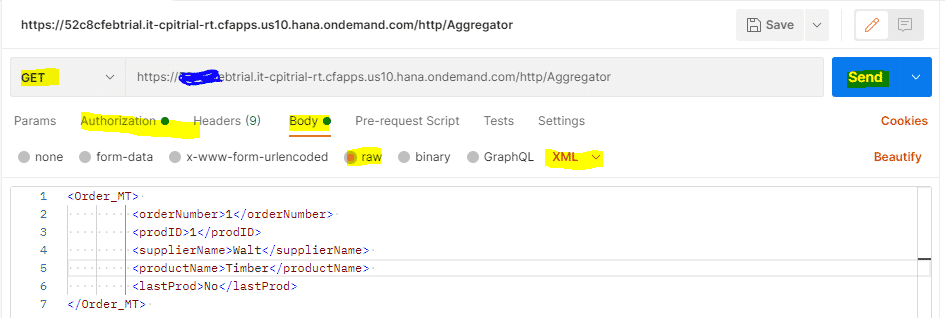
Step 6: Open the Postman app.
Keep the request in GET mode.
Paste the Endpoint copied in Step 5 into the URL tab.
In the Authorization tab, Choose TYPE: Basic Auth
Username: Client ID
Password: Client Secret
Client Id and Client Secret you will get when you create Process Integration Runtime Instance during tenant setup. ( Refer Step 34 of this post )
Paste the code given at the beginning of the article in the Body tab and Click on Send.
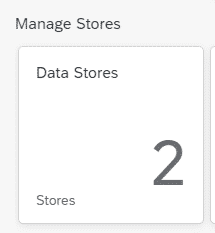
Step 7: In the Overview window, you will see the message is processed. At the same time, a Data Store is created as below.

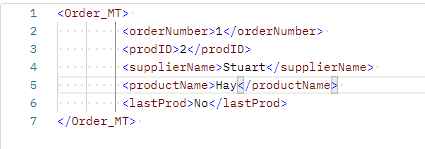
Step 8: Change data in Postman as below and click on send. Remember to keep the orderNumber same and lastProd= No.
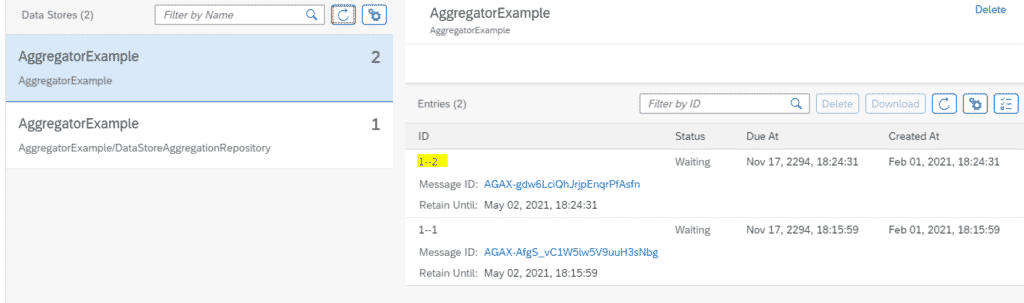
Step 9: Check the Message processed and Data Store entry.
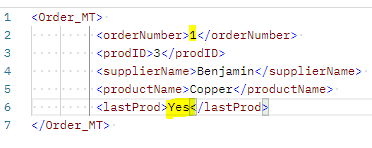
Step 10: Change the data again as Below and click on Send. This time make sure the orderNumber is the same and lastProd=Yes. This indicates that this will be the last message for aggregation.
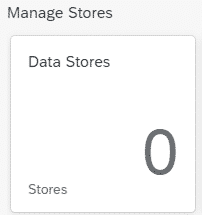
Step 11: Now the Message will be processed Successfully and the aggregated message will be available. The Data Store entry will be deleted as the Aggregation is complete.
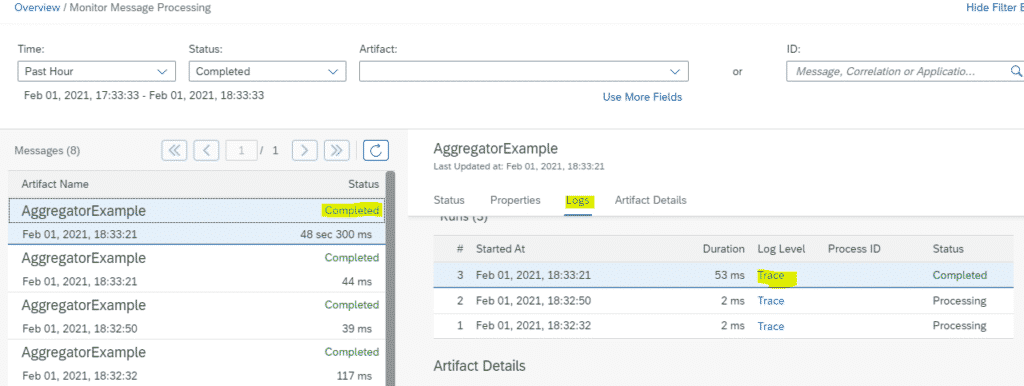
Note that 3 individual messages that we triggered along with the final Aggregated messages are processed Successfully. Click on Final Aggregated Message. Under Logs, Click on Trace whose Status is completed.
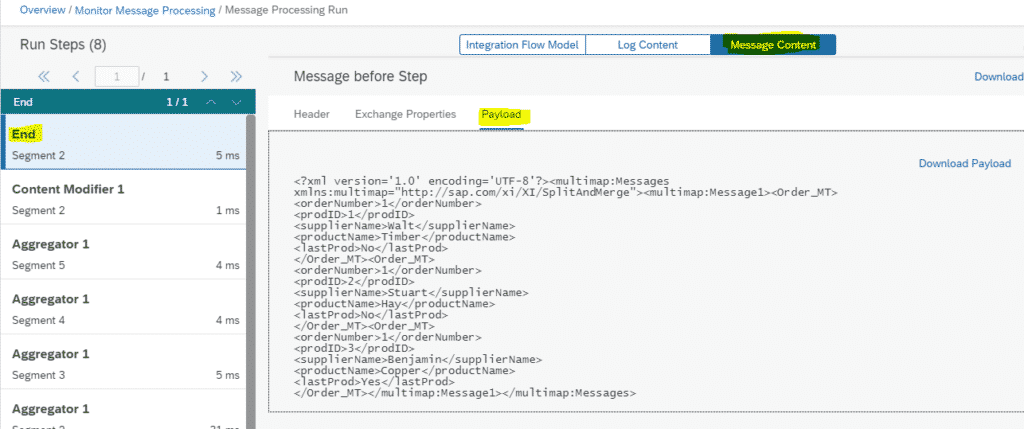
Step 12 : In the window that opens, Click on END. Under the Message Content tab, Click on Payload. You will see all three messages triggered are aggregated into a single message.
FINAL VERDICT :
In conclusion, I hope you enjoyed reading this article on “Aggregator in SAP CPI: All You Need to Know”, If yes, then don’t forget to spread the word about it. Do send the feedback and to know more about it. Signing off sudarshanpatwardhan@gmail.com