
Set up your SAP CPI Trial Account.
Are you wondering how to set up SAP CPI Trial Account? , this post will help you to do the same from scratch. This Tutorial has been updated on 03 March 2021 because there has been a lot of UI changes that happened on SAP CPI. Hope you have gone through the basics of SAP CPI Fundamentals in the last post.
Step 1: Go to the SAP CPI website. On the right side of the website, you can see the account creation icon, Click that to create SAP CPI Trial Account.

Step 2: Register yourself, make sure to use the company email id and your mobile number. 90 Days Trial account will be created. The relationship should give as SAP Partner is shown below. As per the new update, SAP has updated the trial access to 365 days instead of 90 days.
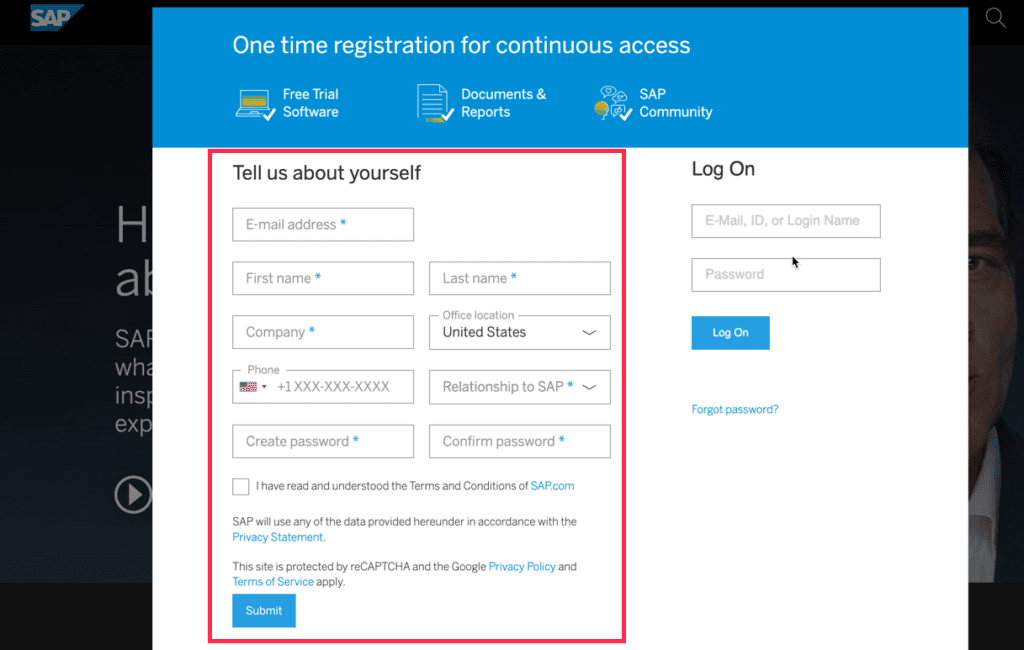
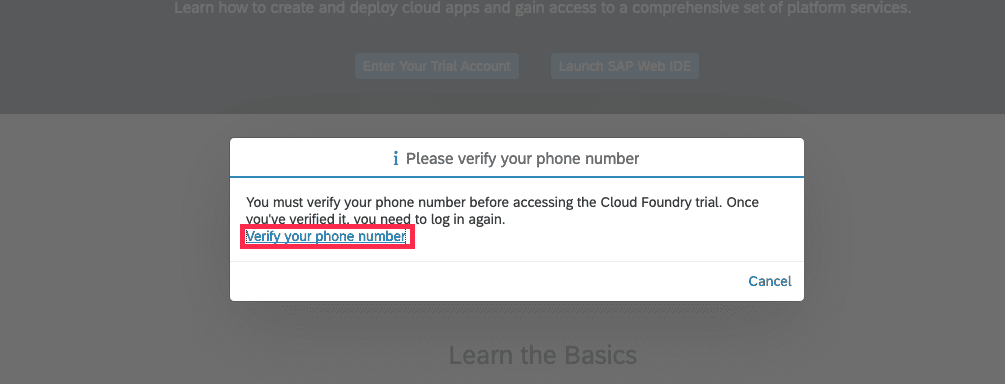
Step 3: Verify your email ID, if you registered with Company ID then login to the company Email ID and verify the same, you need to do the same with phone number as well.
Make sure you mention the relationship has SAP partner in the Relationship to SAP session.
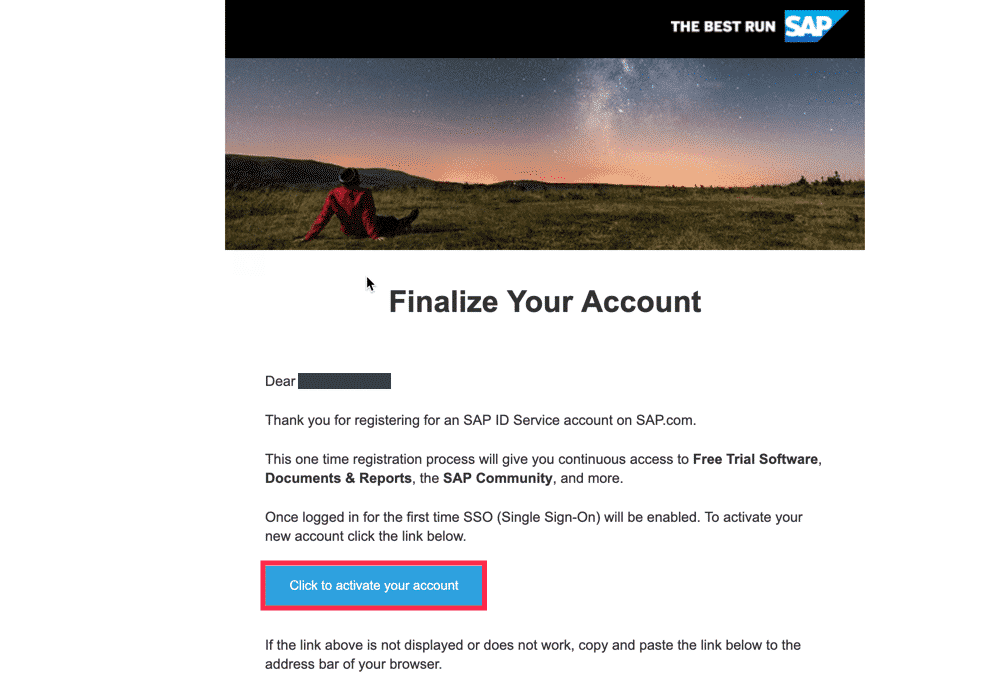
Step 3a: Verify your email ID and Mobile number, SAP will send you a verification code to both the Mail and Phone number you have given. This is the last stage of Set up your SAP CPI Trial Account.
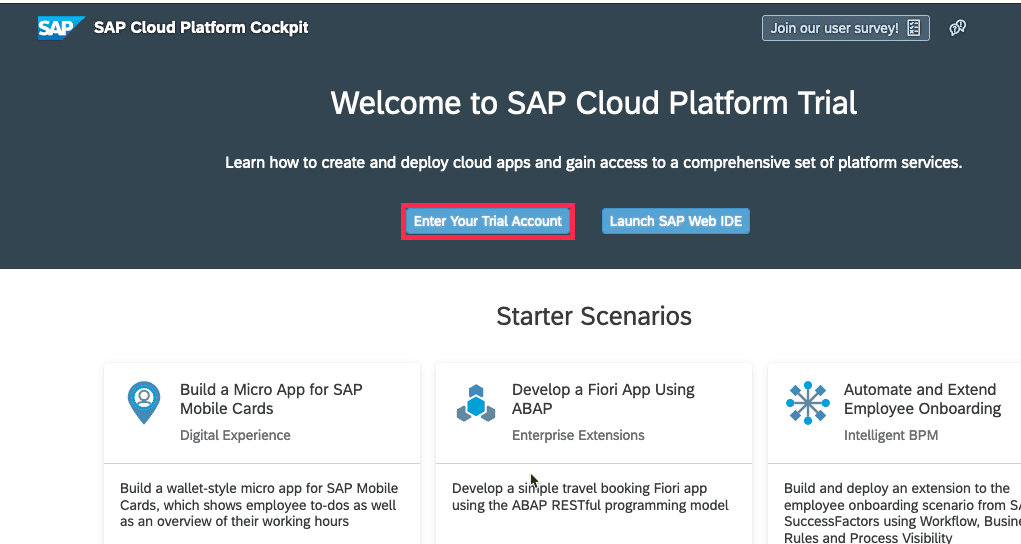
Step 4: Once you have done this you are good to go with login, Click on the link given in the Final step to log in to SAP CPI.
FINAL STEP:
Set up your SAP CPI Trial Account has been done, now need to configure the Tenant to get started with SAP CPI. Check out the next post of the SAP CPI Tutorials series to Set Up Your SAP Cloud Platform Integration Tenant.
Final Verdict :
In conclusion, I hope you enjoyed reading this article on “How to setup SAP Cloud platform Integration Trial Account”, This is part of SAP CPI tutorials, kindly send your suggestions to sanjay@recodehive.com


No Comment! Be the first one.