How to use Google Classroom?
GETTING STARTED
Google classroom is released in 2014 with the aim of sharing content and online communication between students and Teachers. During the time it has come up with various updates and could see more relevance in this covid19 situation. I would suggest Google Classroom is the best place to get started.
Table Of Content
PREREQUISITES
- Should have Gmail account
- Basic idea about how to handle Google Drive.
DOWNLOAD THE APP
Step 1: Google Classroom is available on 3 platforms IOS, Android, Web browser, so if you using the Android platform to get started you can download the app below, or click here if you want to proceed on desktop.
[appbox googleplay com.google.android.apps.classroom&hl=en_IN]
SETUP GOOGLE CLASSROOM
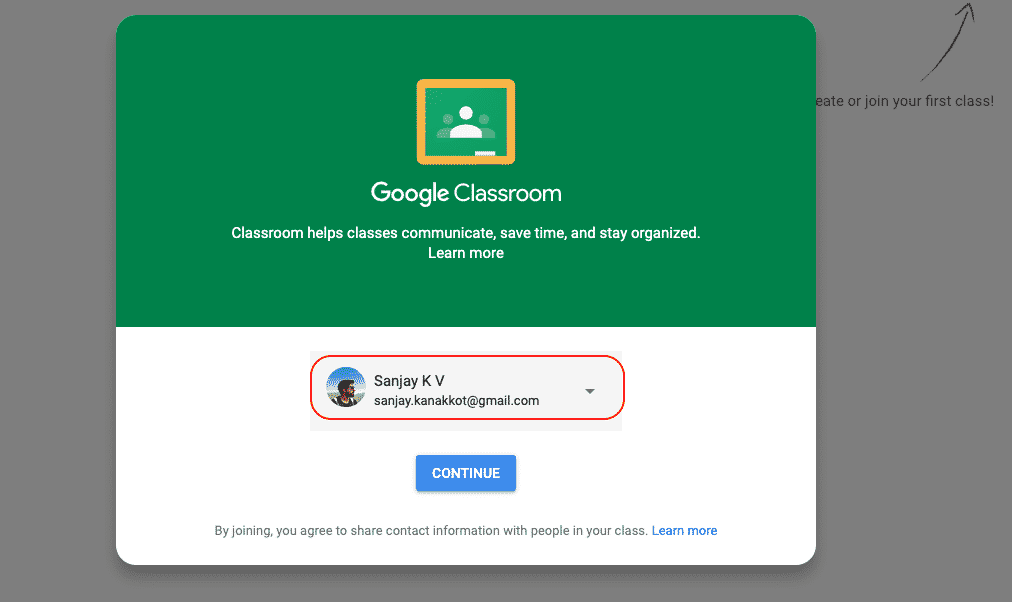
Step 2: So once you go to classroom.google.com, you could see a similar screen appear for you, select the account you want to proceed with.
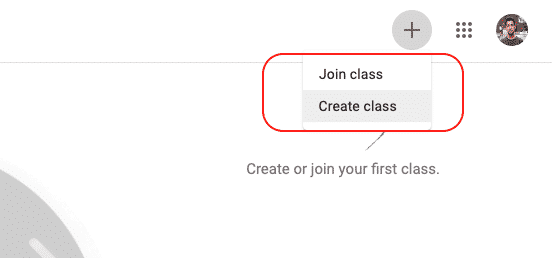
Step 3: Now on the top right corner of the screen you can see the + icon, click on that and Create Class. Now you will be creating a new Virtual Classroom.
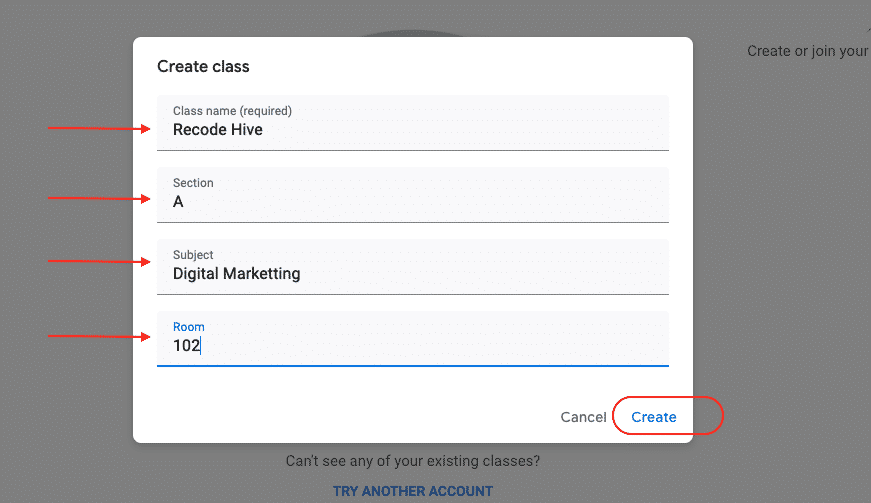
Step 3: What’s Mandatory while creating Google Classroom? Now like the normal Classroom, Assign the Name, Section, Subject, Room, etc: This will be for assigning a class so whenever you want to focus on a particular subject to a targeted student this is the best place to get started.
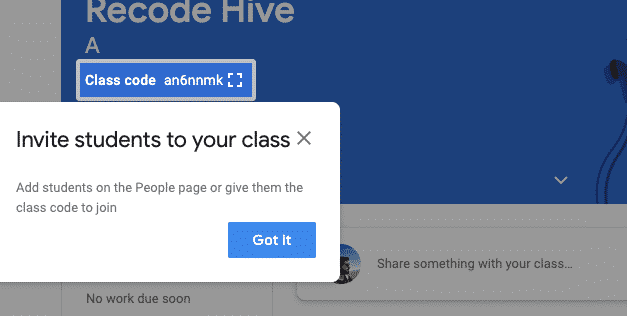
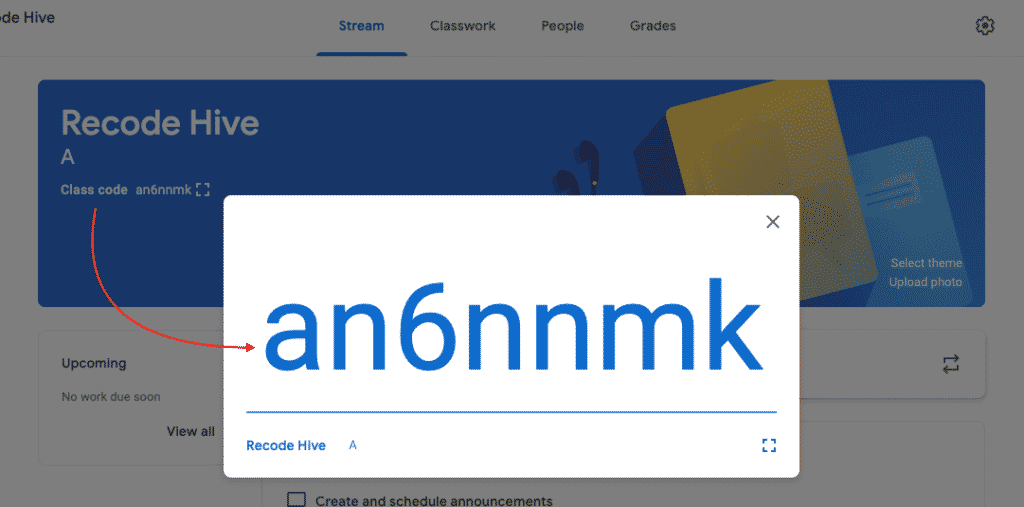
Step 4: Now you have successfully created your online classroom in Google Classroom, and you can see the below screen with class code. Class code is like an invite you can share this code with the people who want to join your class and as I mentioned above you can click on the Join Class option and enter this code to be a part of that class.
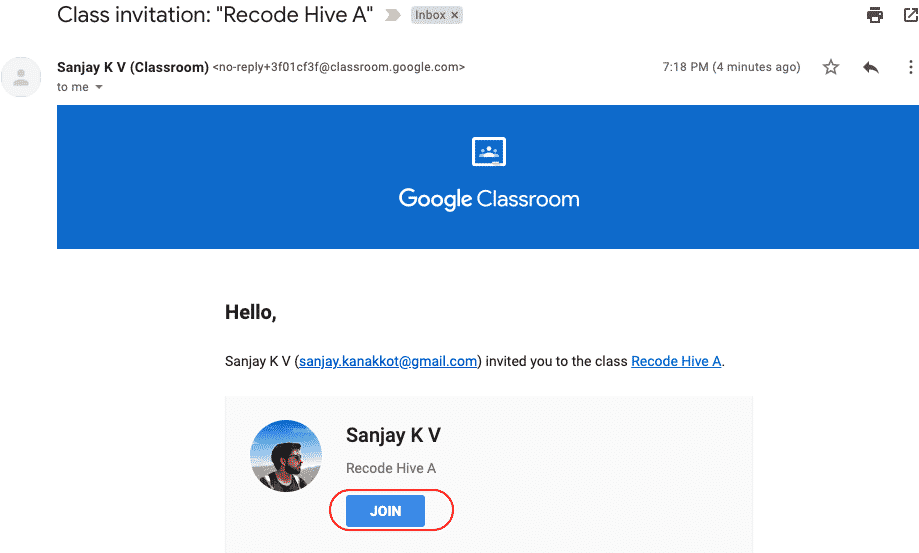
Step 5: Which option can students use to access the classroom? Google provides an option to send out the invites through Gmail ID. If you have students’ Email ID you can send out an email and they will receive a notification through mail as shown below.
Step 6: Once you create you can see the created classroom with the strength of students and Statistics icon.
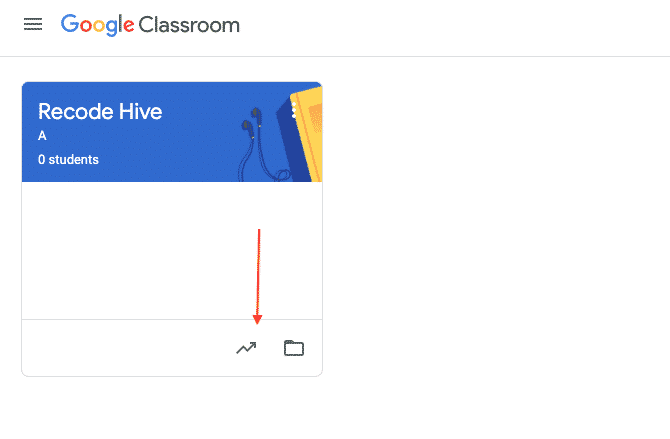
Explore marks of each student in Google Classroom
Step 7: In the above screen you see the classroom, to view marks of assignments click on the statistics icon or more details click on the Class, and go to the Grade tab.
How to post/upload files in Google Classroom for students?
Step 8: Go to the classwork tab now you can see an option for the post, click on the post, below are the things you can do with these features.
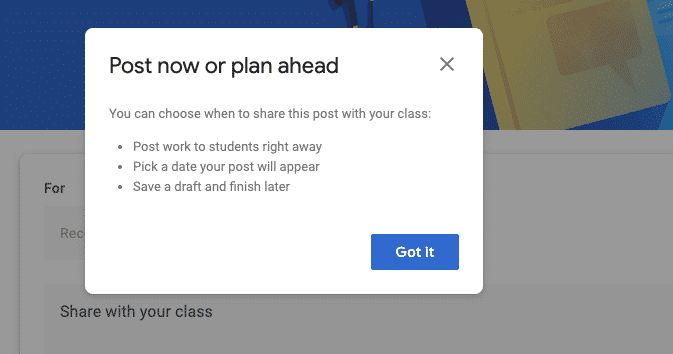
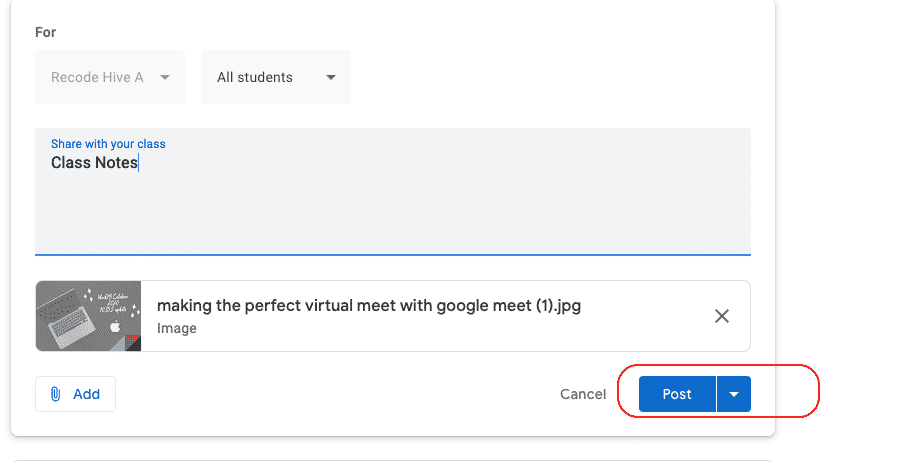
Step 9: Define the class where you want to upload the post? in the Add button you can attach PDF files, Website links, youtube video if any, then click on Post icon.
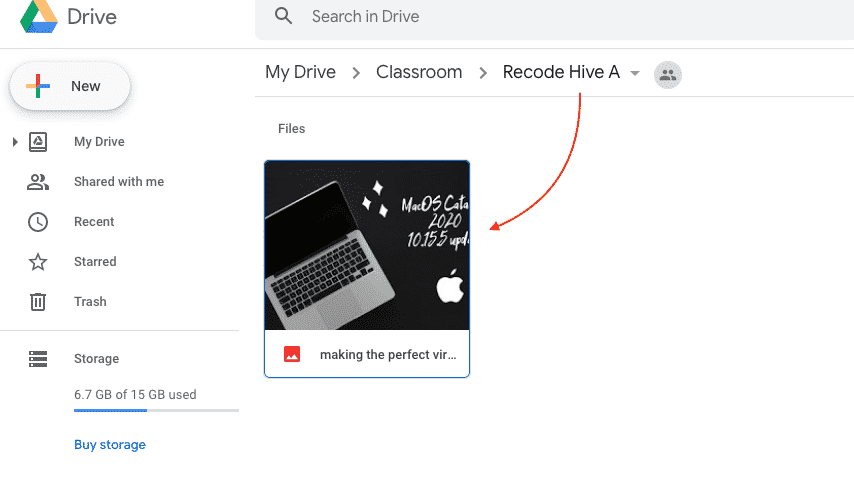
Step 10: All the uploaded item will be available in Google drive under the particular class as shown below.
How to create assignments & Grades in Google Class?
Step 11: Go to your class and go to the Grade tab now you can see the Create button over there. Now you have plenty of options for different Graded Systems. select one and proceed. All of them are similar to creating Google Forms.
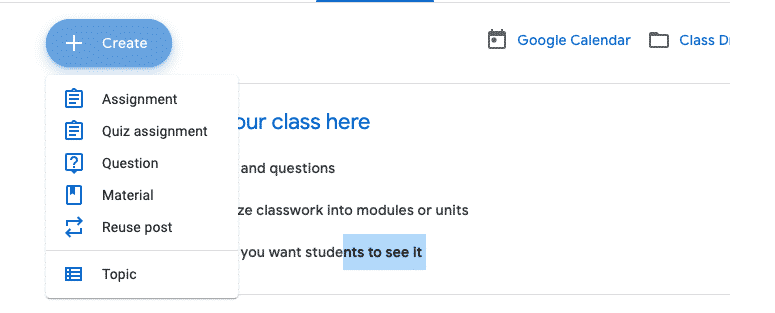
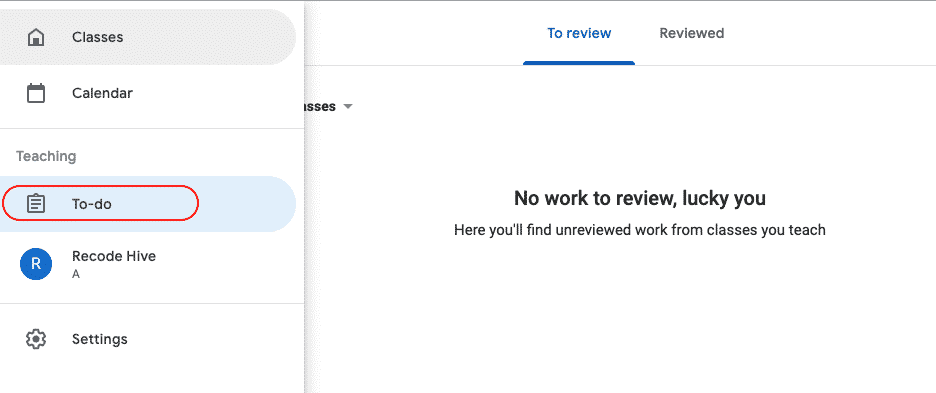
Step 12: Also you can do To-do list tab where you can check the Assignments etc.
FEATURES:
The below are the features provided by Google Classroom.
- Easy Documents, video, files uploads.
- Easy Assignments implementation
- Bulk Grading System
- Sync with Google calendar of upcoming scheduled.
FINAL VERDICT :
In conclusion, I hope you enjoyed reading this article on “How to use Google Classroom?”, If yes, then don’t forget to spread a word about it. We would love to hear the feedback from your side and if any doubts contact us. Signing off sanjay@recodehive.com


