


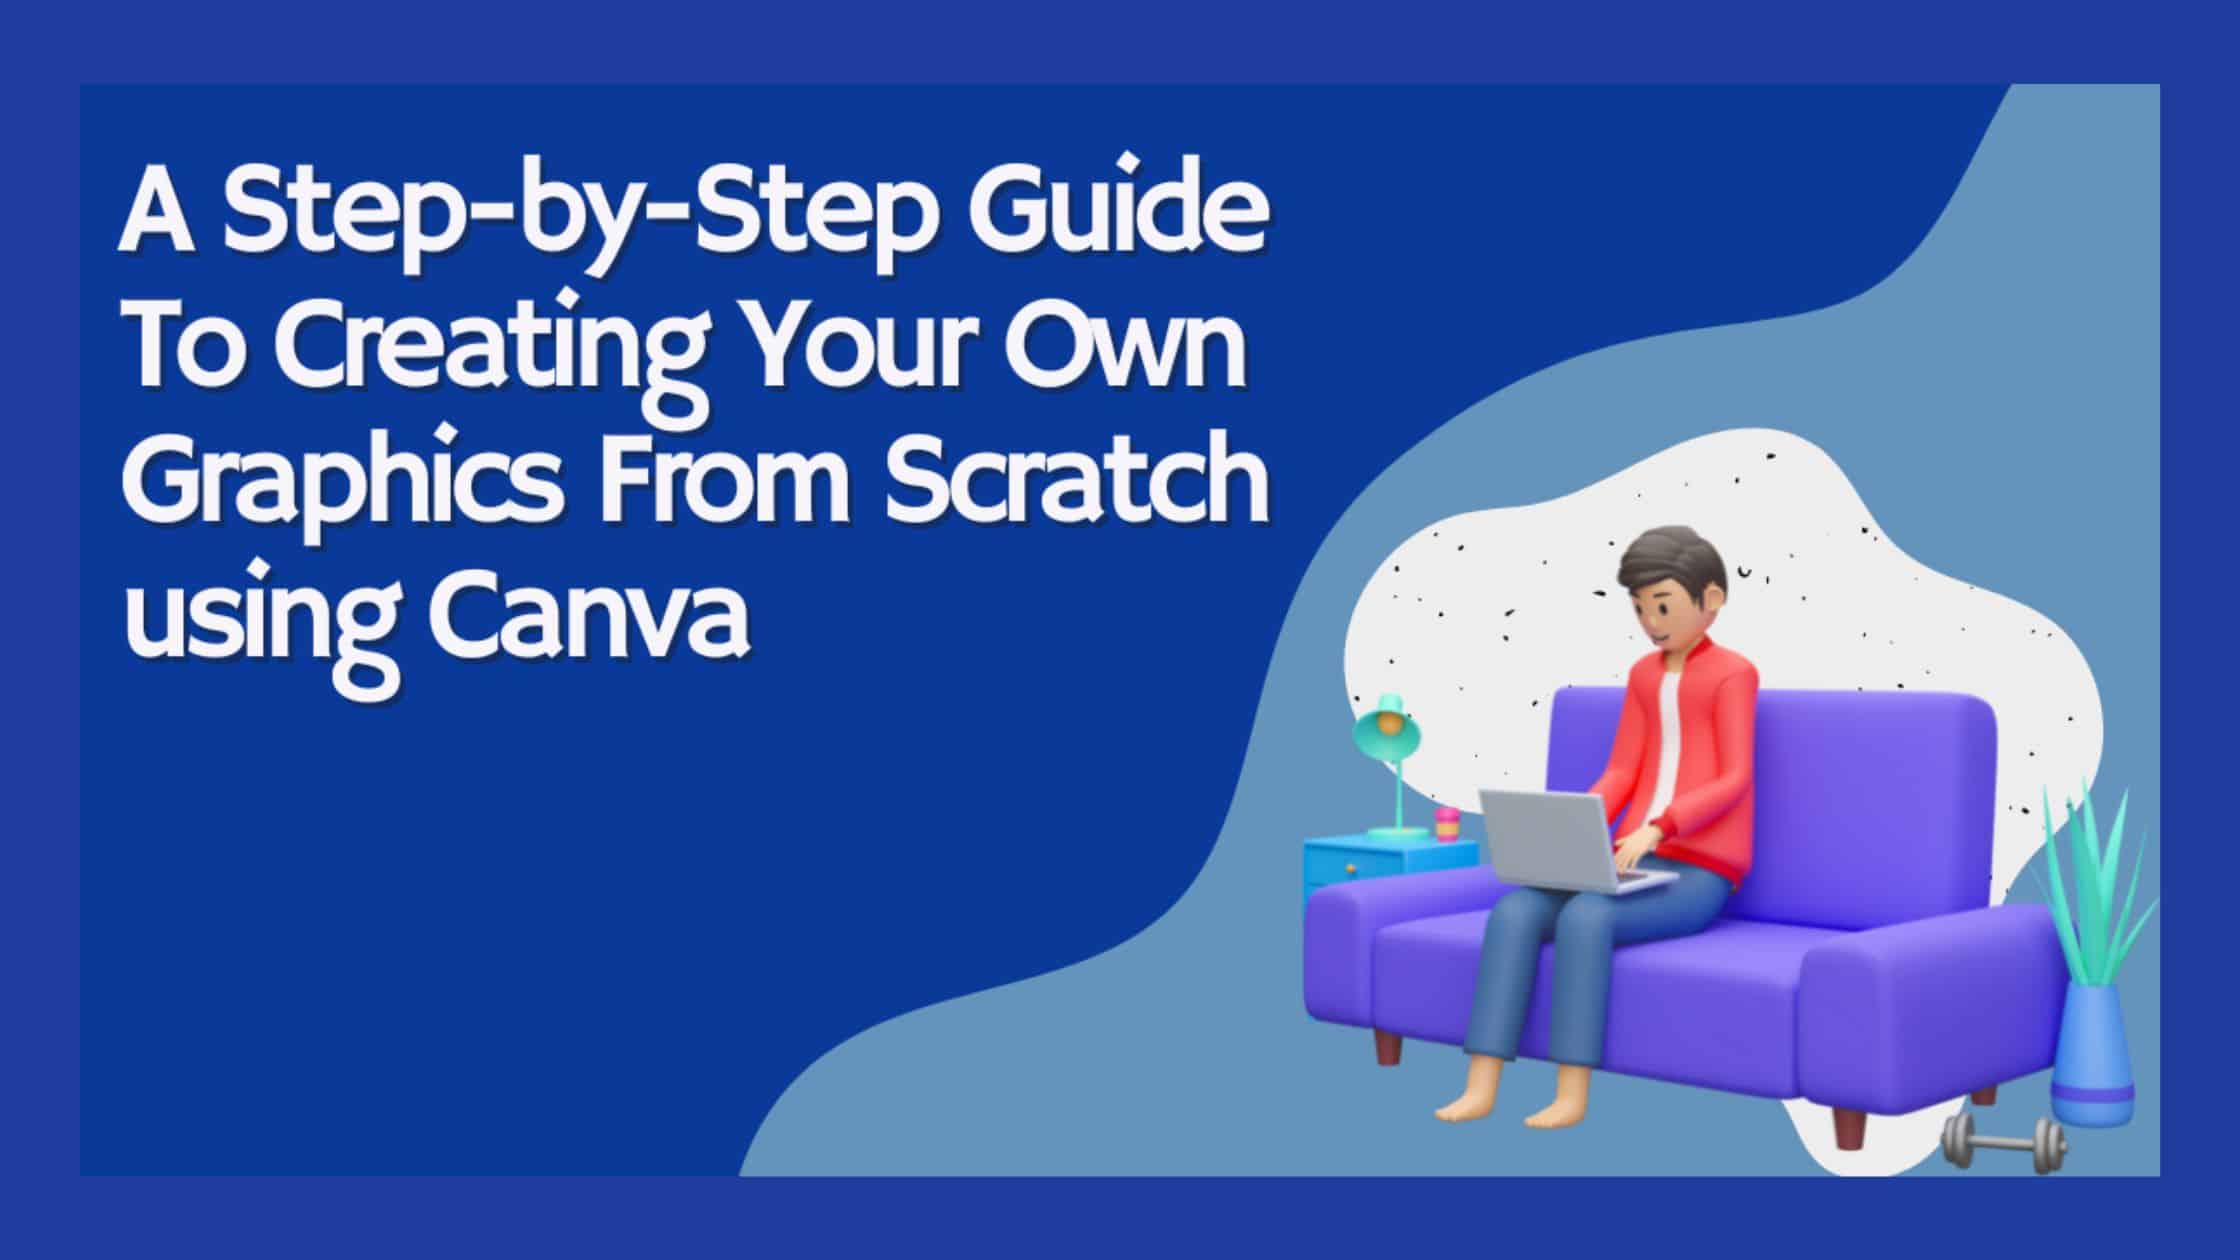
When you are trying to market your company, create a sales page, or just want to make a cool poster for your friends, you will want some graphics but where do you start? If you have searched around on the internet to find an easy solution then I’m sure you have come across Canva. In this article, we are going to be covering the basics of Canva and how you can create your designs from scratch.
Table of Contents
What is the tool – Canva?
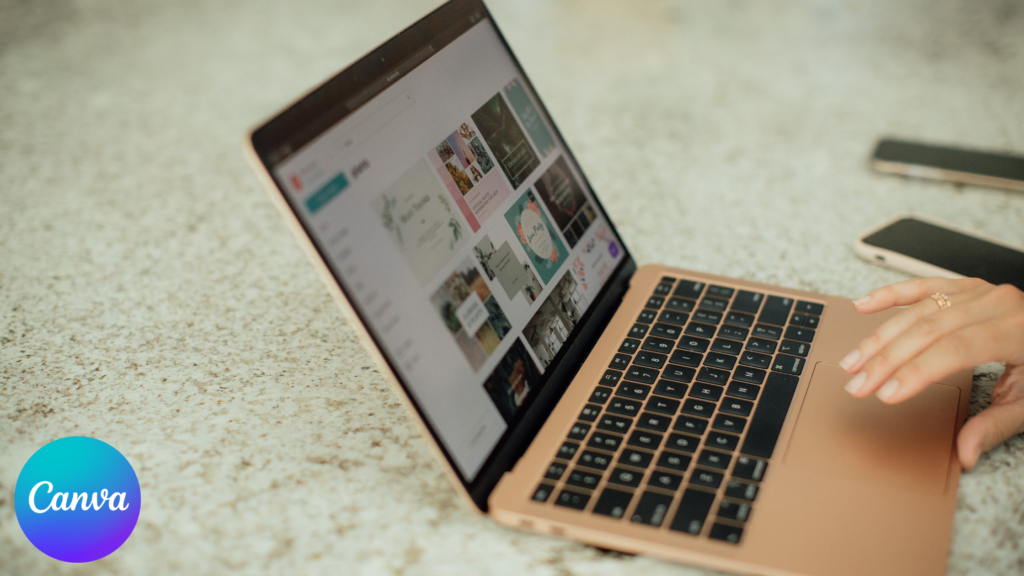
Canva is a well-known, user-friendly, and free design tool that you can use to make professional layouts in a matter of minutes. It is accessible both online and as a mobile app.
Even those who are not extremely tech-savvy will find it simple to use because of its drag and drop features. It’s ideal for producing amazing images and slideshows, designing Notebook covers, generating HTML5 websites, and many other things.
Why use a tool like Canva to design?
Designing a Notebook cover is not as easy as it seems. You need to find the right image, make sure that the text is readable and appealing, and make sure that the whole design doesn’t look too crowded. Thankfully, Canva makes it easy to design your own Notebook cover without messing up any of those steps.
Canva offers a variety of templates for you to choose from, and customize them to suit your needs. With only a few clicks, you can upload your photographs and add text or other visuals to them. You have the option of using one of their templates or creating something entirely new from scratch.
However, there are occasions when you need something absolutely original. For example, if you want to publish your own book, you’ll need your own unique design. To meet this demand, & If you want to save time on designing your Notebook cover, then Canva is the perfect tool for you.
How you can start designing graphics from scratch?
Let’s start with something simple: Creating a journal cover design with a Step-by-step guide on ‘How to create your own graphics from scratch.’
Step 1: Create an account at Canva.com
An account on Canva is the first step to creating your own graphics. You can create a free account at Canva.com by filling out the form below with your name, email address, and password. Once you submit the form, you will receive a confirmation email from Canva.
Step 2: Sketch a rough outline of your design
Start by sketching out an idea for your design. You can do this on a piece of paper, you don’t need to be super-creative with your sketch – just get something on paper that will help you see the design in your head. Be sure to include the important elements that you want people to notice.
By doing this, you can also share the same with your social networks to receive comments and decide which one would appeal to the most people before moving further with digital design.
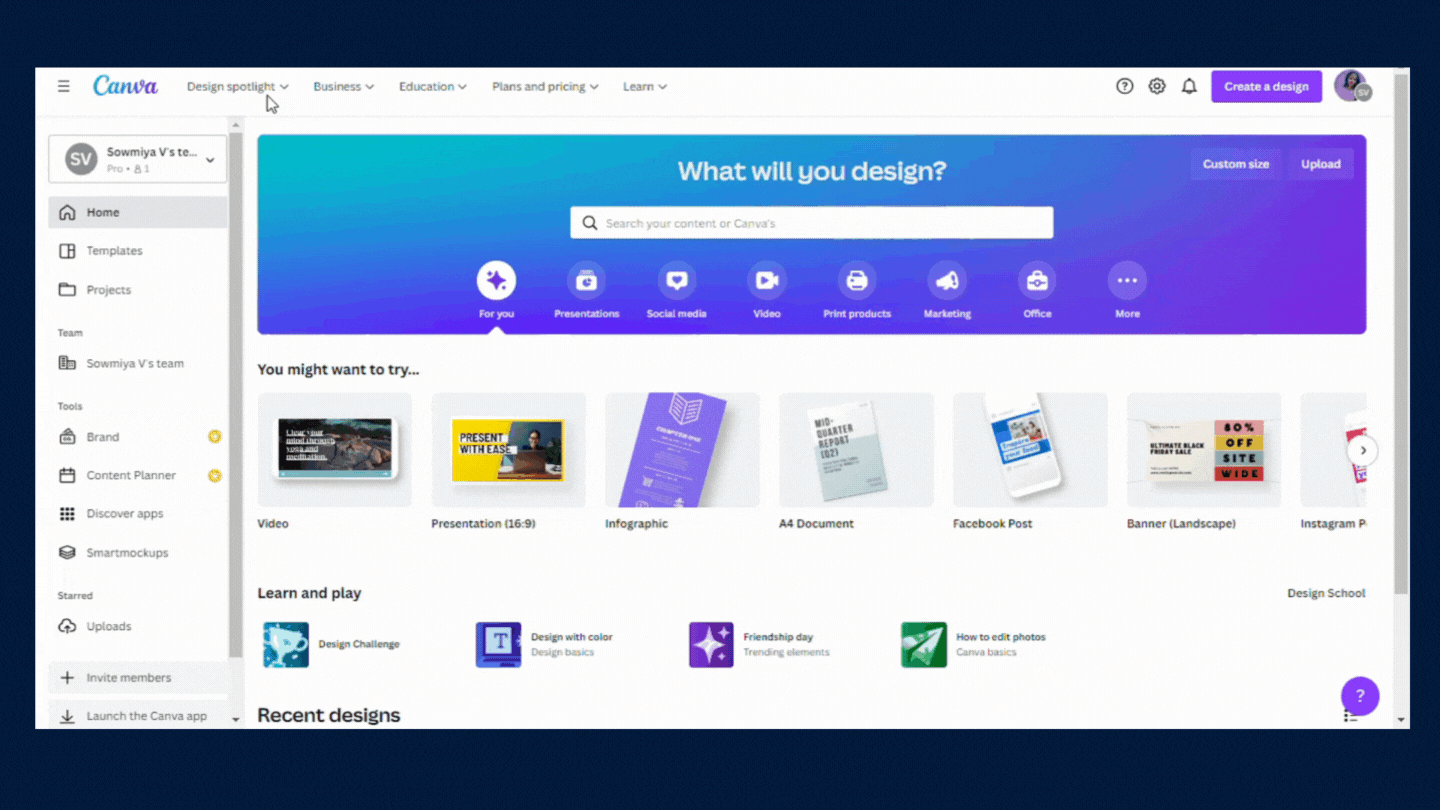
Step 3: Start Creating a design by choosing the right dimensions for your design
Once you have chosen your sketch, you can start creating your own design, by choosing the right dimensions for your design. First, define the size that you want your image to be.
To do this, click on the “Create Design” option located at the top-right corner of the screen and then drag your cursor across one of the selected sizes until it matches with your desired size and if it already exists in the list, choose your defined size (For example: If you design for Instagram post means, your size will be already existing in it).

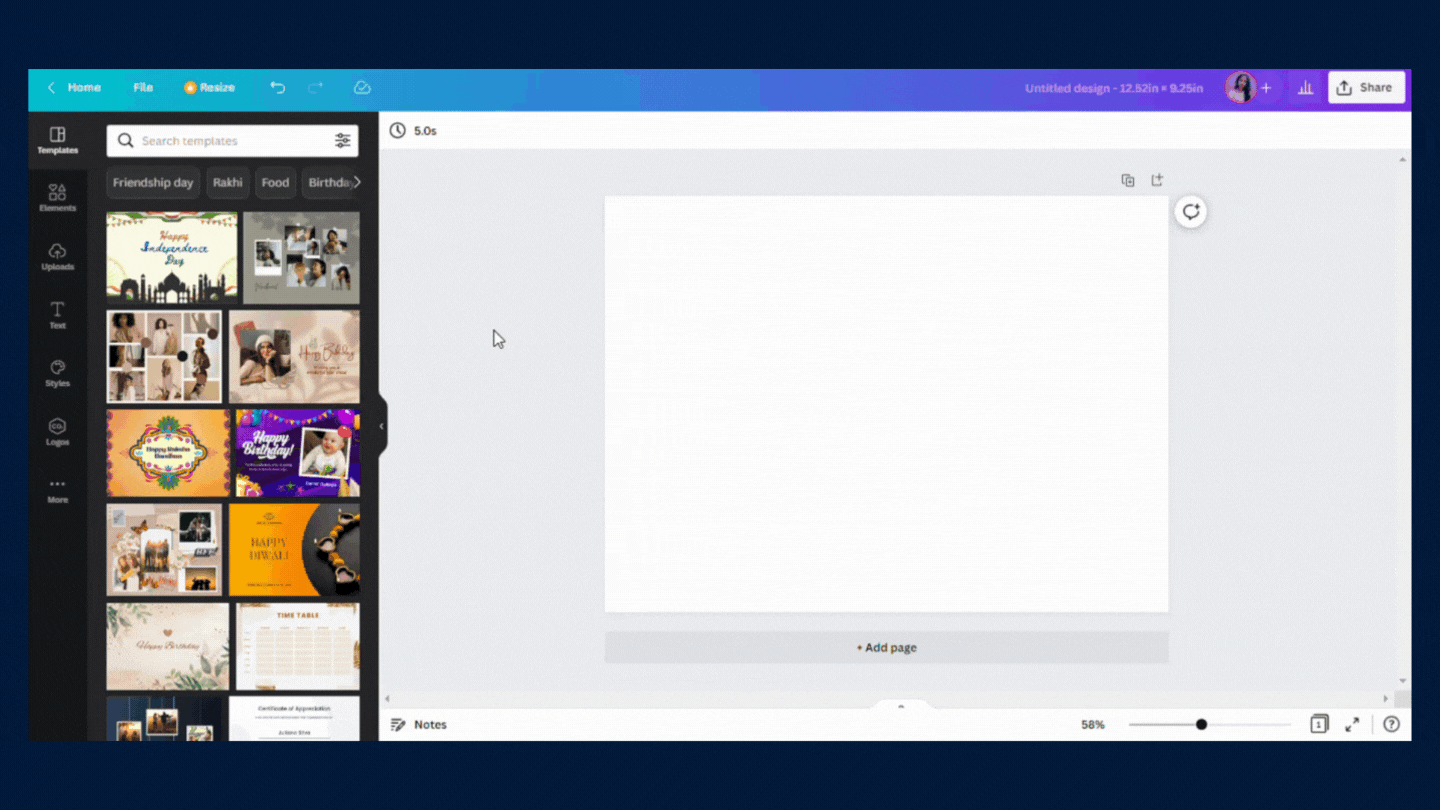
If it isn’t, for example, you need an Notebook cover that is “12.52 x 9.25 inches” in size. To pick this, select “custom size” and enter your desired width, height, and measurement. Click on ‘Create Design’, and a new tab will open with your desired size,
Step 4: Rename your file name.
After the size is chosen, rename your design page so that you can find it quickly rather than leaving it as an untitled design. In the upper right corner, rename the file and then click outside the text box, it will be renamed.
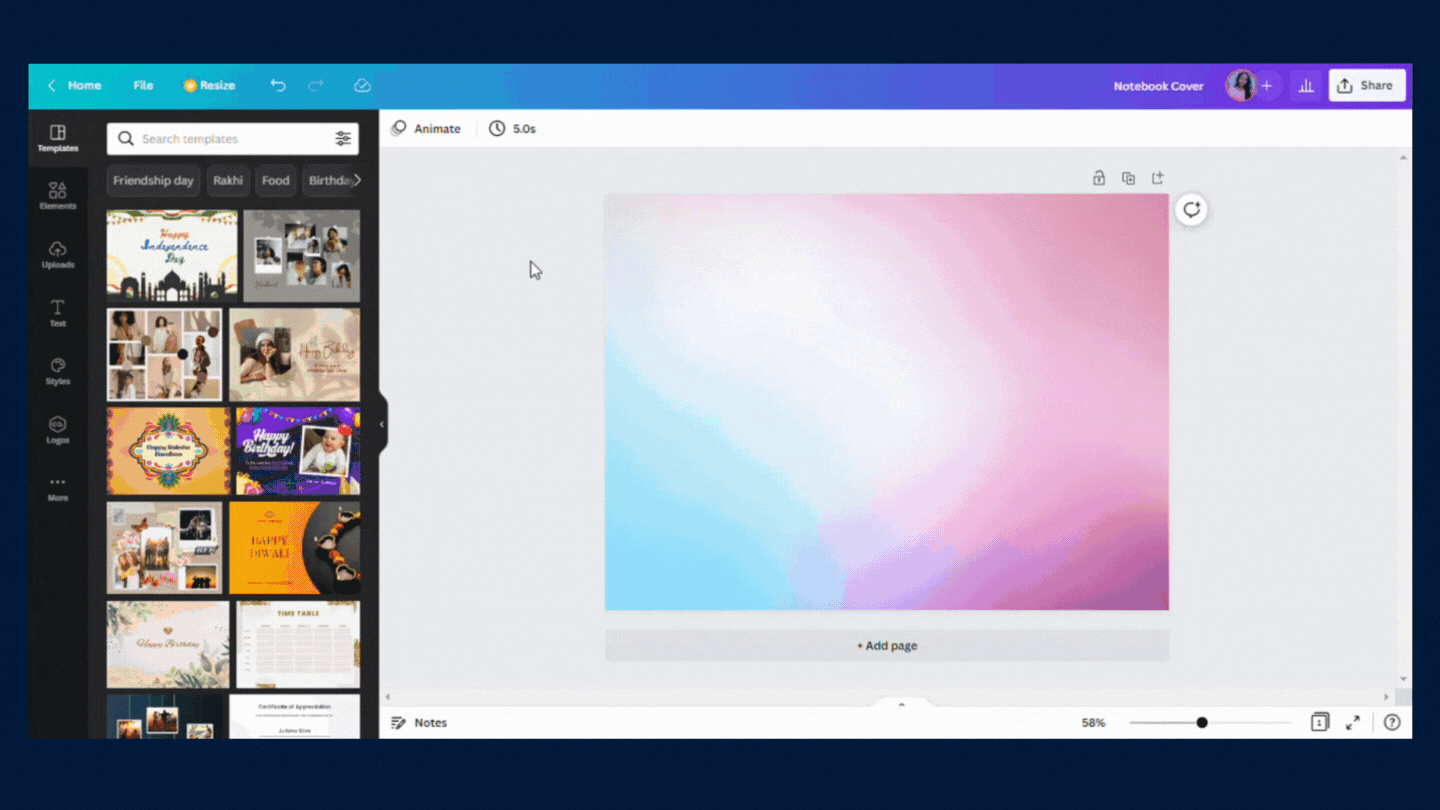
Step 5: Choose the right background which you prefer for your design
You can select whichever of these fits your background and is feasible for you:
- Colour
- Select the frame to access the background colour on the left top.
- Now pick the colour which you prefer using the slider or giving its hex value

- Colour Gradient
- Select elements from the left sidebar
- Search for gradient
- You can select a gradient that suits your preferences.

- Image
- Use high-resolution images. The higher the resolution, the better your design will look.
- You can either choose the images for elements or upload them from your local folder.
- There are a lot of possibilities available on websites like Pixabay, Pixton, etc. for you to pick from, More options from the left sidebar.
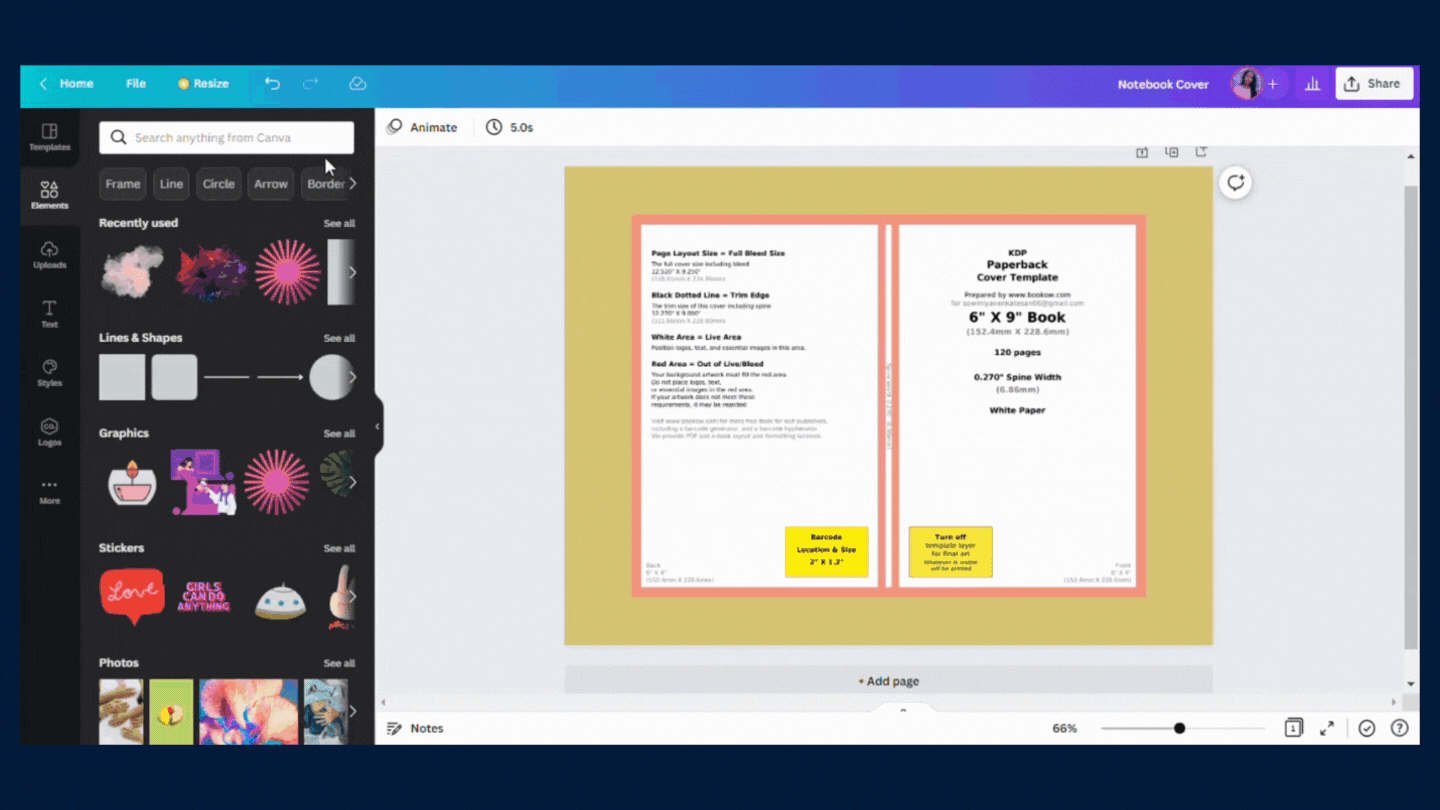
Step 6: Divide page size as needed
Divide the page into Front, Bank, and Spine width sections. To determine your page size, refer to the image below (taken from bookow.com – for more details refer to the same)

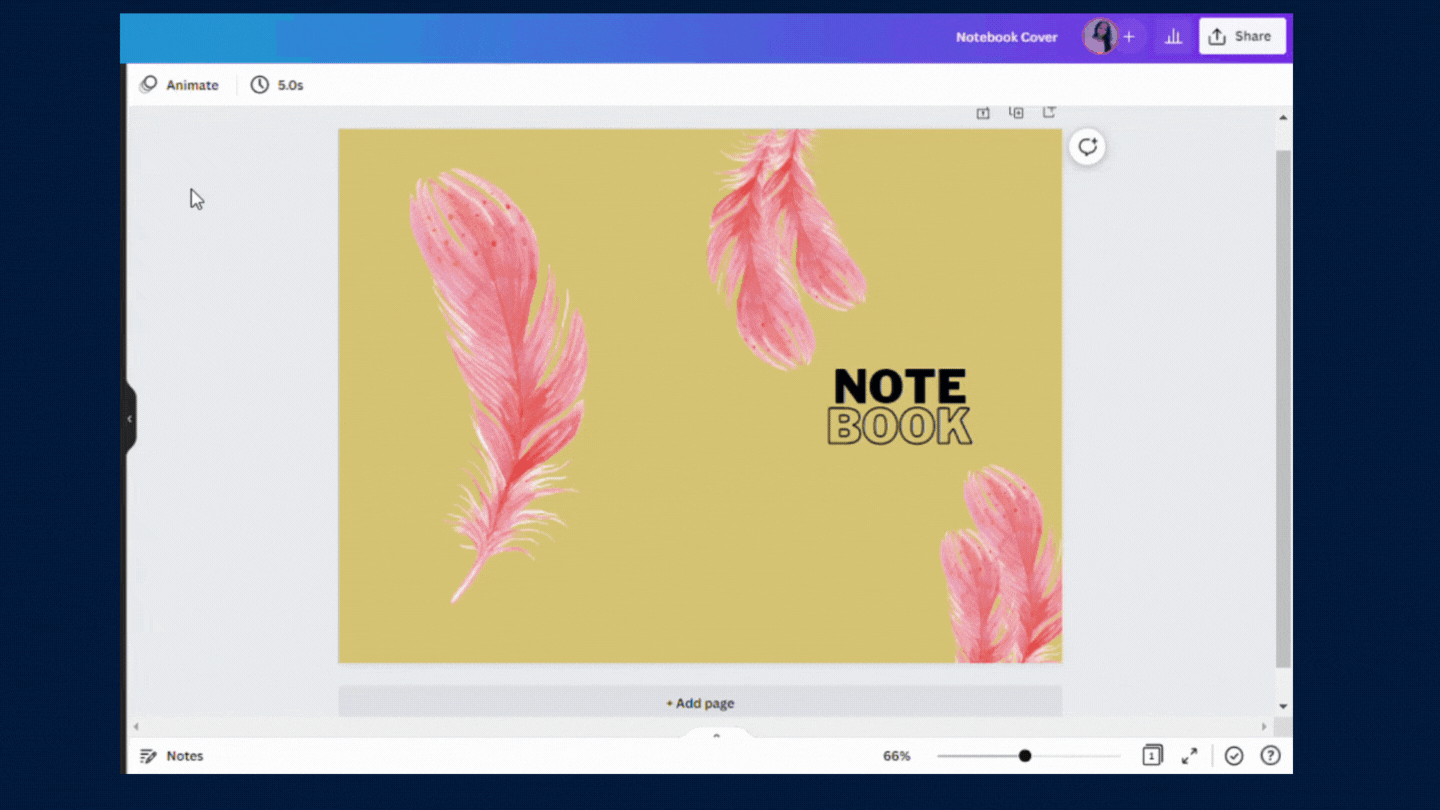
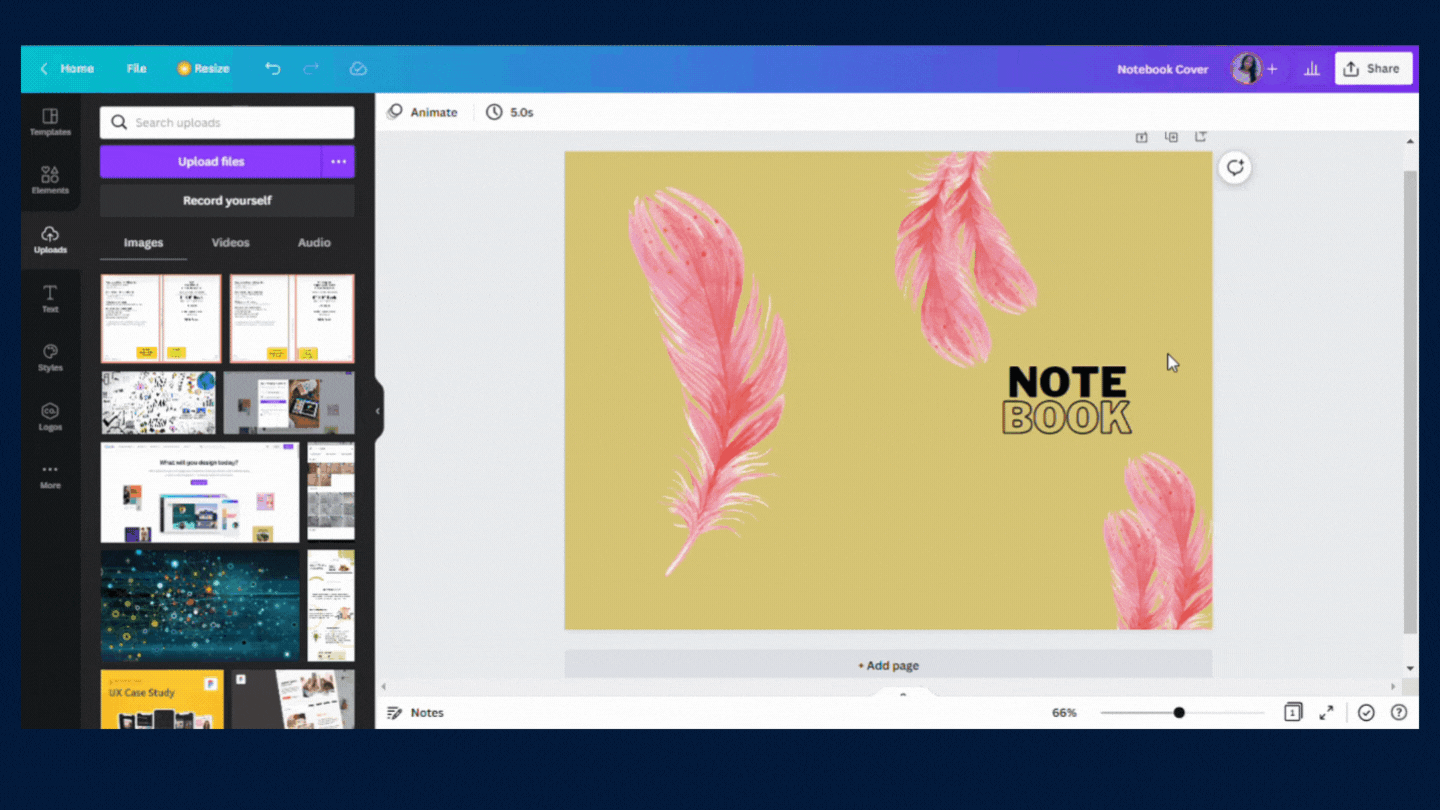
Step 7: Start adding visual elements
- Shapes
- Elements or Vectors
- Texts
Step 8: Share your visual design to review
Once your design is complete, In the right upper corner, select the Share button. Then, select the link sharing restriction option that best suits you, clicks Copy Link, or either add the email addresses of your audience and send the link to them immediately by email.
Step 9: Download your final design
You can able to download your designs in different formats like PNG, JPG, PDF, MP4, GIF, etc., as per your requirement, also you can able to change the size of your design if needed as shown below.
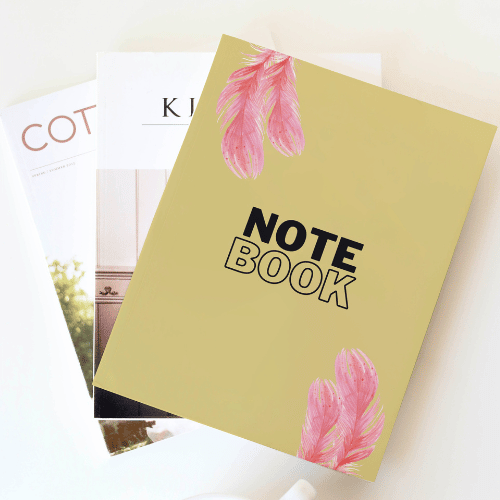
Takeaway: Now, you have learned about how to design your Notebook Paperback Using the Canva tool
You can now create your own graphics from scratch and share them on social media platforms. Canva can be used to create marketing brochures, business cards, posters and banners, postcards, and even t-shirts. This will help you in boosting your brand visibility and also increase engagement with your audience.
Canva is not exactly the tool that you might want to start drawing your book cover in, but it’s definitely an easy way to create better designs. It’s a great way to get your design down and then move on to something more complicated such as Adobe Illustrator or Photoshop.
If you’ve never used Canva before, it’s definitely worth checking out. It has a ton of templates and is easy to use. There are also some nice tutorials on their website that will help you if you’re having trouble understanding how it works.
FINAL VERDICT :
If you have read this far, I really appreciate it. I hope you enjoyed reading this article on “A Step-by-Step Guide To Creating Your Own Graphics From Scratch using Canva”, If yes, then don’t forget to spread the word about it Click your favorite social media icon below to share this content. Signing off sowmiyavenkatesan611@gmail.com