Create Login Page on ASP.NET MVC
The login page is inevitable if you are providing a service through internet website, Most of the website has this login feature you notice, log in with username and password, login with Google or Apple login, now that includes a complicated configuration and look into more aspects like making sure proper steps need to take for authentication. Let’s Create Login Page on ASP.NET MVC
Table Of Content
Prerequisites:
You need to have the following setup to start the build. You can download the visual stuido community version here.
 1. Visual Studio 2015 or higher
 2. 4GB RAM, windows 7 or higher OS
How to Setup:
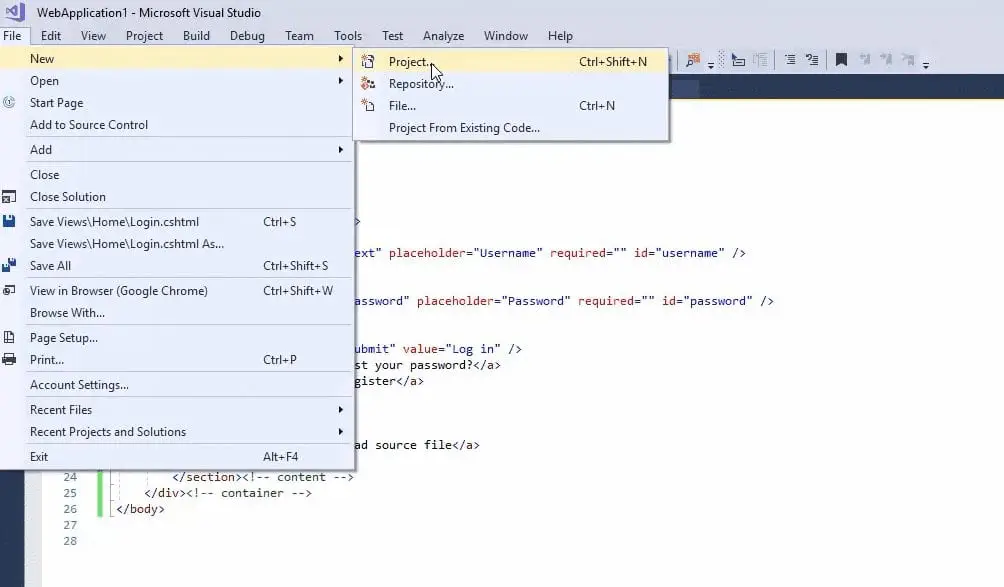
Step 1: Open the Microsoft Visual Studio and open new project by clicking on New on File menu then click on Project.
Step 2: Now Another page will open from the left side select the WEB Category and select ASP.NET Application. Give a good Project name also.
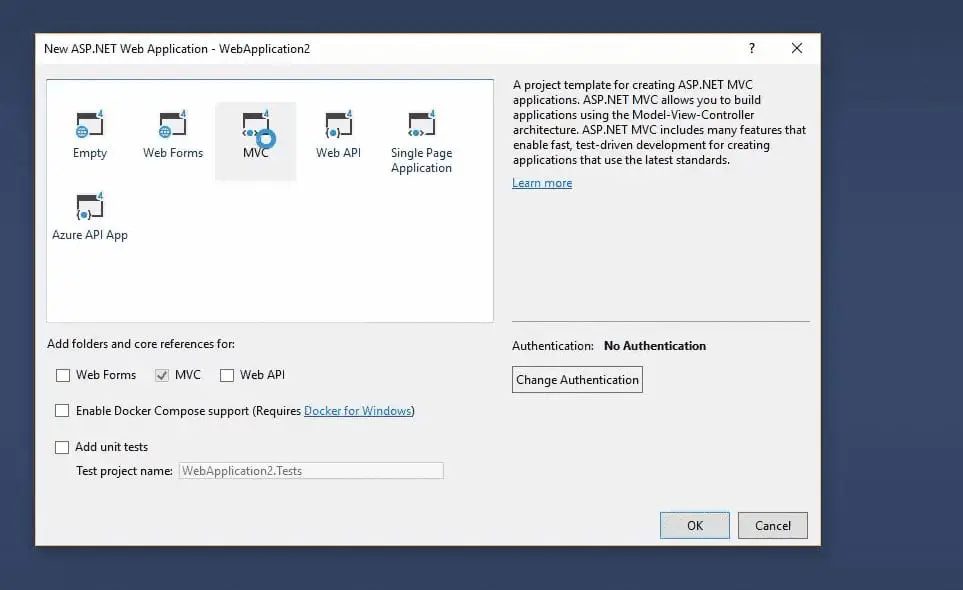
Step 3: In the next screen click on the MVC icon and click on the OK Button.
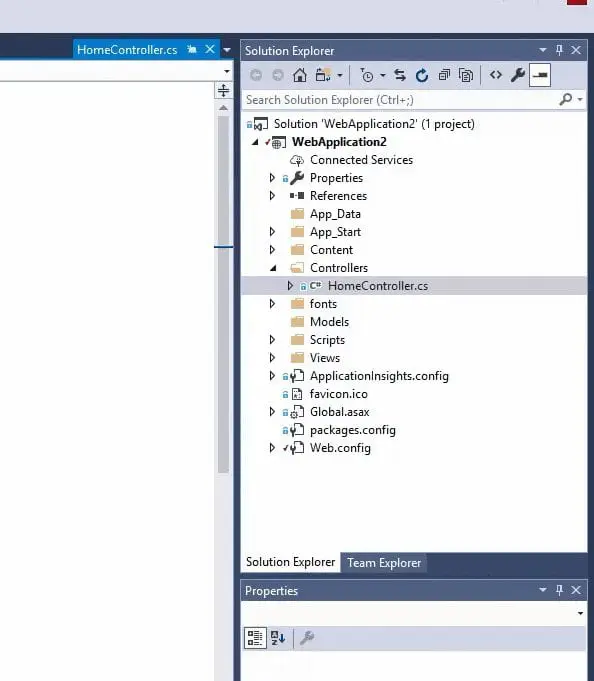
Step 4: A new window will open now, from the right side of the window select the Homecontroller.cs from the Controller folder.
Step 5: Homecontroller.cs will appear like this, add few code like shown below.
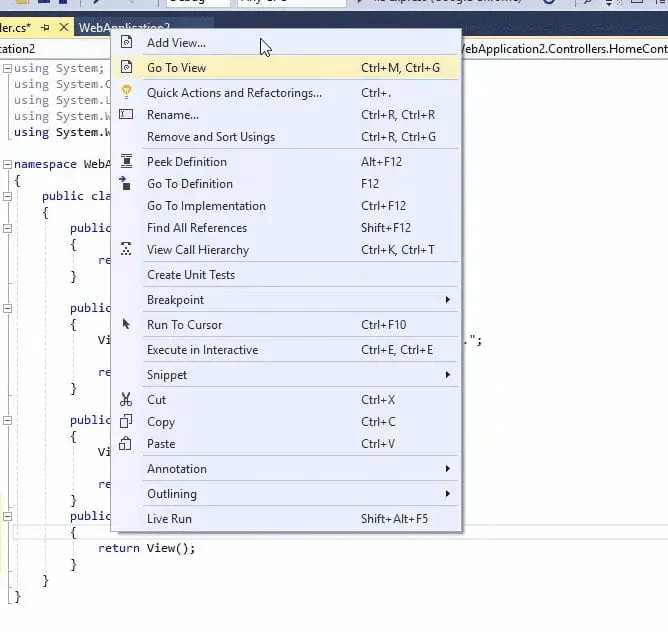
Step 6: I hope you copied and paste the code above, now right click on the ActionResult you created and click on Add View.
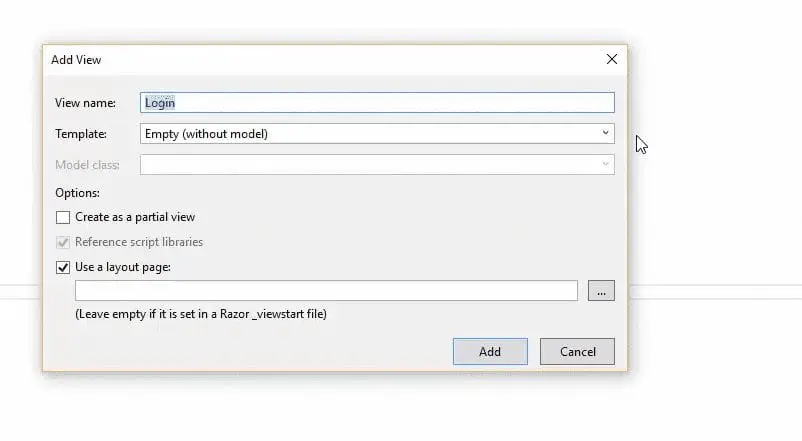
Step 7: There will be a pop up window comes next click on The view name as Login.
Viewname : Login
Template : Empty(without Model)
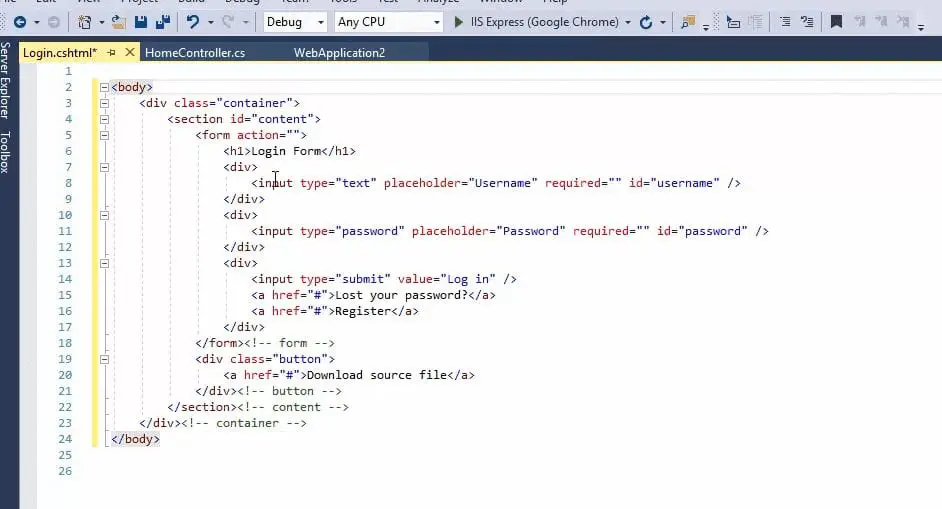
Step 8: The control page will look like the above one. Now go to codepen select your template and paste the HTML code in the Login.cshtml page.
Step 9: Now like you see in the above screen, right click on the template, click on add then click New Item, then in the next window select stylesheet.
Give the Name as Login.css
Step 9: copy paste the css code from the codepen website.
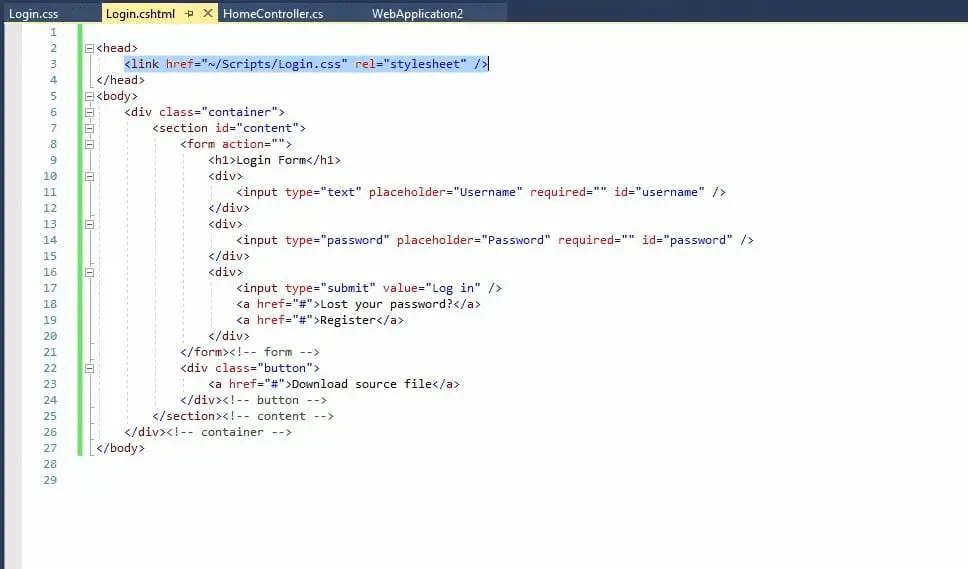
Step 10: Now go to you controller page and change the action name to Login

routes.IgnoreRoute("{resource}.axd/{*pathInfo}");
routes.MapRoute(
name: “Default",
url: "{controller}/{action}/{id}",
defaults: new { controller = “Home", action = “Login", id = Urlparameter.Optional }
);
}
}
}
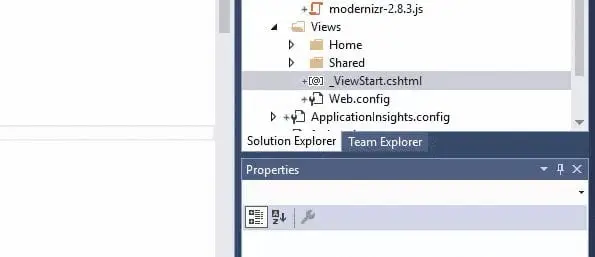
Step 11: Go to Views-> shared-> ViewStart.cshtml page and delete all the content and Run the project. You can see the Login Page opening in Browser.
Reference :
[embedyt] https://www.youtube.com/watch?v=X6WsWIP6Enc[/embedyt]Final Verdict:
In conclusion, I hope you enjoyed reading this article on “ Create Login Page on ASP.NET MVC ”, If yes, then don’t forget to spread the word about it. We would love to hear the feedback from your side and if any doubts contact us. Signing off sanjay.kanakkot@gmail.com
Author : Sanjay K V


