


Table of Contents
What is Forking in GitHub?
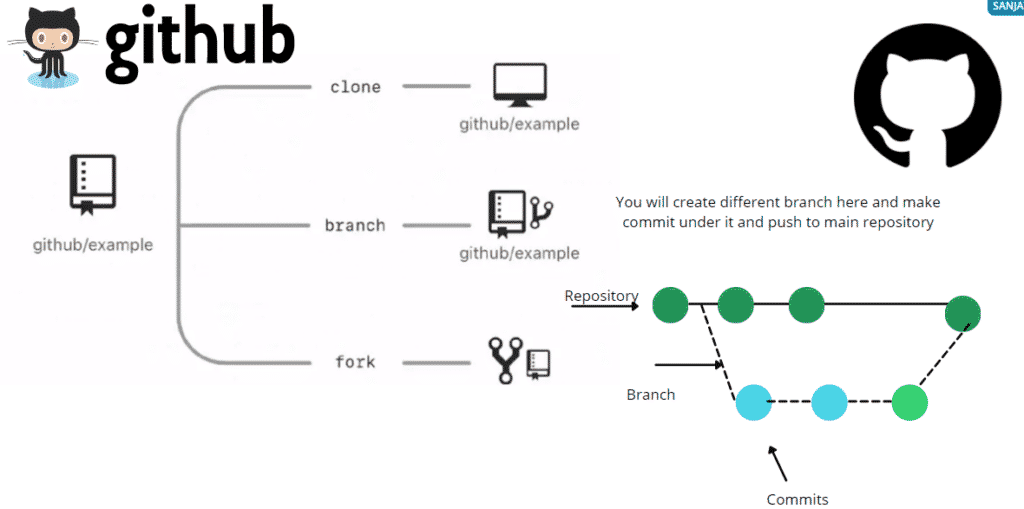
Forking an Existing GitHub repository helps to create a copy of the main file in production, hence provide the user to experiment with the copied repository on their GitHub branch. So Any changes made to the forked file won’t affect the main file in production.
The above image shows how the fork is working once you added the new feature to the copied branch and this committee will be happening in the branch, Once you tested this out, you have an option to pull request and merge the change with the main branch. Then the owner of the particular repository will look at the changes and do the code review and accept the changes.
Forking a repository from GitHub
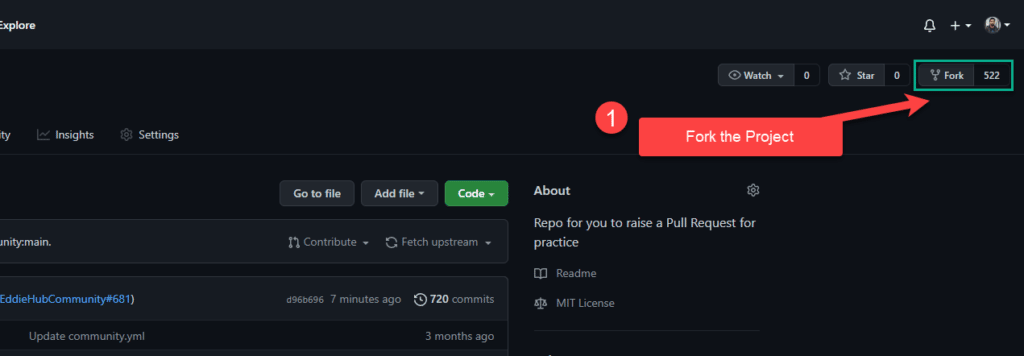
We are going to fork a project and push the changes to the forked branch in GitHub. In this scenario, I’m forking a repository from the Eddie Hub community organization. If you have not joined any organization follows the instructions.
Step 1: Request access to the Eddie Hub Organisation if you have not joined. The instruction is given above.
Step 2: Go to the repository you wanted to copy and click on the Fork button as you see on the top right corner.
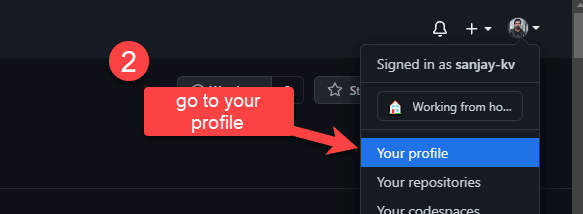
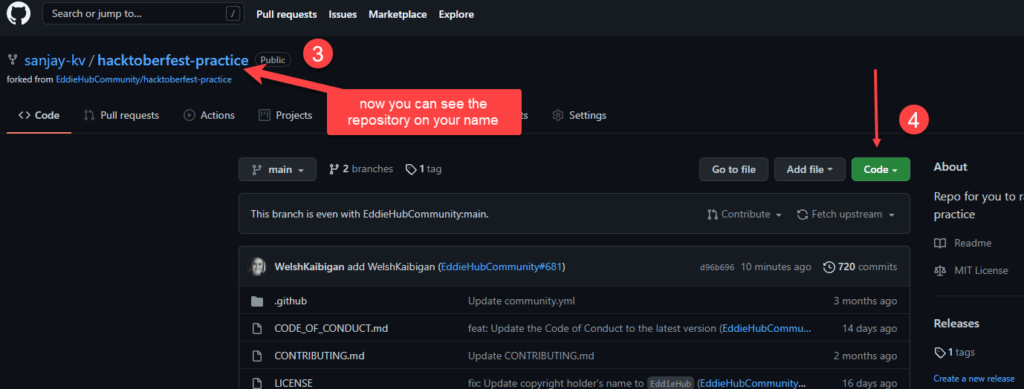
Step 3: Now go to your profile and see the latest forked repository in your repository tab.
Step 4: The below screen shows the GitHub Profile that I have forked now. Then the next process is to clone the project for this click on the code button as highlighted below.
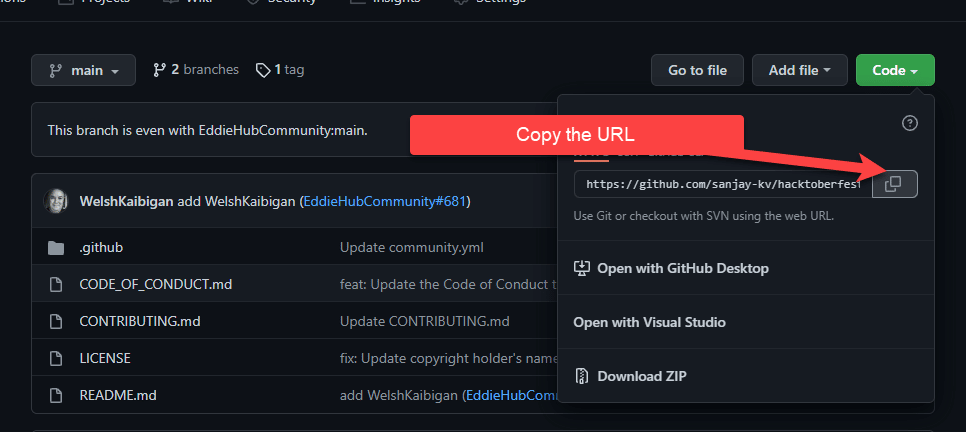
Step 5: You will see the URL to copy, you will use this for cloning the repository to your local system. You have multiple options to go with like using GitHub Desktop and Open with visual studio.
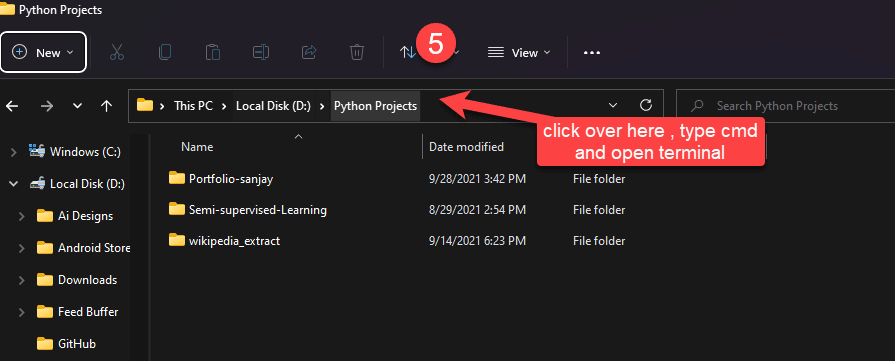
Step 6: Now go to any of the folders you want to clone the file. you can enter cmd here and open the command prompt. Make sure you have git installed on your system.
Step 7: Using Git on your local machine. Do this to download the forked copy of this repo to your computer.
git clone https://github.com/sanjay-kv/hacktoberfest-practice.git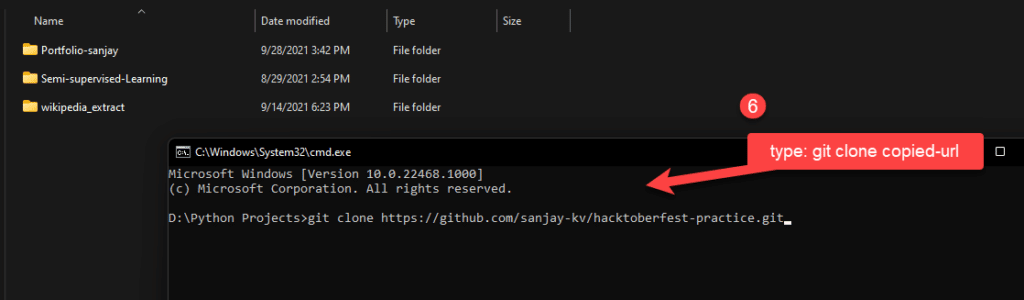
Step 8: Type cd and folder name to switch to the cloned folder. You can see a cloned repository over here called hacktoberfest-practice.
cd hacktoberfest-practice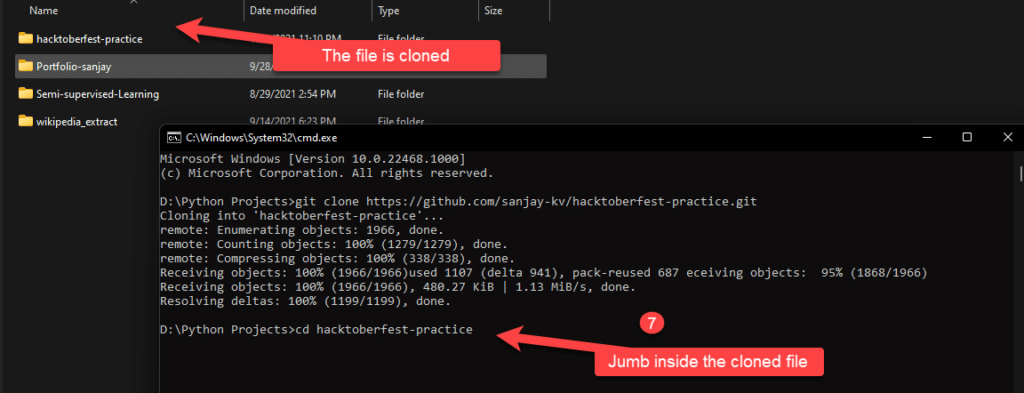
Step 9: Make a new branch this is not required but a good approach to learn with. Your name would make a good branch because it’s unique.
git checkout -b <name of new branch>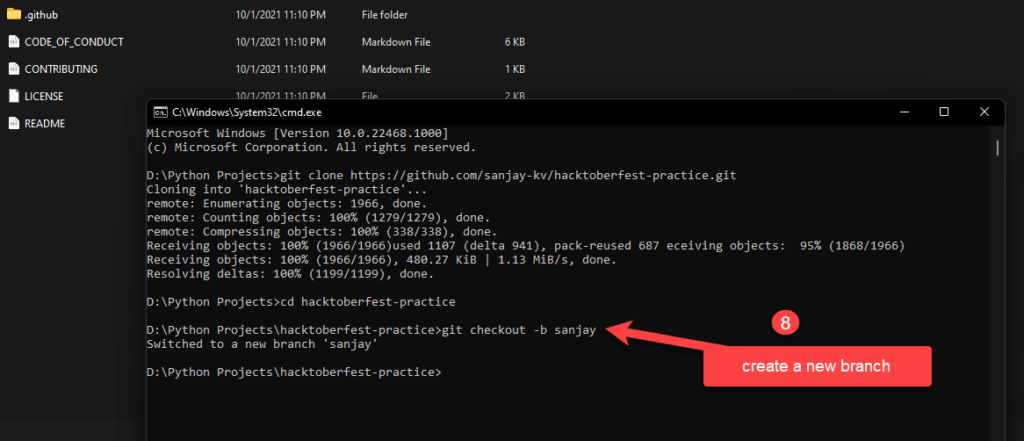
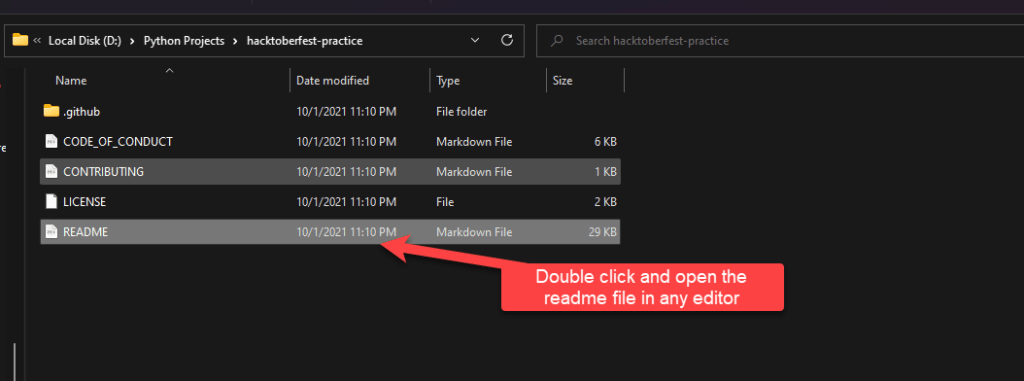
Step 10: Open the README.md file, we are going to change the readme file, I prefer to use Typora software to change the markdown files.
Step 11: Copy the code as shown here and add the code as shown below.
- For example ,
- [Full Name](https://github.com/your-username) - Stage your changes.
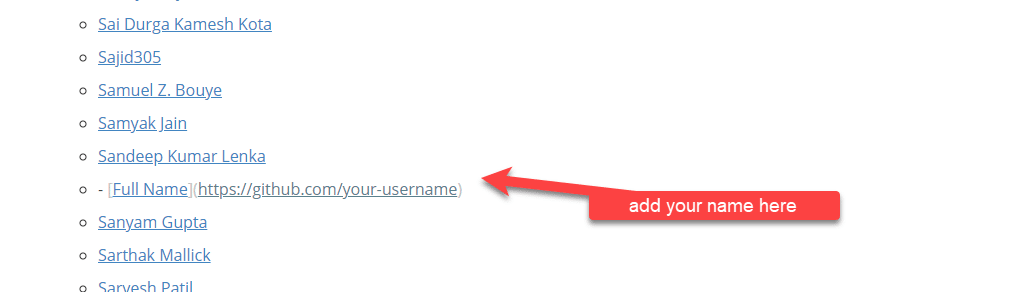
Step 11: This is how the final code looks like. Make sure to save the file.

Step 12: That’s it you have made changes to the file and it’s time to stage and commit the file and push. Git add will add the file to commit.
git add README.md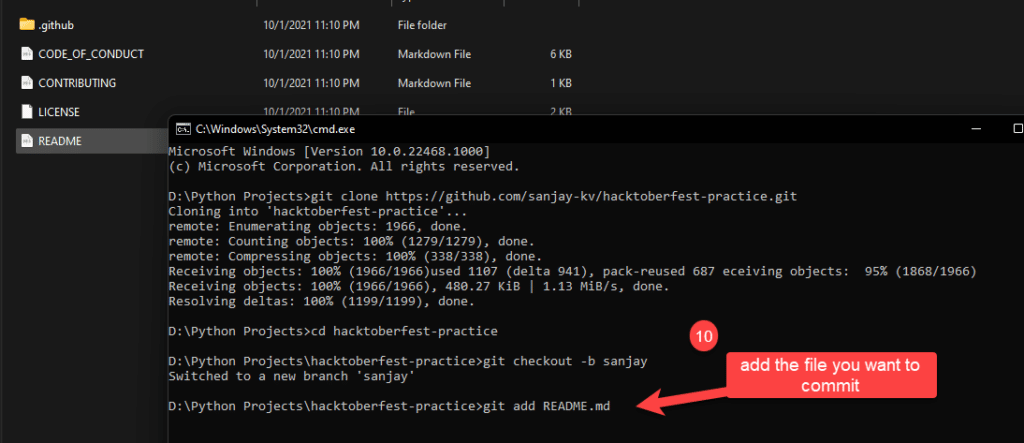
Step 13: Commit the changes by below commit code. Make sure you add the comment this will make the other user understand the other user to find whats your change is all about.
git commit -m "Add comment"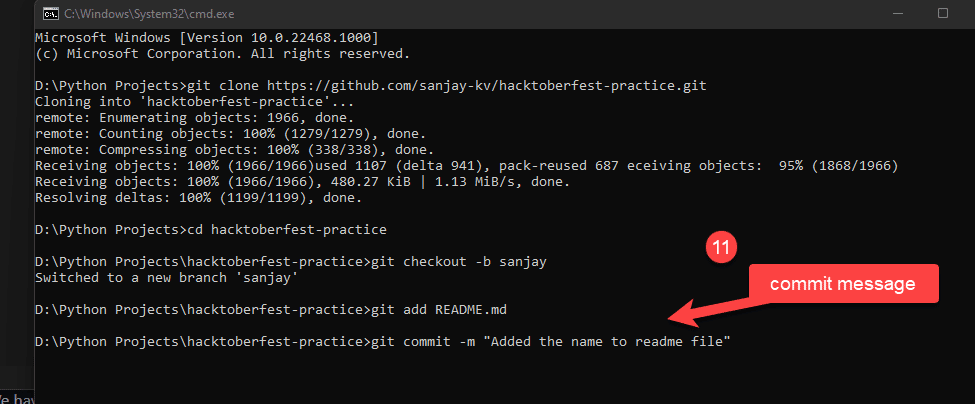
Step 14: Pushing your repository to GitHub, here I created this sanjay branch so I’m pushing the file to that branch.
git push origin <name of your branch>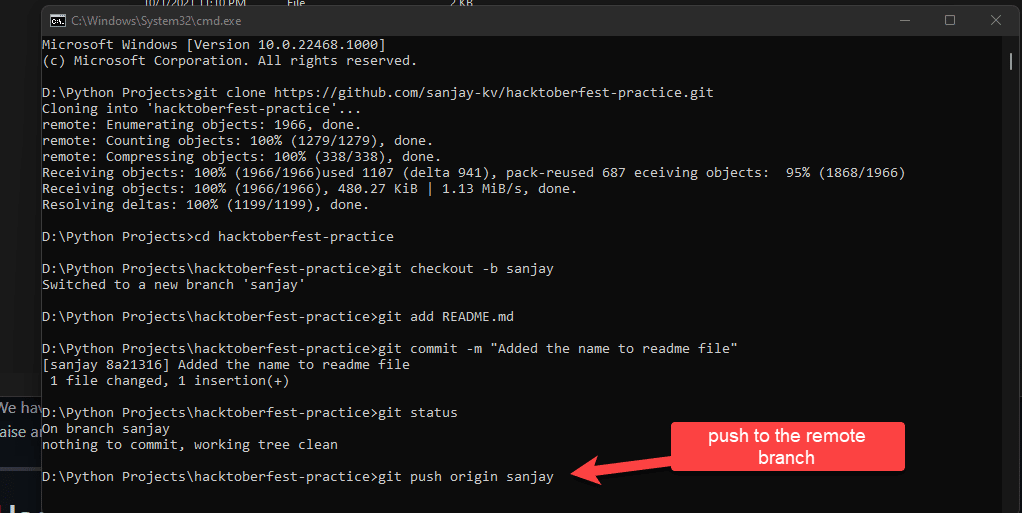
Step 15: Once it is executed you can see the file is processed, if there is any issue in pushing the file to GitHub it shows on the screen.
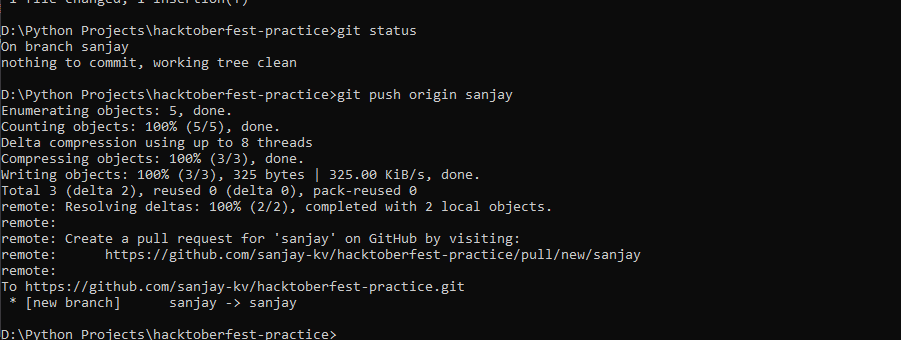
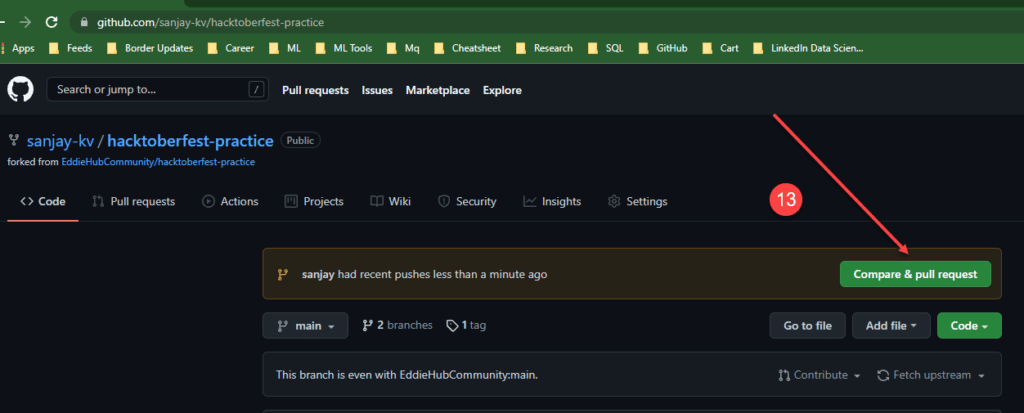
Step 16: Now jump to your repository, under your branch that you pushed you can see an option to merge the pull request to the main branch.
Note: A pull request allows your changes to be merged with the original project.
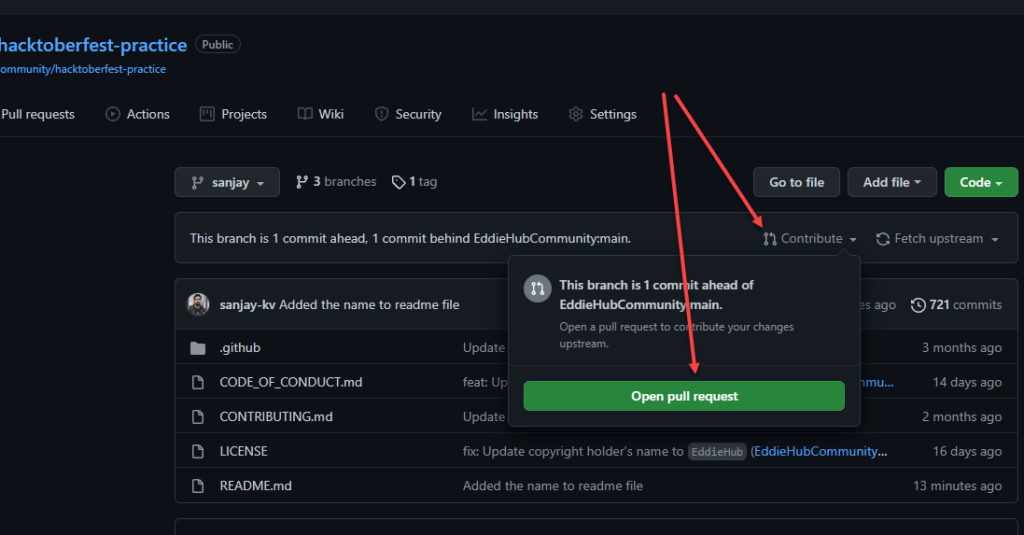
Step 17: Now on the main branch you will be able to see contribute the open pull request.
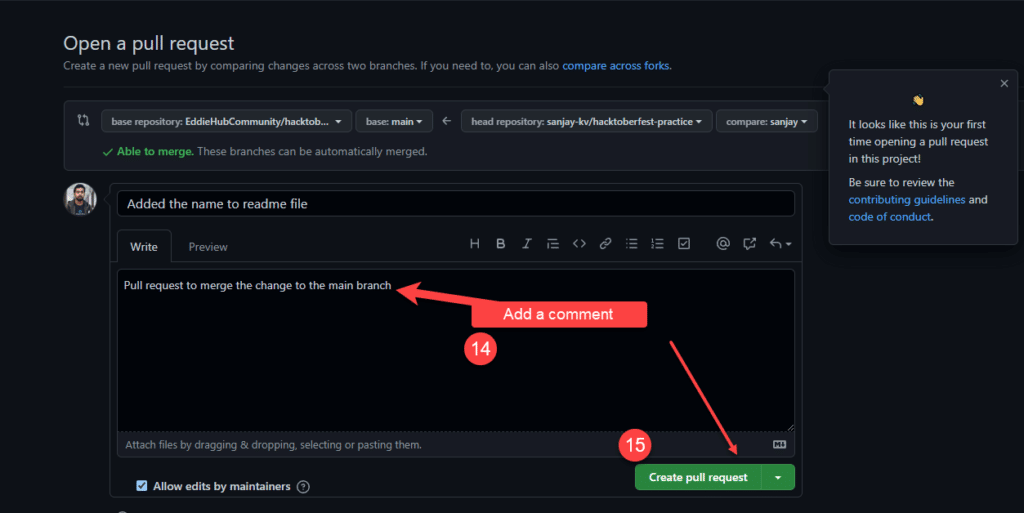
Step 18: Make sure to add a good comment in the merge and explain what’s your commit is all about.
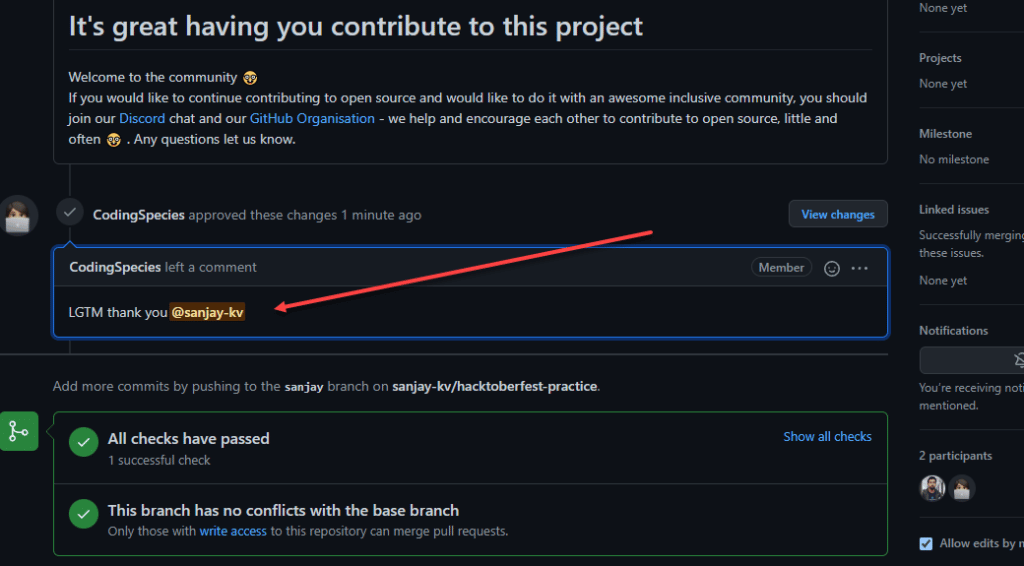
Step 19: In few Organisations, there will be Github actions scheduled for auto-check and any one of the code reviewers will review the file and approve the changes or suggest any issue with your pull request.
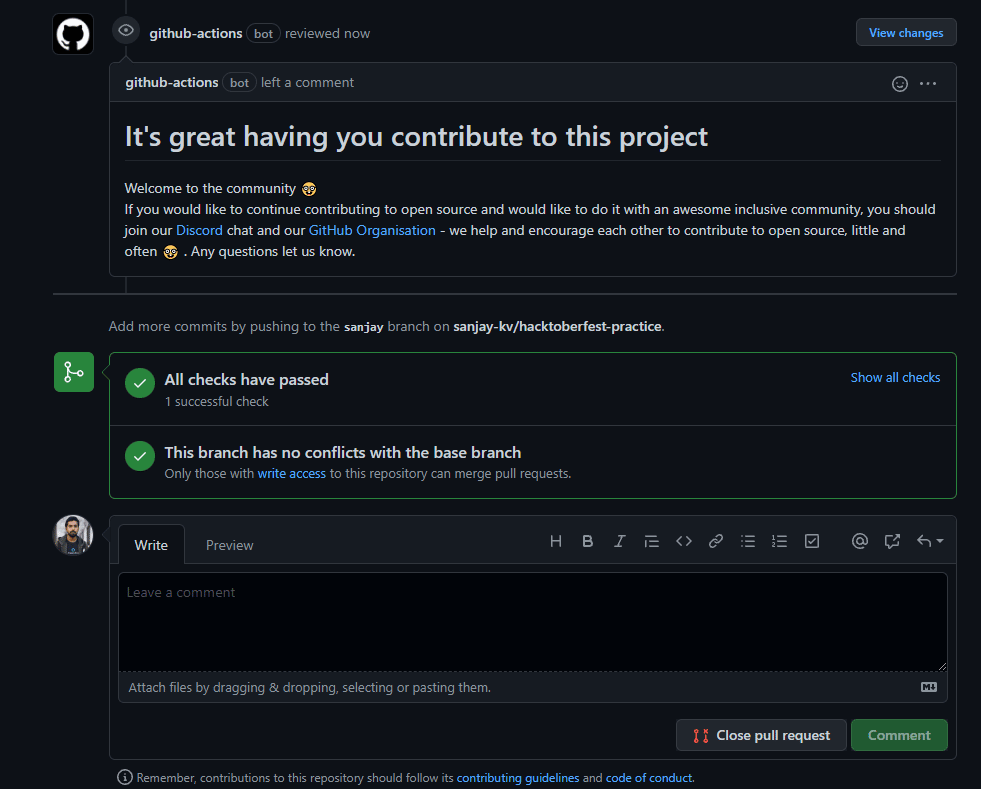
Step 20: Here you can see one of the community members has reviewed my code and left a comment.
FINAL VERDICT :
In conclusion, I hope you enjoyed reading this article on “How to Fork a Repository in GitHub” Let us know in case you find any issues in executing the above steps. if you haven’t check out the GitHub Tutorials, go through this set of GitHub Tutorials for free. Signing off Sanjay Kv