


Table of Contents
INTRODUCTION
This article shows how to use a static ProcessDirect adapter in SAP CPI to access one artifact from other located under the same tenant. This adapter reduces the network latency as this doesn’t go through load balancer network.
SETTING UP INTEGRATION FLOWS
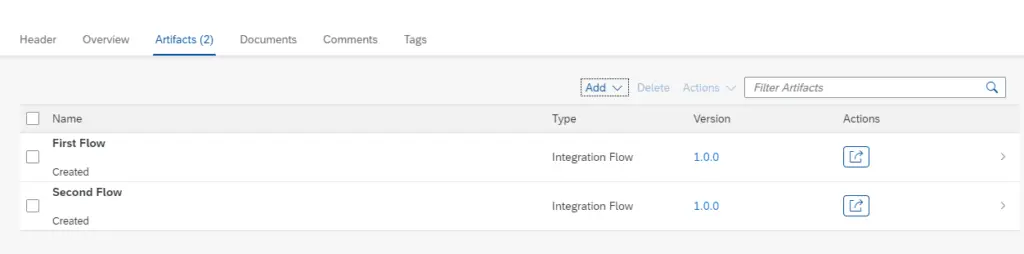
Step 1 : Create two Artifacts ( Integration Flows) .
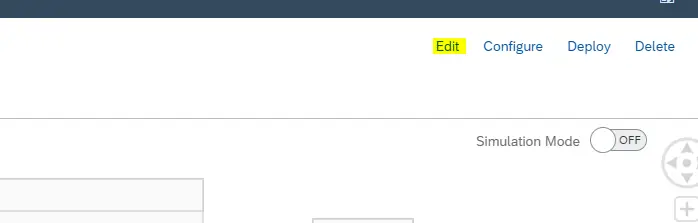
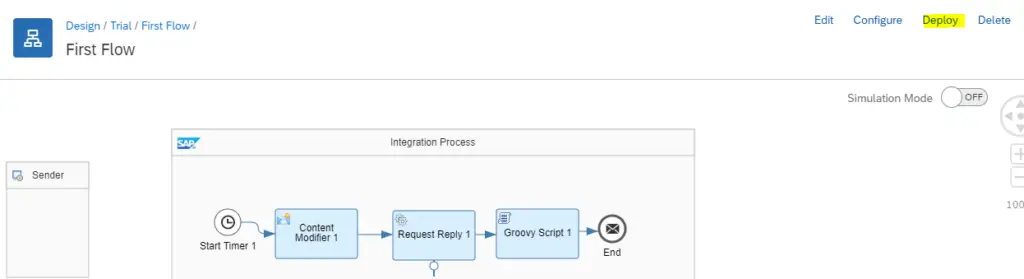
Step 2 : Open the First Flow , click on Edit.
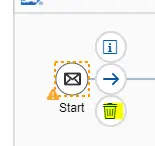
Step 3 : Delete the Start event. This is done to add a timer as trigger event.
Step 4:Add a Timer from Pallet.

Step 5 : Include a Content modifier from Pallet to add custom message specific to the flow.

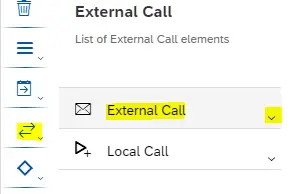
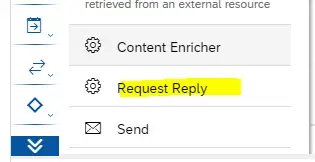
Step 6 : Add an External Call –> Request Reply from Pallet.
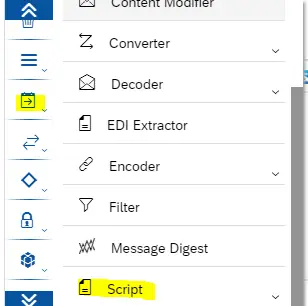
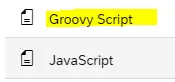
Step 7 :Include a Groovy Script to log the payload.
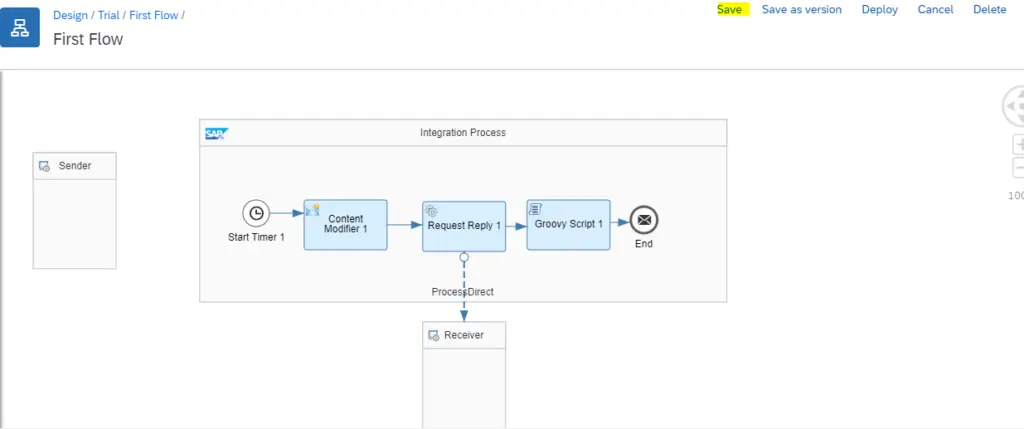
Step 8 :Arrange the above added blocks as shown below.
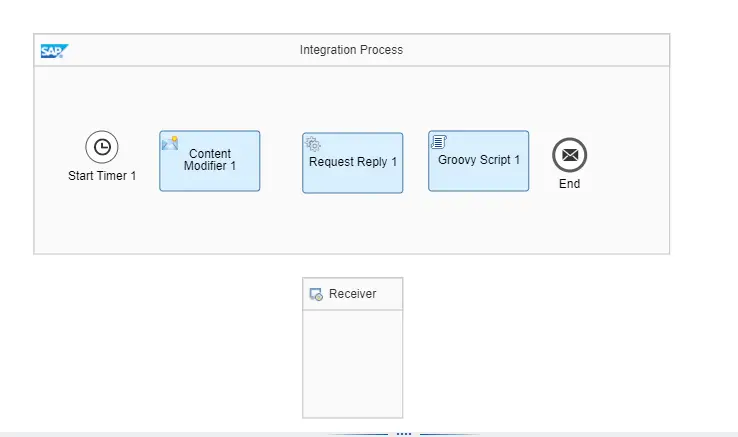
Configuring the Blocks
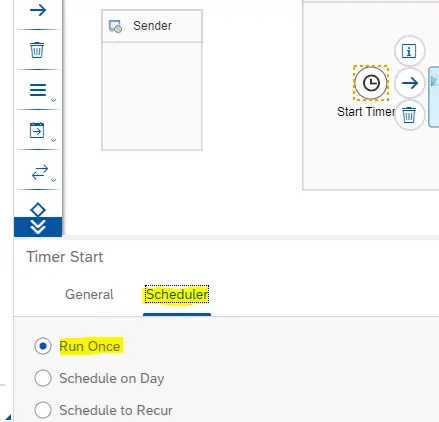
Step 9 : Select the Timer and in Scheduler tab, Choose Run Once. This makes sure that the Integration Flow is triggered as soon as the artifact is deployed.
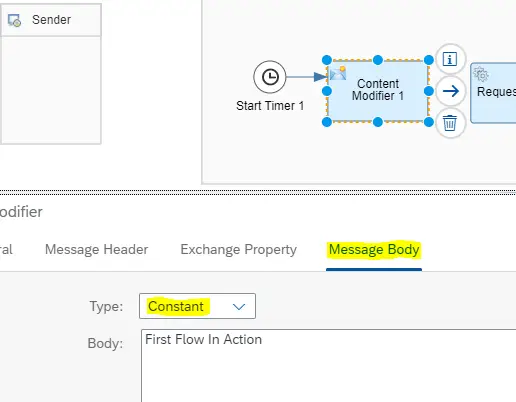
Step 10 : Select Content Modifier. In the Message Body tab, Choose Type=Constant and Body= Any custom Message.
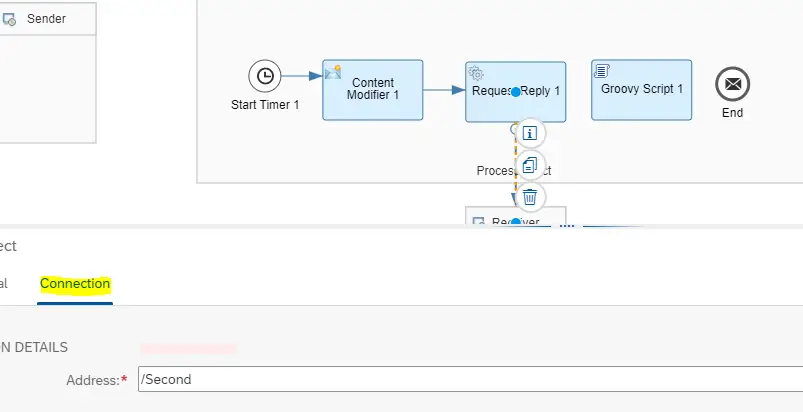
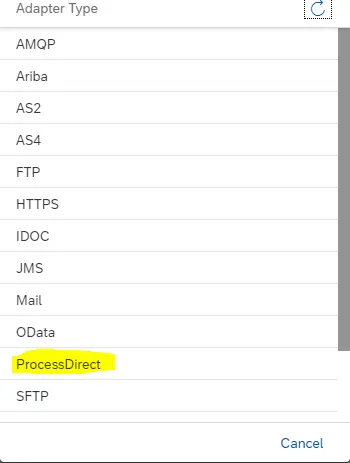
Step 11 : Select Request Reply. Connect it to the Receiver. A pop up will be displayed as below with all the available Adapter types. Select Process Direct .

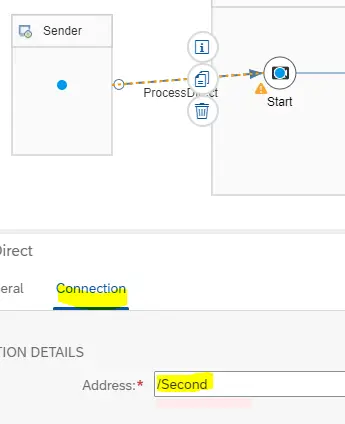
Step 12 : Click on the Adapter. In Connection tab, type any address ( /Second ). This same address has to be used in the other flow which we are going to call ( Covered in further steps ).
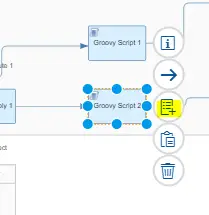
Step 13 : Select Groovy Script. Click on the icon highlighted below.
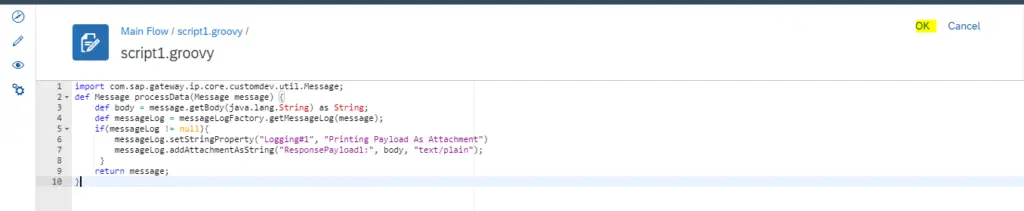
Step 14 : Remove the default code that appears and Paste the below given code and click on OK.
import com.sap.gateway.ip.core.customdev.util.Message;
def Message processData(Message message) {
    def body = message.getBody(java.lang.String) as String;
    def messageLog = messageLogFactory.getMessageLog(message);
    if(messageLog != null){
        messageLog.setStringProperty("Logging#1", "Printing Payload As Attachment")
        messageLog.addAttachmentAsString("ResponsePayload1:", body, "text/plain");
     }
    return message;
}
Step 15 : The Flow should look as below. Save the flow. DO NOT DEPLOY ( as second flow which we are going to call is not set up yet ).
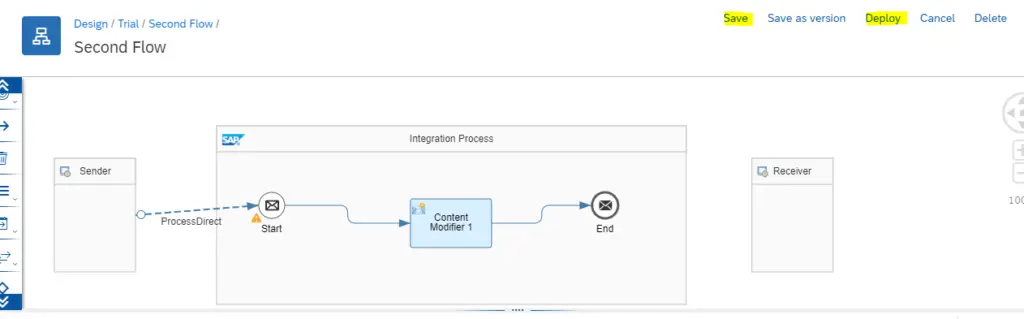
Step 16 : Open the Second Flow that you have created.

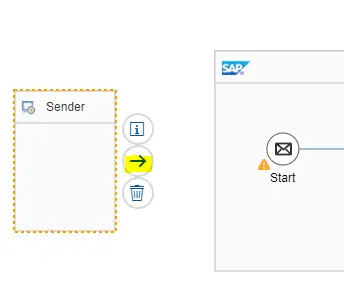
Step 17 : Add one Content Modifier.
Step 18 : Connect from Sender to Start. From the Pop up window, choose ProcessDirect adapter.
Step 19 : Select Adapter and in Connection tab, give the address exactly same as given in Step 12 (/Second).
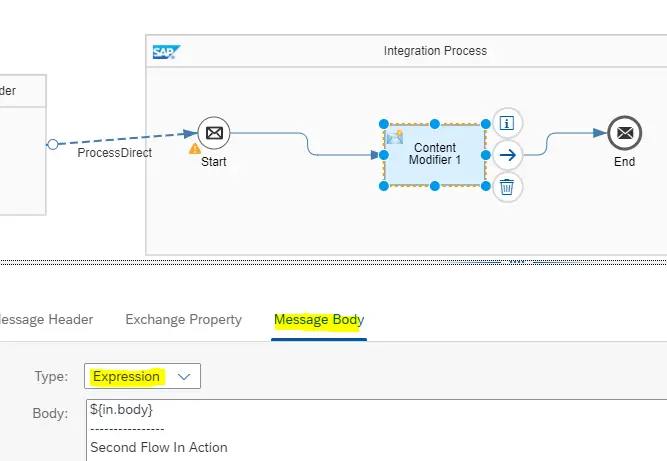
Step 20 : In Message Body of Content Modifier, Add the body as
${in.body}
this is to include the message body from the previous flow ( Flow triggered).
Additionally you can add any other Custom message specific to current flow.
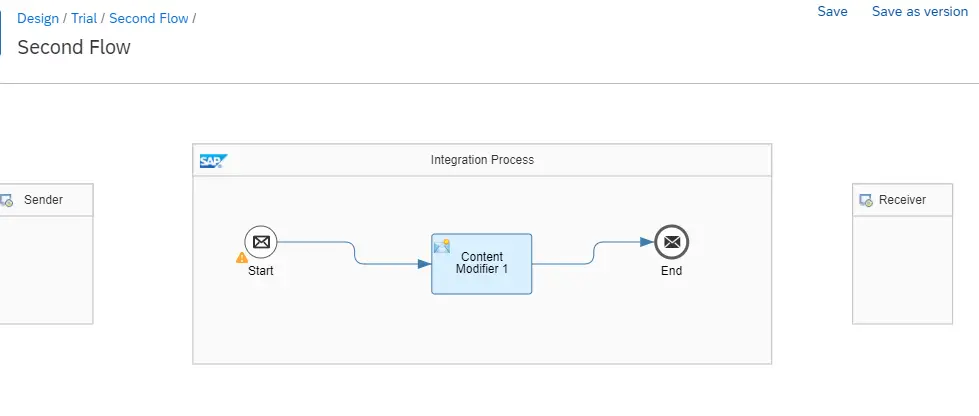
Step 21 : The flow should look as below. Save and Deploy.
Step 22 : Go back to the First Flow. Deploy the same.
MONITORING INTEGRATION FLOWS
Step 23 : Go to Overview window. Click on All under Manage Integration Content as shown below.
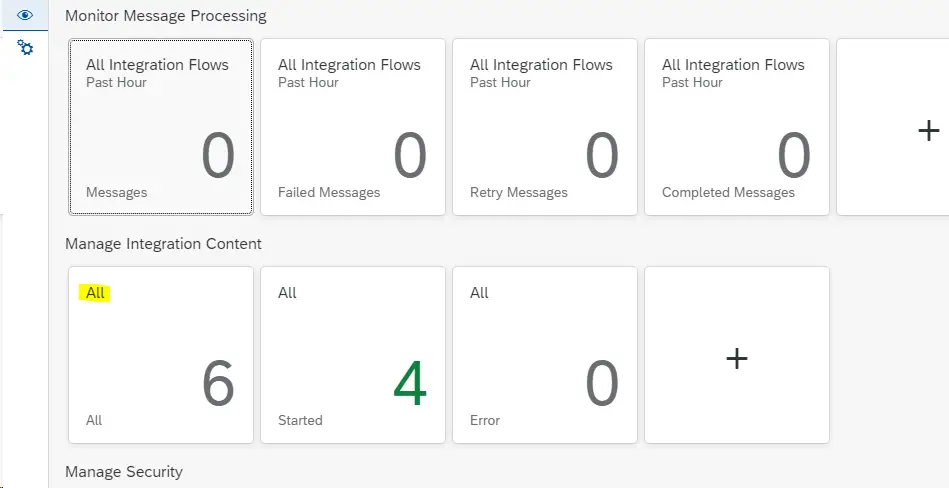
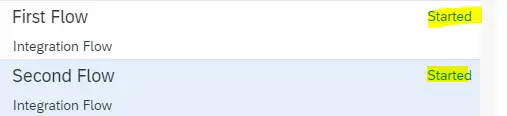
Step 24 : Check if both Flows are in Started status.
Step 25 : Once both flows are started, go to Completed Messages.
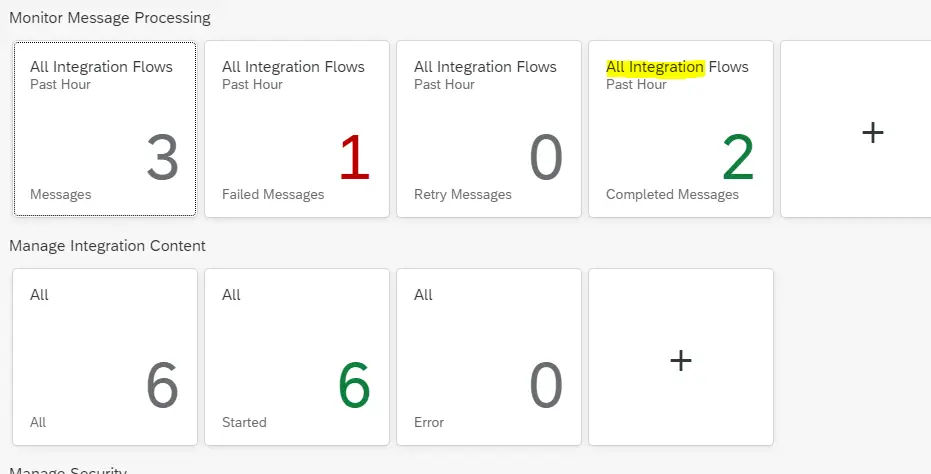
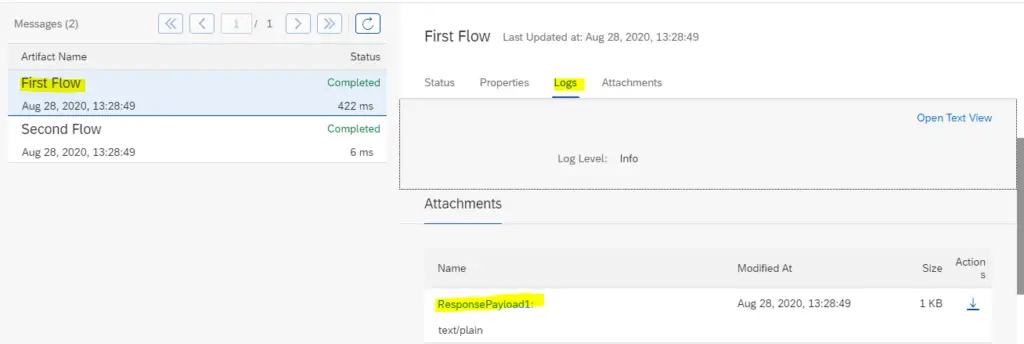
Step 26 : Click on First Flow ( From where you have called the other flow ). Click on Logs. Under Attachments, Click on ResponsePayload1.
Step 27 : You will see the below message if you have filled the body of Content Modifier exactly as shown in the screen shots above. In general, the payload will have texts combined from both Flows.
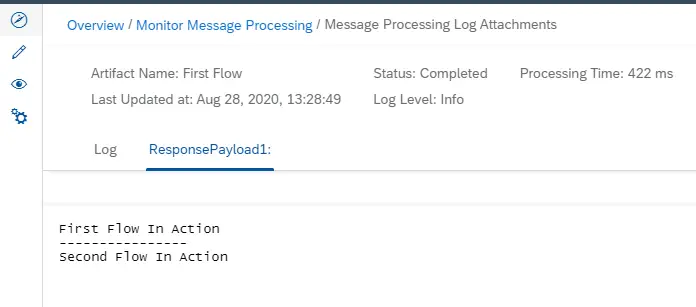
It is clear from the above output that the first artifact calls the second artifact and performs the activities in second artifact and takes the response back to first artifact to give as final output.
The same can be verified by doing the below mentioned steps.
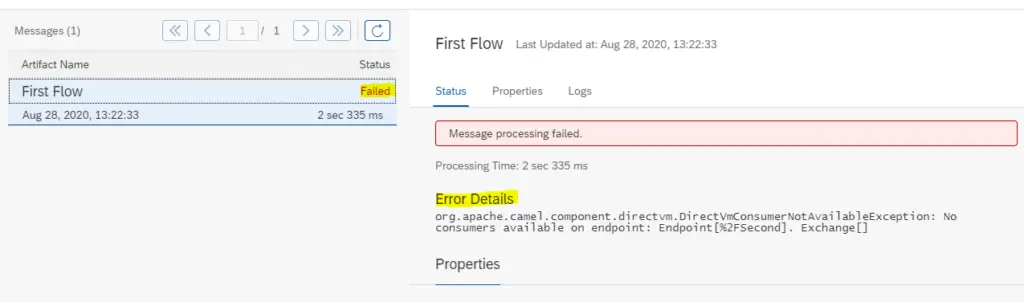
COMMON ERROR
Deploy only the first flow but not the second flow ( First Flow is started before the second Flow ).
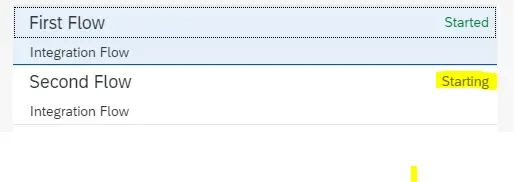
The Flow Fails with exception : No Consumer available on endpoint :(Endpoint Name). This is because the ProcessDirect adapter in First flow can’t access the second flow unless the second flow is started.
CONCLUSION
This article was intended to show basic configuration with ProcessDirect adapter.
What if there is a requirement to use more than one sub flow (only one at a time is allowed) and different flow has to be called at different time?. It is not recommended to go each time to main flow and change the address mentioned in adapter.
This can be overcome by Externalizing the Address parameter.
Externalizing the parameter will be covered in another post.
FINAL VERDICT :
In conclusion, I hope you enjoyed reading this article on “ProcessDirect Adapter in SAP CPI – A Step by Step Guide- I”, If yes, then don’t forget to spread a word about it. Do send the feedback and to know more about it. Signing off sudarshan@recodehive.com