


This article helps you understand how to externalize any parameter in SAP CPI. It also covers different configuration scenarios using the externalized parameter to make you understand the conceptual as well as the technical aspects of Flow control. Go through my previous article to understand the basics of ProcessDirect Adapter.
Table of Contents
SCENARIO :
The demo will have a Producer Flow ( named Main Flow ) and Two Consumer Flows ( Second Flow or Third Flow, one at a time). Two parameters will be externalized
1. Switch_To_Flow2: This is to decide if the Producer Flow has to extend to Consumer Flow ( with value = true ) or not ( with value = false ).
2. Flow_Name: This is to decide which Consumer Flow is to be called when Switch_To_Flow2 is true ( address=/Flow2 will call Second Flow and address= /Flow3 will call Third Flow )
CREATING ARTIFACTS
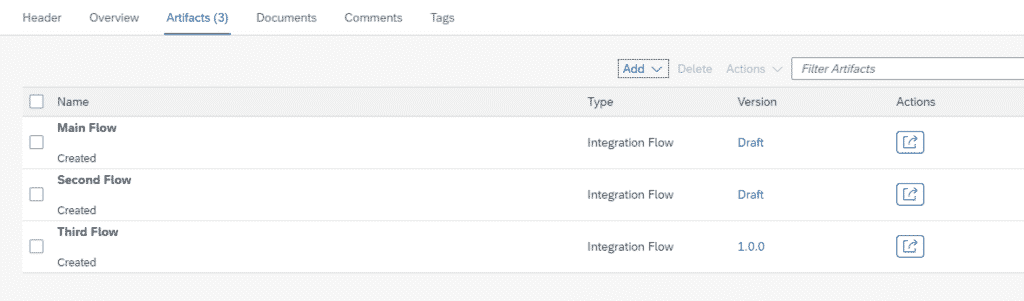
Step 1: Create three artifacts as shown. Main Flow will be the Producer Flow from where we access Consumer flows ( Second flow or Third Flow ).
SETTING UP CONSUMER FLOW (SECOND FLOW)
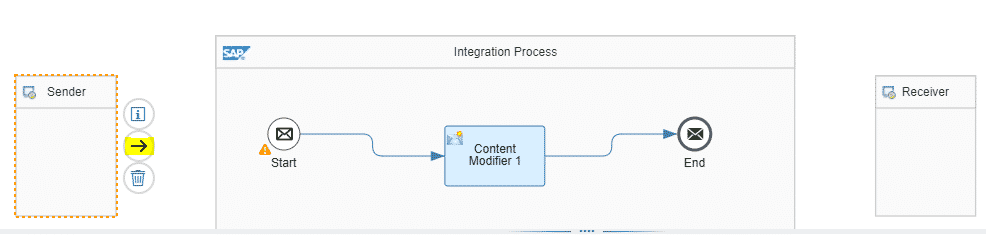
Step 2: Open the Second Flow and add a Content Modifier. Arrange the blocks as shown below.
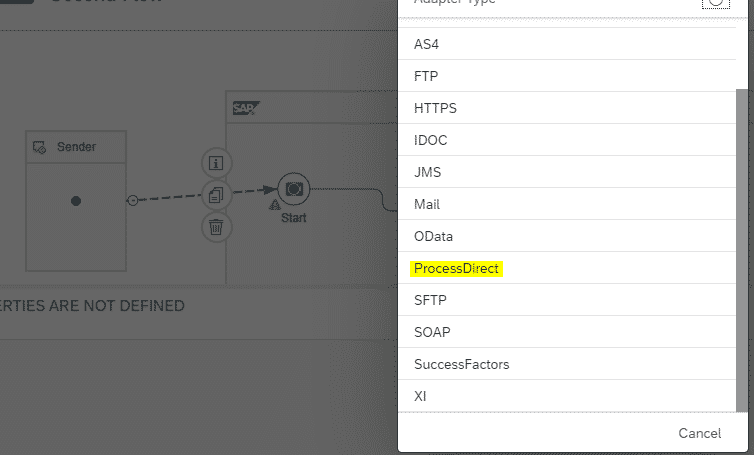
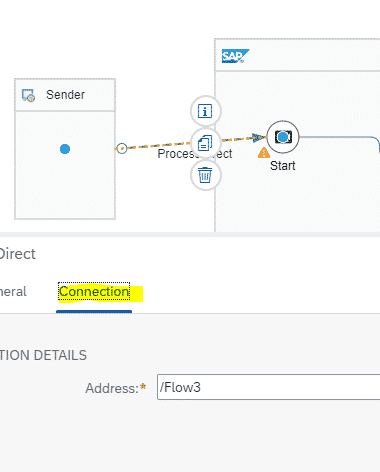
Step 3: Connect Sender to Start. From the Pop-up appearing, Choose ProcessDirect adapter.
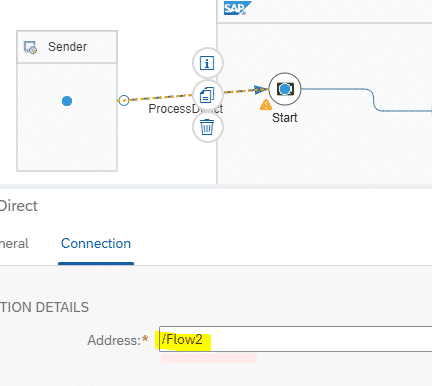
Step 4: In the Connection tab of the ProcessDirect, type the address as /Flow2 as in the below image.
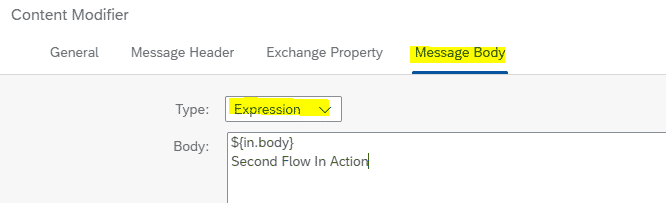
Step 5: Select Content Modifier. In the Message Body tab, Choose Type = Expression, and in Body type any custom message,
${in.body}
Second Flow In Action
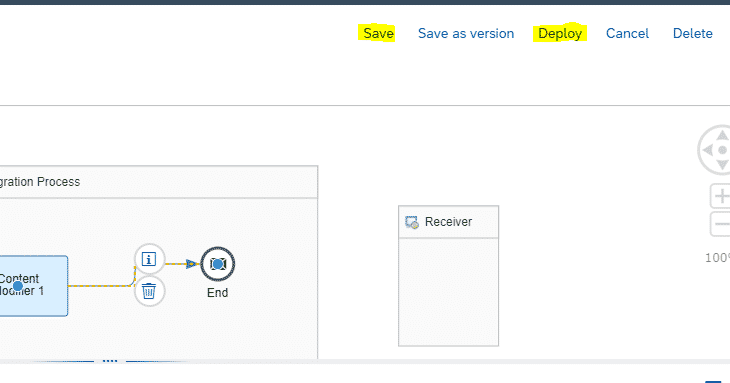
Step 6: Save and Deploy the flow.
SETTING UP CONSUMER FLOW ( THIRD FLOW )
Step 7: Open Third Flow artifact. Connect Everything as done in Second Flow artifact.
Step 8: Connect Sender to start. From the Pop-up, choose ProcessDirect adapter. In the connection tab, Type address as /Flow3.
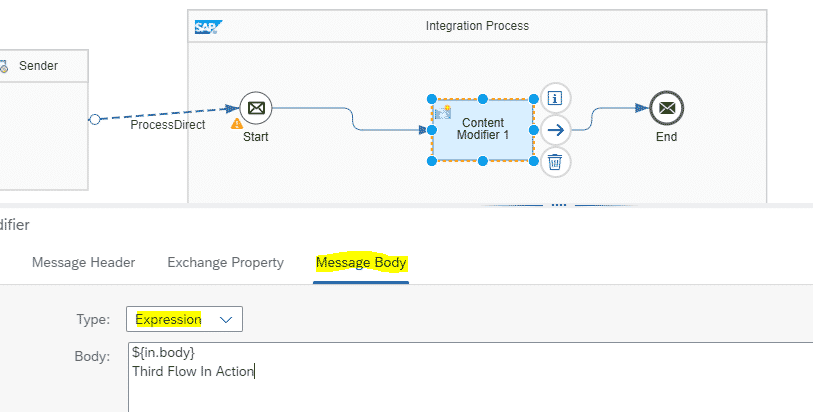
Step 9: Select Content Modifier. In the Message Body tab, type as shown below.
${in.body}
Third Flow In Action
Step 10 : Save and Deploy.

SETTING UP PRODUCER FLOW ( MAIN FLOW )
Step 11: Open Main Flow. Get below shown Blocks from the Pallet on your left and arrange as shown in the below image. The Configuration of each block will be shown in the upcoming steps.

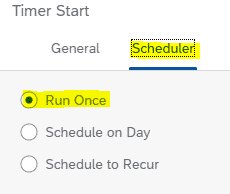
Step 12: Select Timer. In the scheduler tab, check Run Once. This is to make sure the flow gets triggered as soon as it is deployed.
Step 13: Select Content Modifier. In the Exchange property tab, create a property as shown below.
Name: Switch_To_Flow2 ( This can be any Custom Name )
Type: Expression
Value : {{Switch_To_Flow2}} —-> This is how we externalize the parameter value. It will look as shown below.

Step 14: Click on the <Define Value>. In the Pop Up appearing, Give Default Value = true. Click on OK.
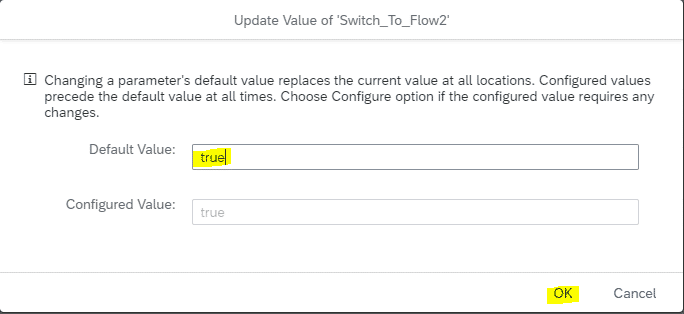
Step 15: It should now look as below.

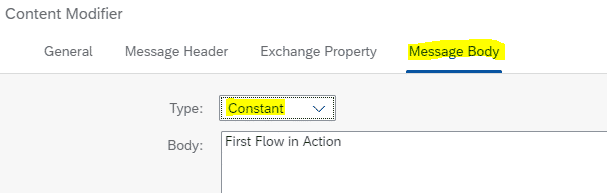
Step 16: Select Content Modifier. In Message Body Tab, Write any custom message as Below.
Step 17: Select Route1 and in the Processing tab, Check the Default Route button. This route will now act as the default Route.
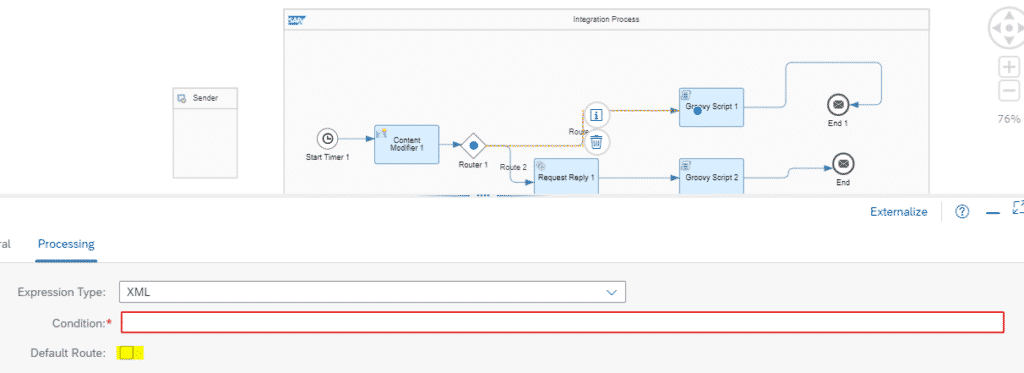
Step 18: Select Route2. In processing tab, Choose Non-XML expression type. In Condition field,
${property.Switch_To_Flow2} = ‘true’
In case, the value of the externalized parameter ( Step14 ) is true, the flow will take this path.

Step 19: Connect Request-Reply to Receiver. From the Pop-up appearing, Choose ProcessDirect adapter. In The connections tab, click on Externalize.
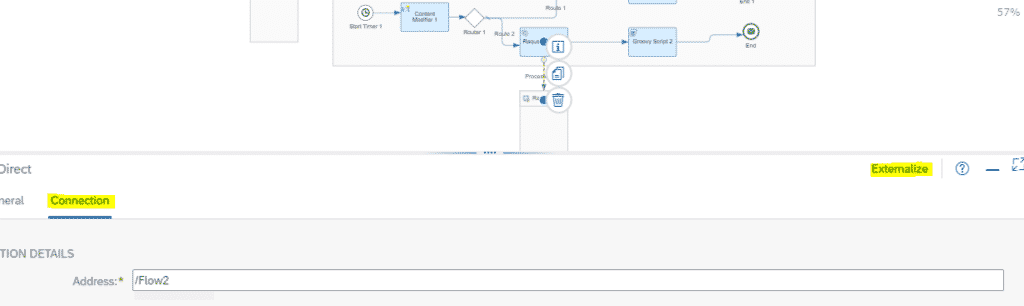
Step 20: In the pop-up appearing, Fill details below. Click OK.
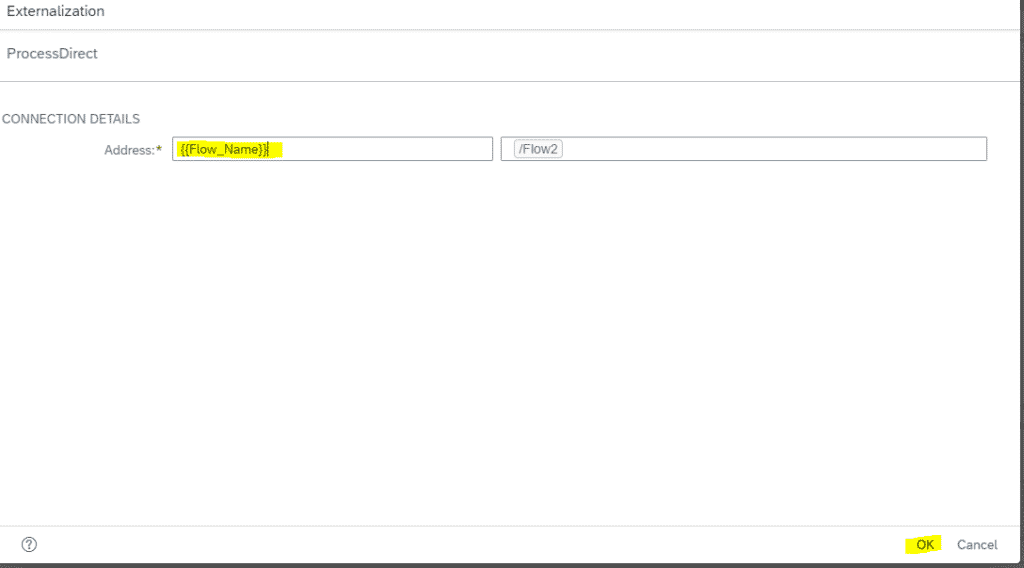
{{Flow_Name}} –> This can be any custom Name
/Flow2 —-> this is the address of the default consumer flow to be called (Second Flow or Third Flow )
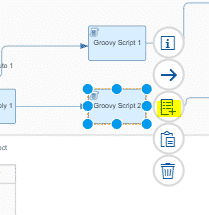
Step 21: Select Groovy Script. Click on the below-highlighted icon.
Step 22: Remove the default coding and paste the following code. This is to log the payload.
import com.sap.gateway.ip.core.customdev.util.Message;
def Message processData(Message message) {
    def body = message.getBody(java.lang.String) as String;
    def messageLog = messageLogFactory.getMessageLog(message);
    if(messageLog != null){
        messageLog.setStringProperty("Logging#1", "Printing Payload As Attachment")
        messageLog.addAttachmentAsString("ResponsePayload1:", body, "text/plain");
     }
    return message;
}
Step 23: Repeat Step 21 and Step 22 for another Groovy script as well.
Step 24: Save and Deploy the flow.

MONITORING
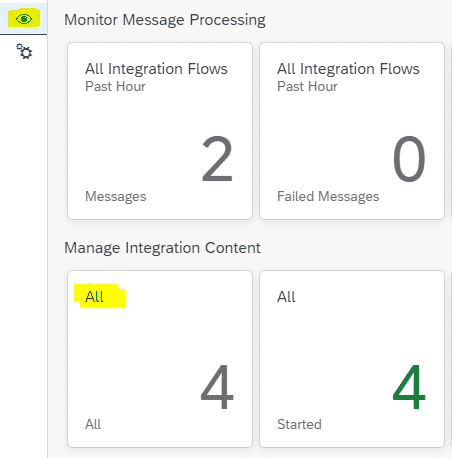
Step 25: Go to Overview Window. Under Manage Integration Content, Click on All.
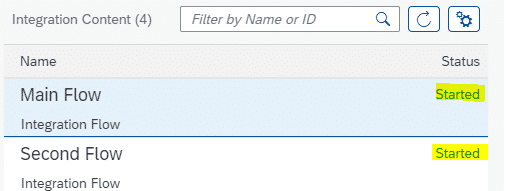
Step 26: Make sure that all 3 Flows are started.
Step 27: If all 3 flows are started, then go to the Completed Messages tile.
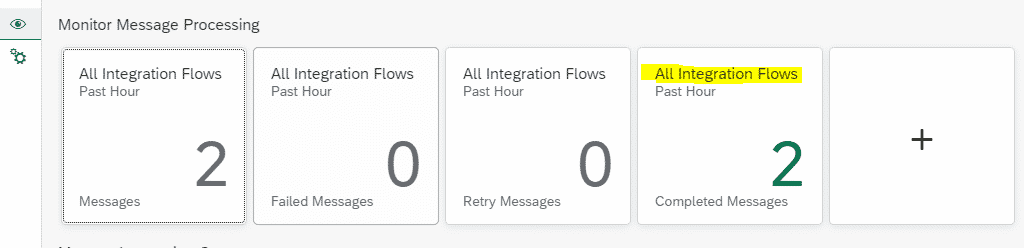
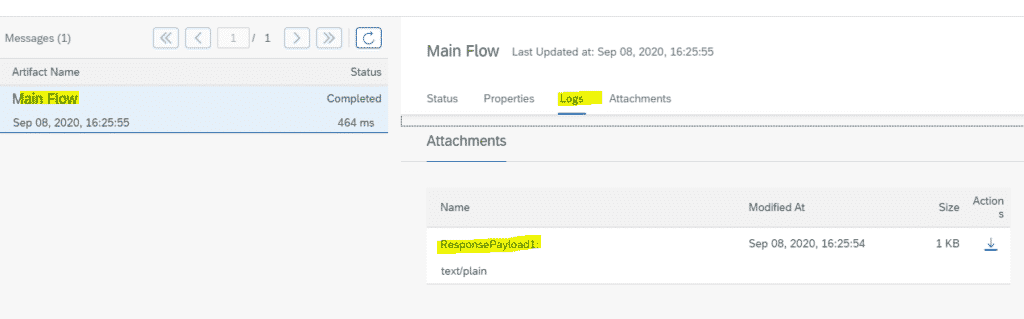
Step 28: You should see the below two Flows in the Completed state. Click on Main Flow and Click on Logs.
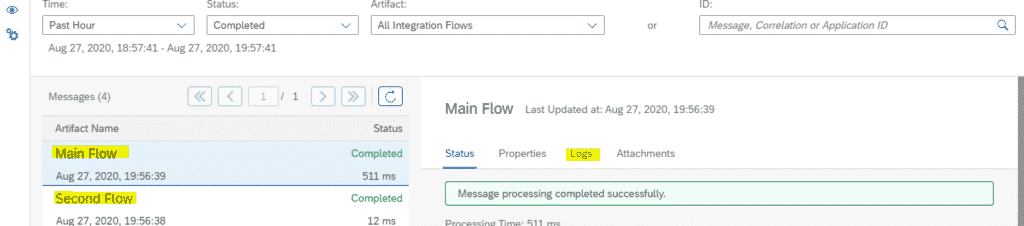
Step 29 : Under Attachments, Click on ResponsePayload1.
Step 30: If you have given the custom messages exactly shown in the above screenshots, you should see a response as below.
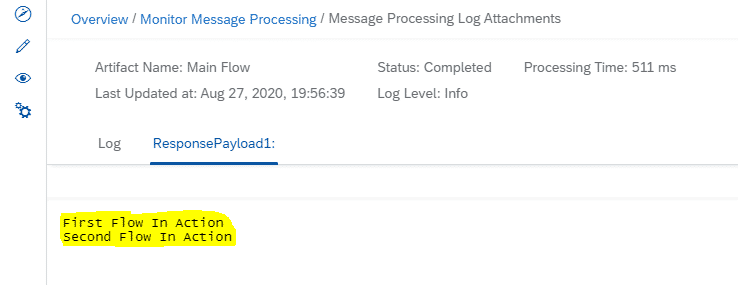
From the output, you can say that Second Flow is called. This was because we had given the default address of Second Flow ( /Flow2 ) in Step 20. If u had given the default address of Third Flow (/Flow3 ), it would call Third Flow.
EXTERNAL CONFIGURATION OF PARAMETERS to call Different Consumer Flow (THIRD FLOW)
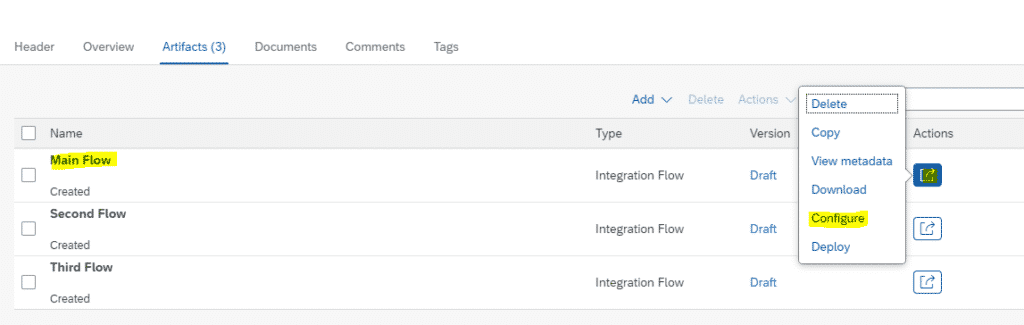
Step 31: Go to the artifacts tab in the Design window and Click on Actions of Main Flow. Select Configure.
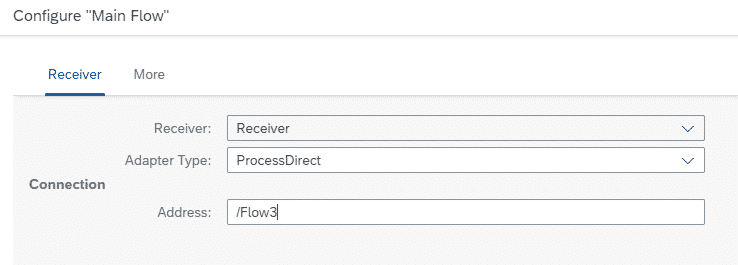
Step 32: In the Reciever tab of Pop up, Write the address as /Flow3. This overwrites the default value ( /Flow2 ) and Directs the call to Third Flow.
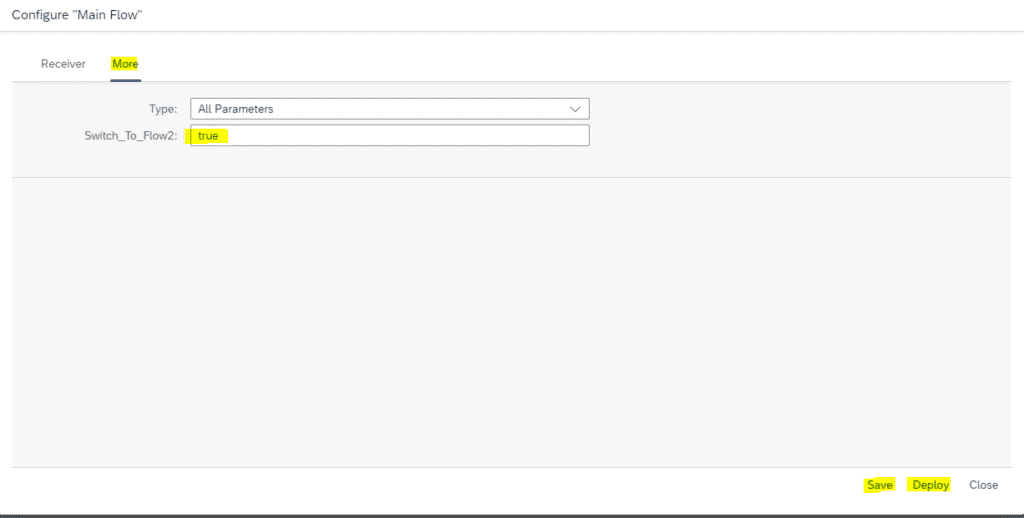
Step 33: In the More tab, keep the value as truth itself. Click on Save and Deploy.
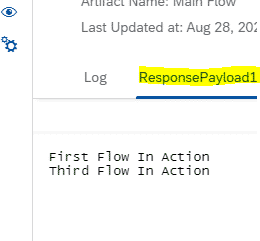
Step 34: Now under Completed messages, you will see Main Flow and Third Flow
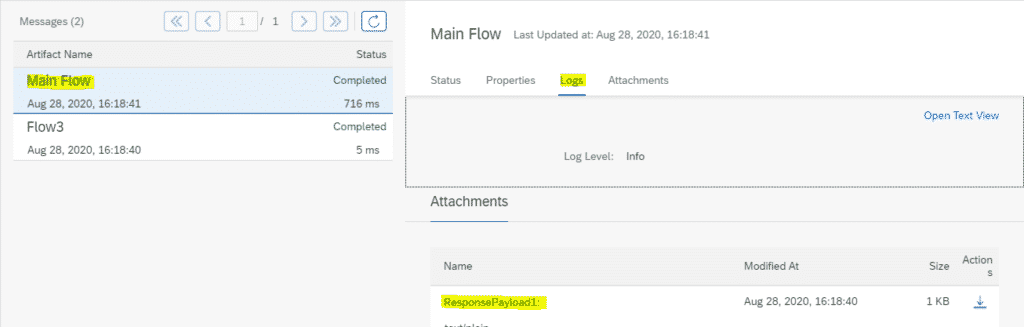
Step 35: Click on ResponsePayload1 of Main Flow. You will see the custom message from Main Flow and Custom Message From Third Flow.
EXTERNAL CONFIGURATION OF PARAMETERS to Route via default Route ( Route1 )
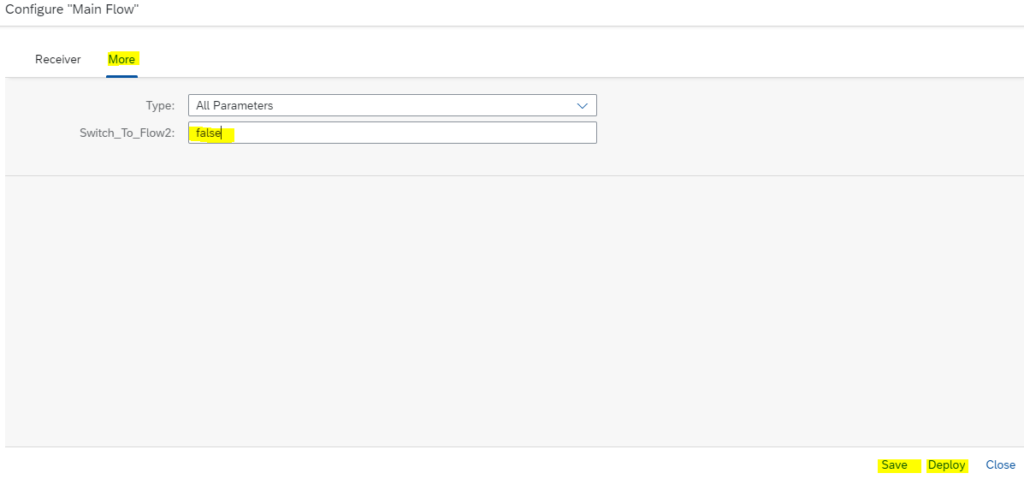
Step 36: Go to the Artifacts tab. Click on Actions of Main Flow. Select Configure.

Step 37: In more, type value as false. Save and Deploy.
Step 38: In the Overview tab, under Monitor Message Processing, Click on Completed Messages Tile.
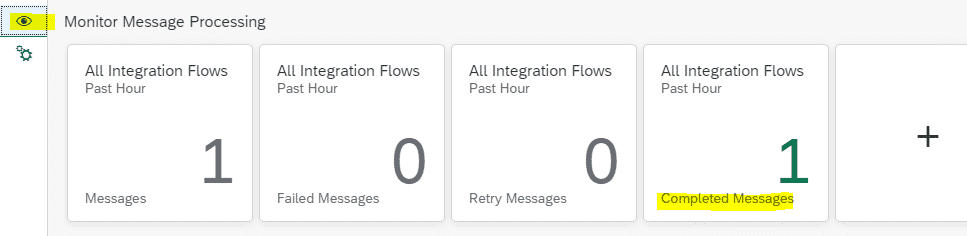
Step 39 : Now you will see only Main Flow is completed. It is not calling any other flows as the value is set to false in Step 37. This makes the flow to take default Route1 in Main Flow.
Step 40: Click on Logs and then ResponsePayload1 as highlighted.
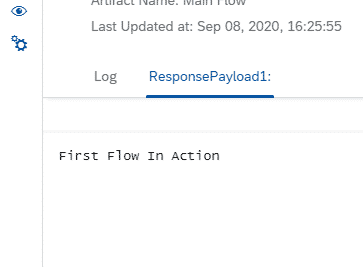
Step 41: Output will show only the Custom Message given in Main Flow.
Tip: Externalize the parameters which require frequent value change to maintain Quality and save time during testing.
FINAL VERDICT :
In conclusion, I hope you enjoyed reading this article on “Externalize Parameters in SAP CPI – A demo”, If yes, then don’t forget to spread the word about it. Do send the feedback and to know more about it. Signing off sudarshan@recodehive.com