


Studio 3T professional IDE, client, and GUI for MongoDB that makes query building fast, exploring and migrating data easy, and repetitive tasks is a thing of the past. It has a 30 day Trial but if you need more time you can also apply for a student license Let’s look at the Studio 3T Installation.
Table of Contents
Download Studio 3T
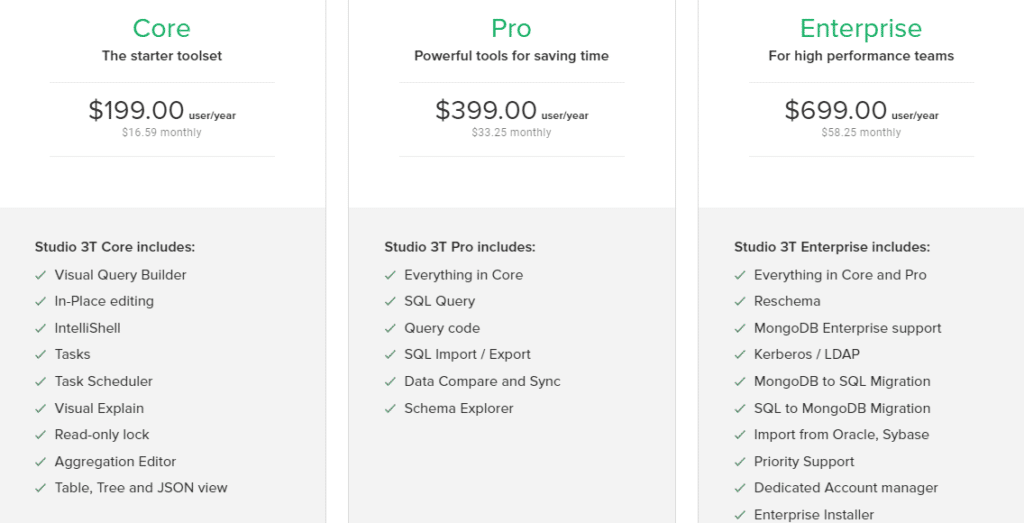
Studio 3T offer 30 days free trial, anyone can download and use the free version. If you are a student you opt for the student license which is free for one year. The pricing and features available in the version are listed below.
Features of Studio 3T
- Data on a field level
- usage methods like scrambles, nulls, and substitutions
- Transform your collection’s schema
- in just a few clicks
- Auto complete queries with a powerful mongo shell
- Build aggregation queries stage by stage and check inputs and outputs at each step
Installation Procedure
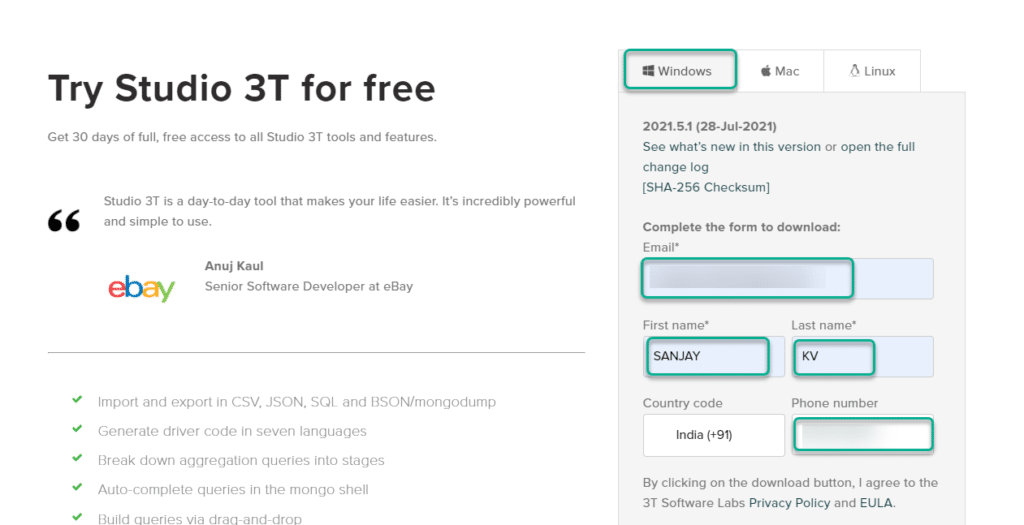
Step 1: Download the latest Studio 3T version from the download, the file size would be around 217 MB. you need to give the below information as a need before downloading Studio 3T.
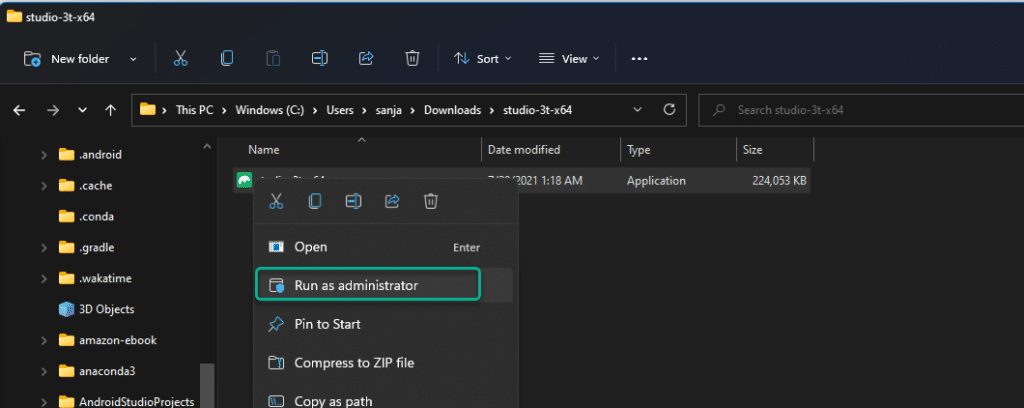
Step 2: Extract the zip file, and run the file using administrator privileges as shown below.
Step 3: Click on Next on this screen this is nothing but the welcome setup wizard.

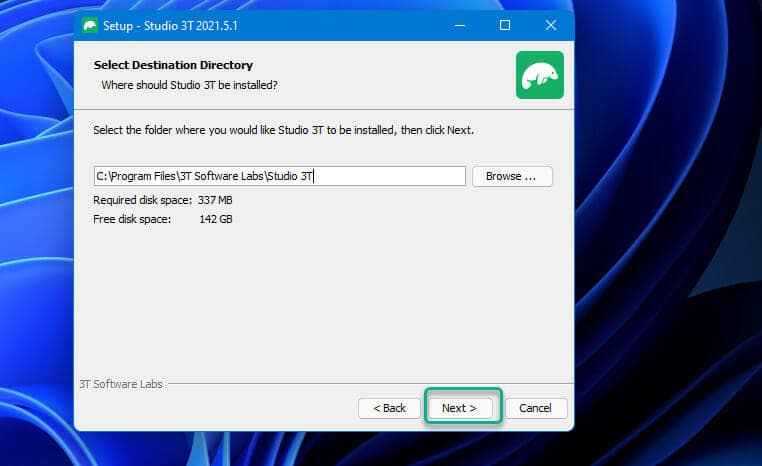
Step 4: Select the path you need to download the Studio 3T version, if you don’t have enough space in the C drive recommended to use other drive folders. Then click on the Next button.
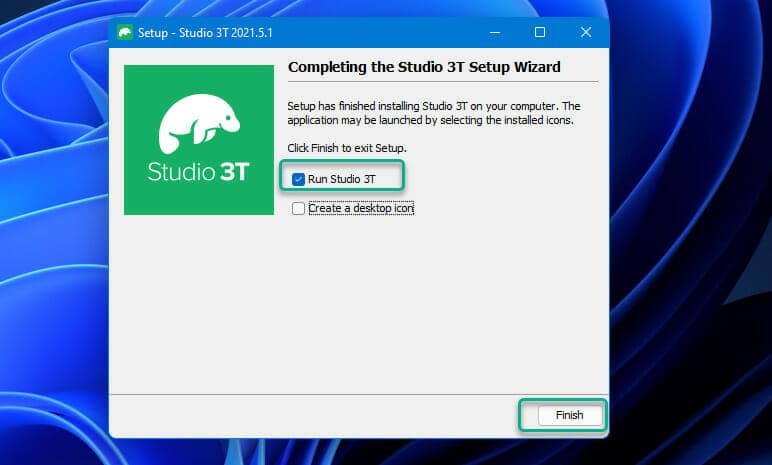
Step 5: That’s it the installation part is almost completed. Check the box to run the Studio 3T and click on the finish button.
Step 6: You have to accept the license agreement to move forward. Click on I agree and next.

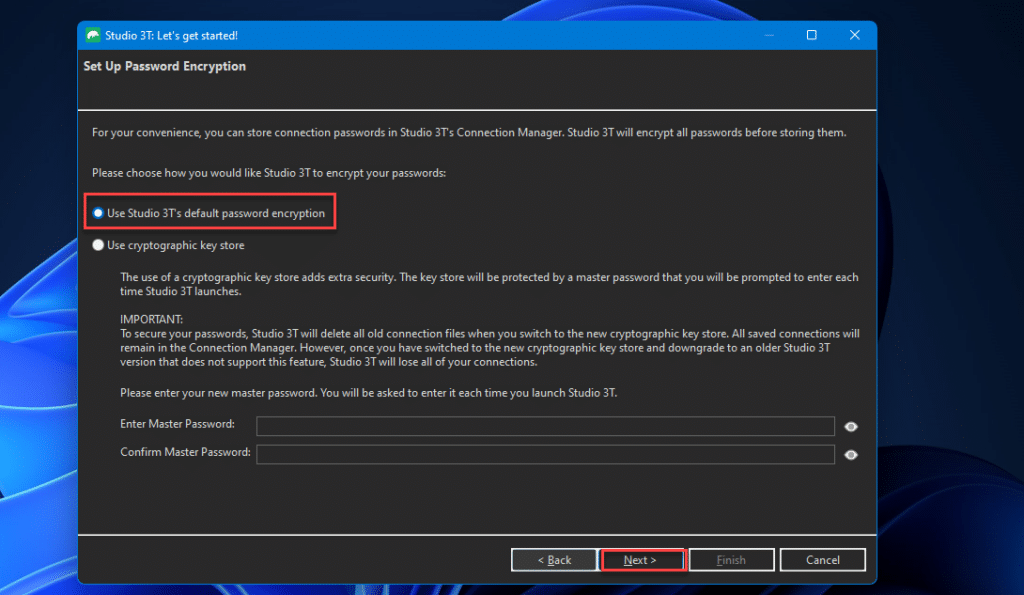
Step 7: This is an important step check the radio button Use Studio 3T’s default password encryption and click on the next button to continue the installation.
Step 8: Select this option based on your requirement, I would recommend a shell-centric environment. This can be changed later too.

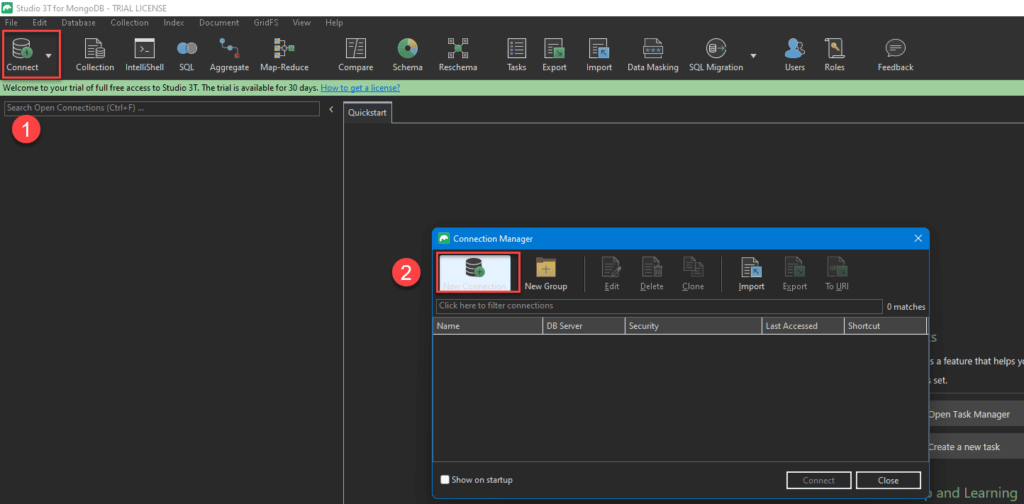
Step 9: The Installation of the Studio 3T is completed now. You will be getting the below screen asking for the connection details. If you are a first-time user need to set up the connection details here.
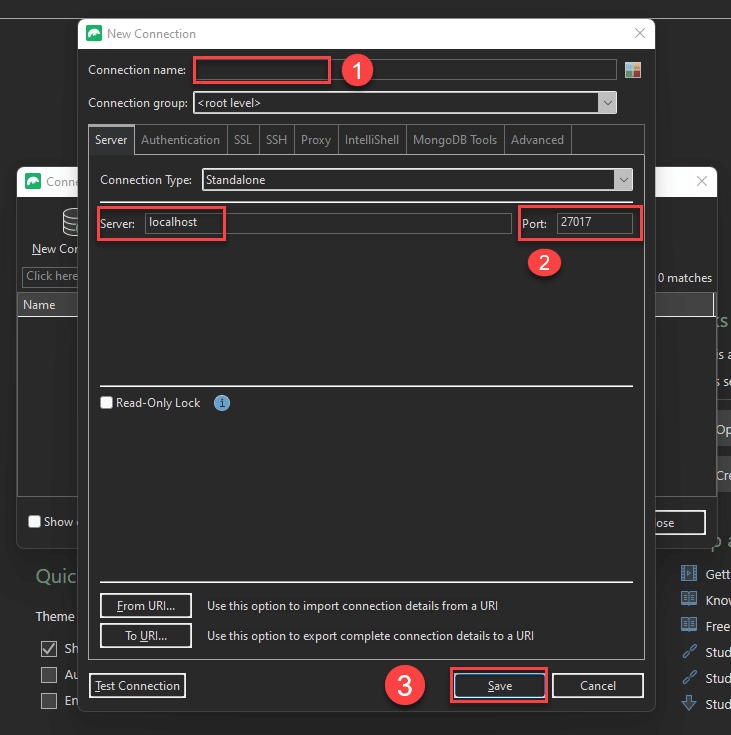
Connect to local MongoDB server (Click on ‘Connect‘ to create a new connection, then click ‘New Connection‘ in the pop-up window)
Step 10: Click on connection name and give any random name and click on save to complete the connection setup.
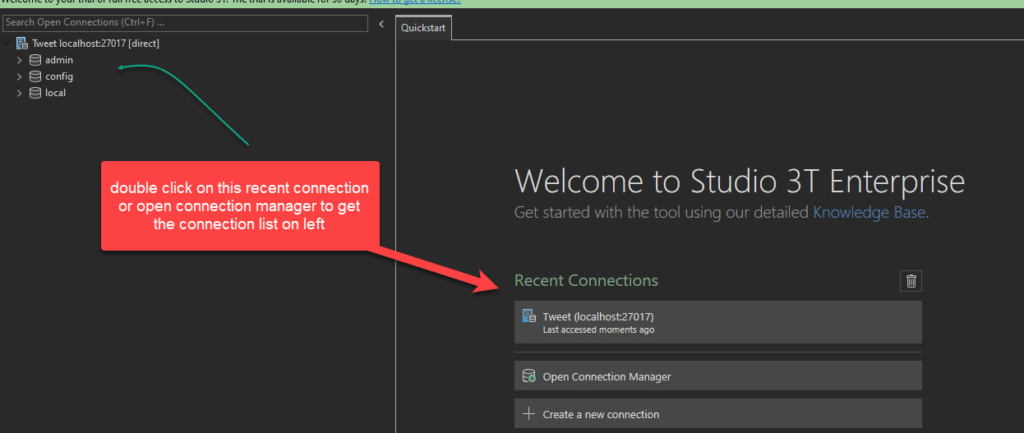
Step 11: Now the user can see the connection they have set up in the Studio 3T, here in my case I have set up the Connection name Tweet and these will be having the following database. Double click on the connection name.
- admin
- config
- local
FINAL VERDICT :
In conclusion, I hope you enjoyed reading this article on “Studio 3T Tutorial – Installation“, If yes, then don’t forget to spread the word about it. We would love to hear the feedback from your side and if any doubts contact us. Signing off sanjay@recodehive.com