


GETTING STARTED
Trying to update the app and getting the below issue saying change your app’s target API level? Why this is happening? what’s the solution? We will be discussing that in this blog. The issue is if you are releasing a new version of app after a long time, then the app won’t support the latest update device. So that’s where the API level upgrade required.

Step 1: Go to the Gradle Script and move to Build Gradle(Module app) as highlighted below change to the latest API, currently the latest version is 28, change the version compile sdk to 28 same way change the target sdk version to 28.
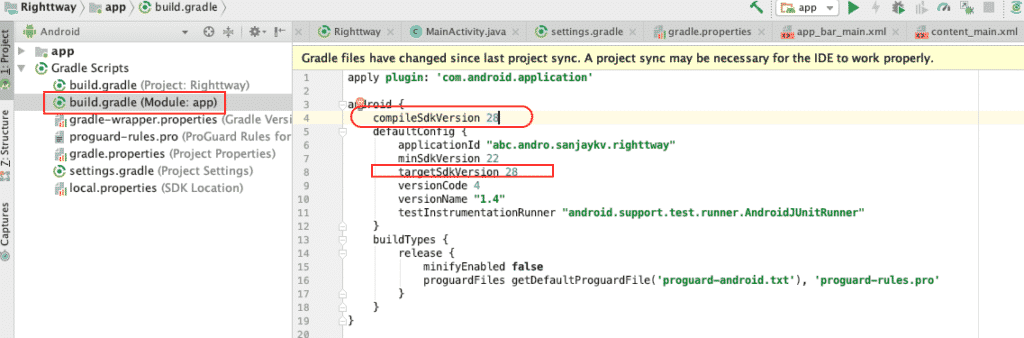
android {
    compileSdkVersion 28
    defaultConfig {
        applicationId "Your package name goes here"
        minSdkVersion 21
        targetSdkVersion 28
        versionCode 2
        versionName "2.0"
        testInstrumentationRunner "android.support.test.runner.AndroidJUnitRunner"
    }
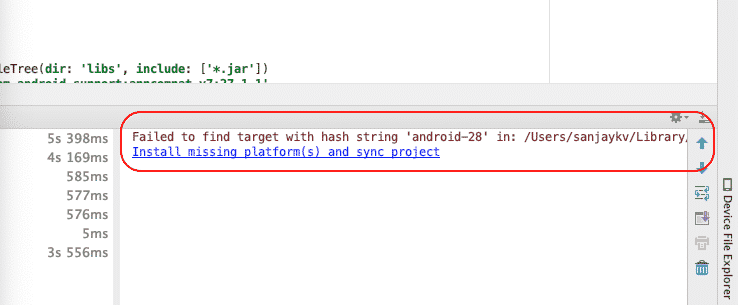
Step 2: Now you can see the new notification appear above the menu tab, saying sync the project. Click on Sync, this will automatically install the latest version of the SDK.
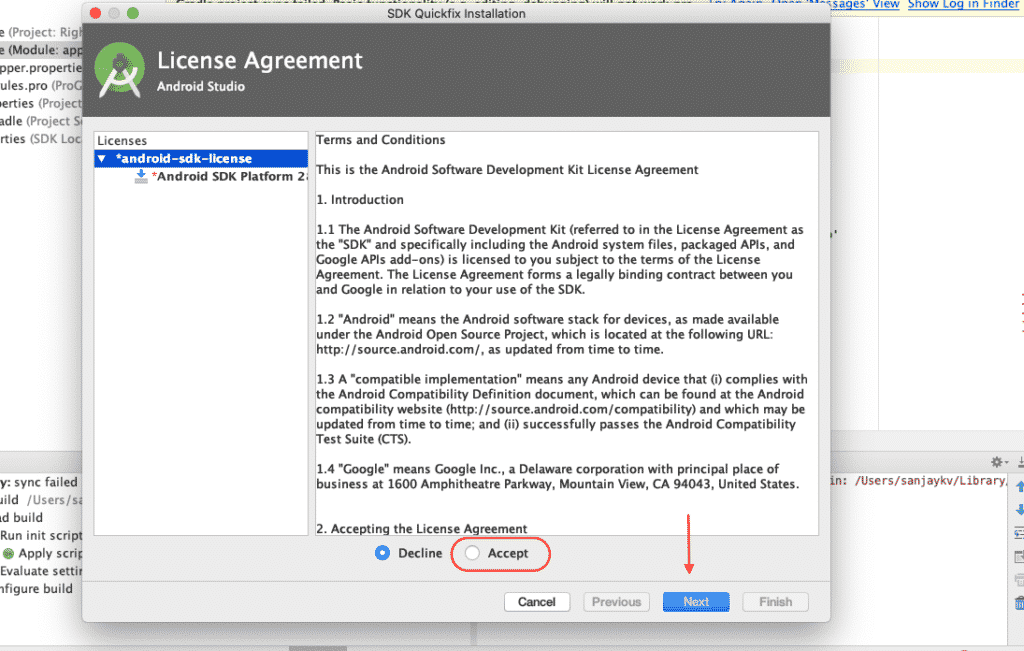
Step 3: Read the License agreement and click on accept and proceed next.
Step 4: Here you will see which component and package is going to install, once you have done this go and run your application and release the apk.
You can use this mentioned article to see how to manage apk release in play console.

FINAL VERDICT :
In conclusion, I hope you enjoyed reading this article on “How to change the app’s target API level in Android Studio.”, If yes, then don’t forget to spread a word about it. We would love to hear the feedback from your side and if any doubts contact us. Signing off sanjay@recodehive.com