


This tutorial will cover everything about installing Hadoop in Ubuntu in a simple and easy way, some of the prerequisites are 10 GB of space on your laptop and some idea about the terminal commands in Ubuntu.
Step 1: We check with the terminal whether Java is installed or not with Java or not with command
java -version

Step 2: After this, we update the ubuntu terminal with the below commands.
sudo apt-get update

sudo apt-get install update

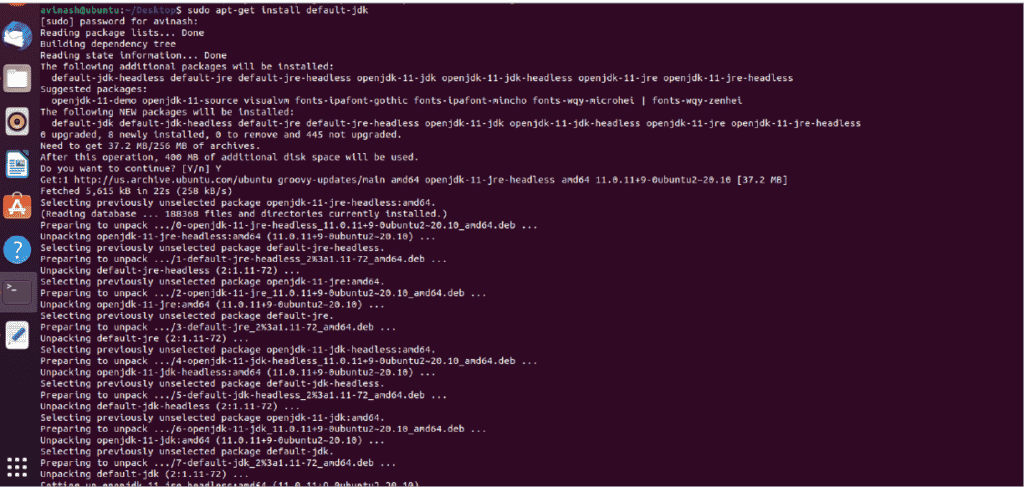
Step 3: Now we install the required JDK for the system
sudo apt-get install default-jdk
Step 4: Now we check the JDK version that we installed.
java -version

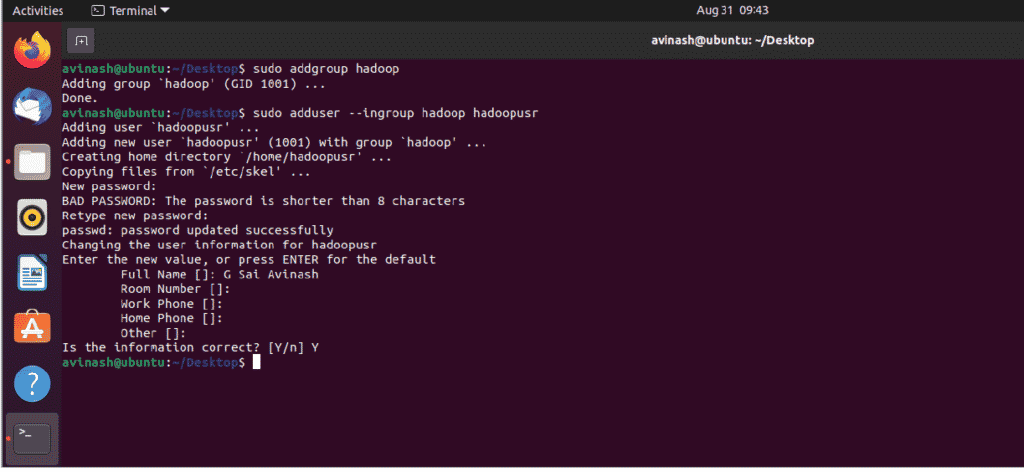
Step 5: Now we create a separate user for the Hadoop configuration.
sudo addgroup hadoop
sudo adduser –ingroup hadoop hadoopusr
sudo adduser hadoopusr sudo
Step 7: We need to install the SSH server with the following command.
sudo apt-get install openssh-server

Step 8: Now we should change the user to a Hadoop user and type the password.
su – hadoopusr

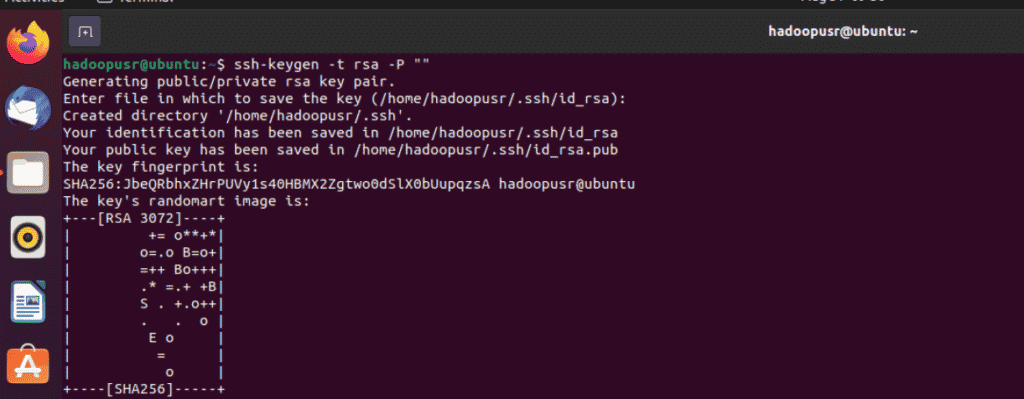
Step 9: Now we need to access the ssh key using the below command.
ssh-keygen -t rsa -P “”
Step 10: We should add the below command to authorize the keys.
cat $HOME/ .ssh/id_rsa.pub >> $HOME/.ssh/authorized_keys

Step 11: Now check for the local host i.e. ssh localhost with the below command and press yes to continue and enter your password if it asks then type exit.
ssh localhost
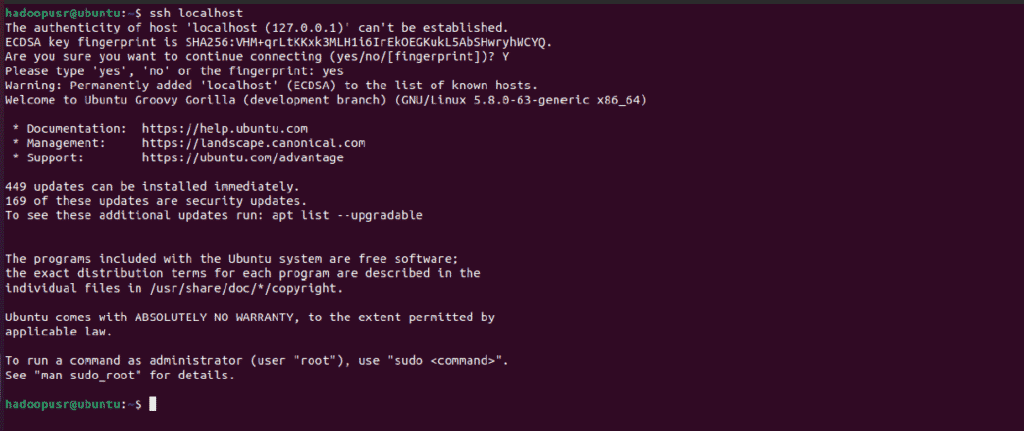
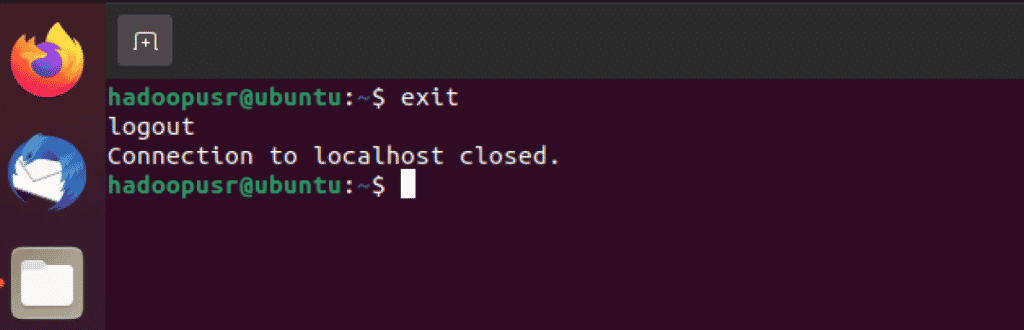
Now you have completed the basic requirement for Hadoop installation.
Step 12: We should download the Hadoop in the ubuntu system.
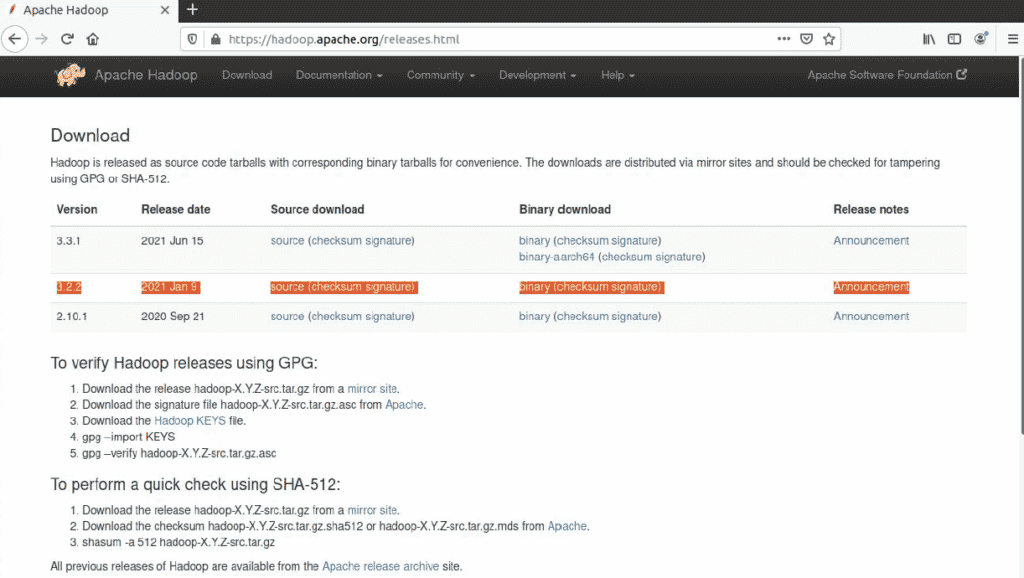
Step 13: Once you have downloaded Hadoop-3.2.2.tar.gz then place this tar file. now we should extract the file.

Step 14: We extracted the hadoop file.
sudo mv hadoop /usr/local/hadoop
Step 15: Wher change hadoopusr
sudo chown -R hadoopusr /usr/local

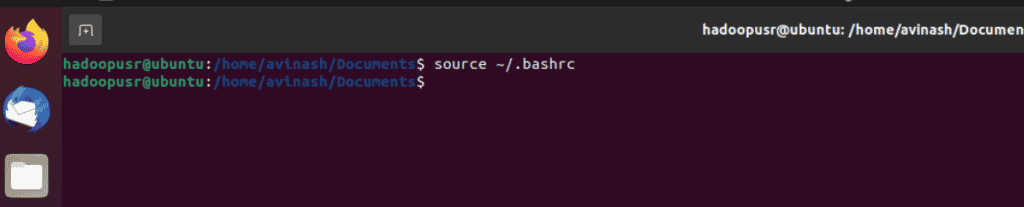
Step 16: The main step while configuring the Hadoop in ubuntu are these steps.
sudo nano ~/.bashrc

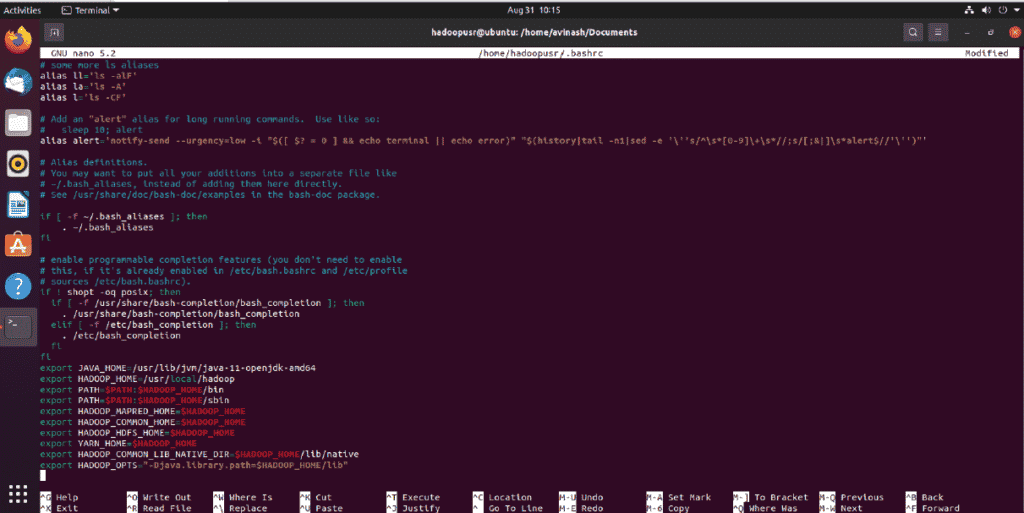
Step 17: Before configuring we should check the java version
my case it is java-11-openjdk-amd64
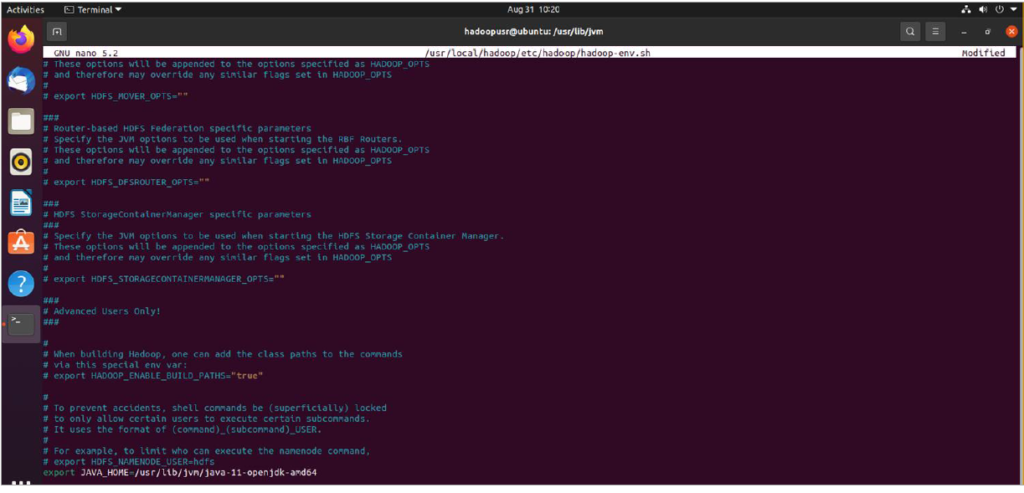
Step 18: Now we will configure hadoop-env.sh. For that open the file using the below command.
sudo nano/usr/local/hadoop/etc/hadoop/hadoop-env.sh

Step 19: Now we will configure the core-site.xml. For that open that file using the below command:
sudo nano /usr/local/hadoop/etc/hadoop/core-site.xml

Once the file opens copy the below text inside the configuration tag.
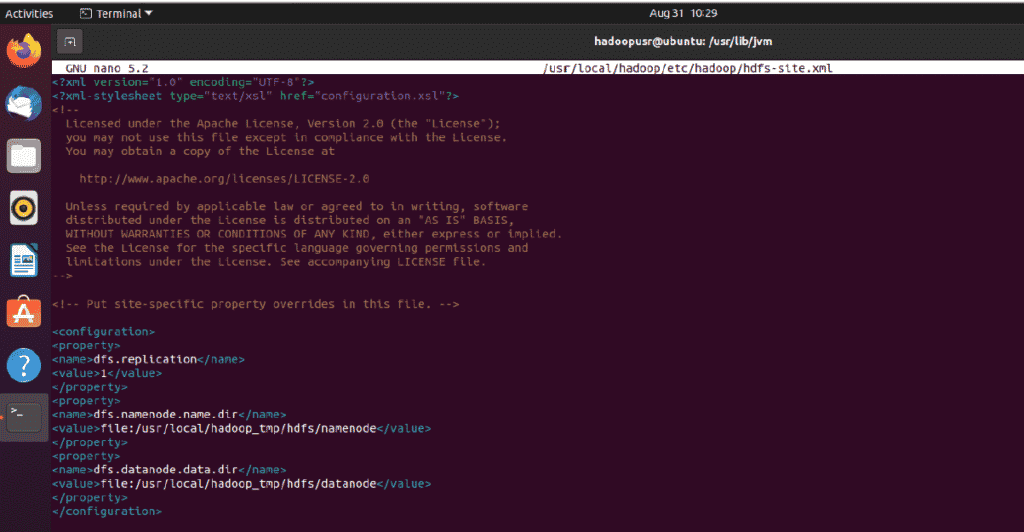
Step 20: Now we will configure the hdfs-site.xml for that open that file using the below command.
sudo nano /usr/local/hadoop/etc/hadoop/hdfs-site.xml

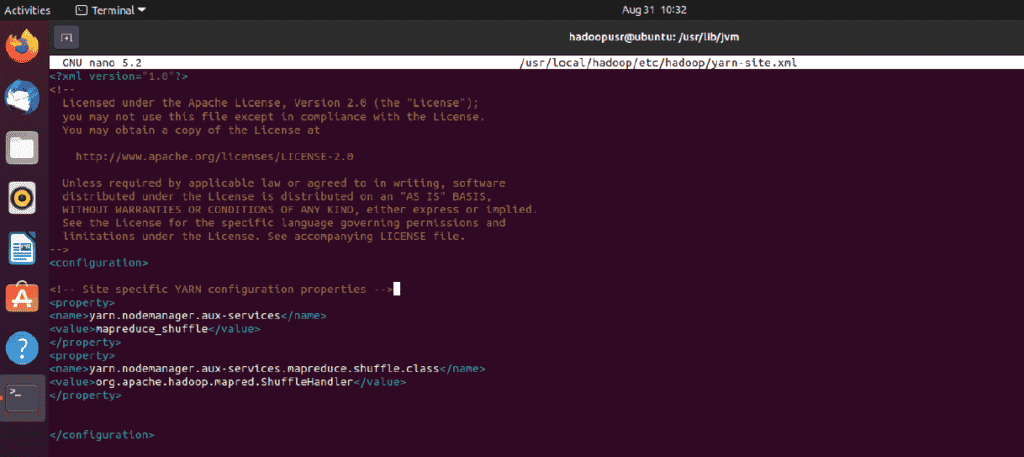
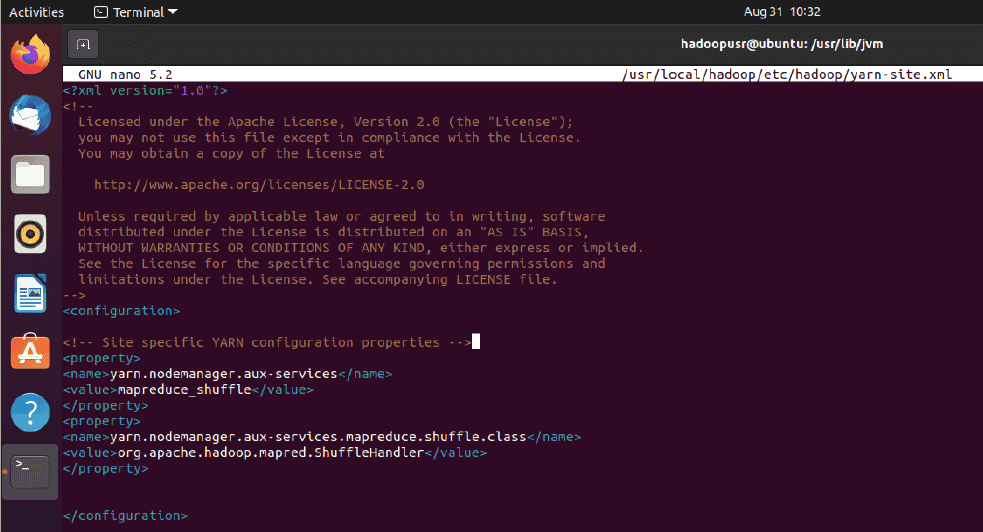
Step 21: Now we will configure the yarn-site.xml which is responsible for the execution of files in the Hadoop environment. For that open that file using the below command:
sudo nano /usr/local/hadoop/etc/hadoop/yarn-site.xml

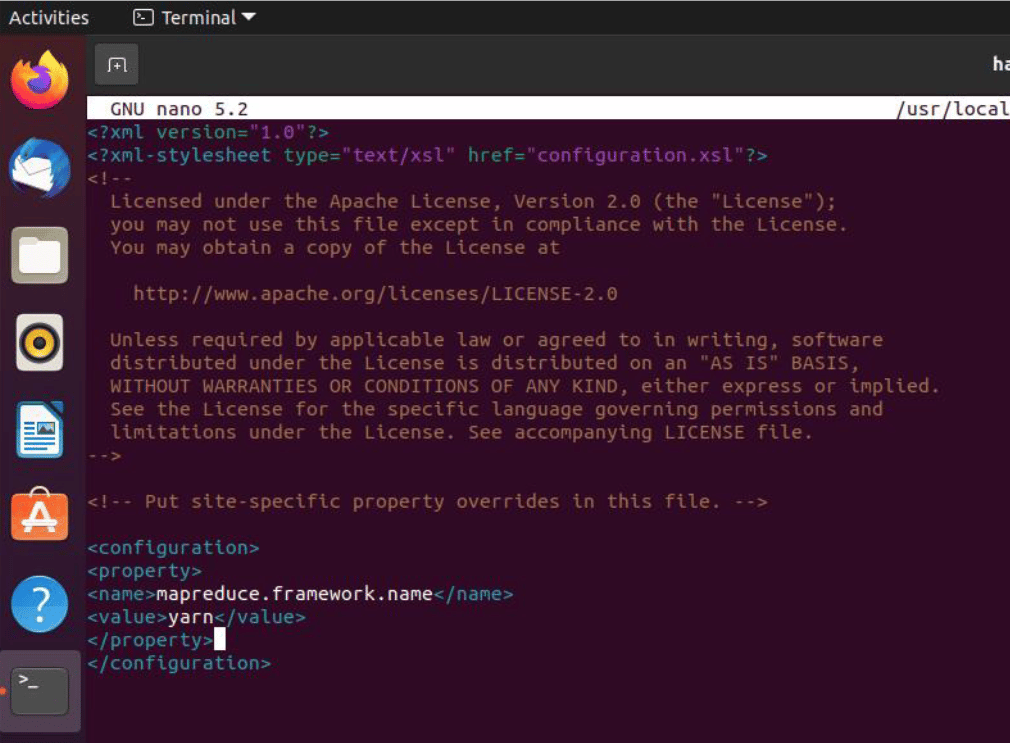
Step 22: Now the last file to configure is mapred-site.xml. For that, we have mapred-site.xml.template so we need to locate that file then copy this file to that location and then rename it.
sudo cp /usr/local/hadoop/etc/hadoop/mapred-site.xml.template /usr/local/hadoop/etc/hadoop/mapred-site.xml
sudo gedit /usr/local/hadoop/etc/hadoop/mapred-site.xml

Final Verdict:
In conclusion, I hope you enjoyed reading this article on “How to Configure Hadoop in Ubuntu”, for more information refers to the other posts. We would love to hear the feedback from your side and if any doubts contact us. Signing off sanjay@recodehive.com