


MongoDB is the most trending NOSQL Platform which is very simple to use than the traditional SQL systems available. Let’s look at how to install MongoDB on Windows and proceed with further MongoDB queries using Studio 3T.
Here are the few reasons you may require High-end Security, JSON like document creation, Easy to scale up the systems, and availability of the automation tools.
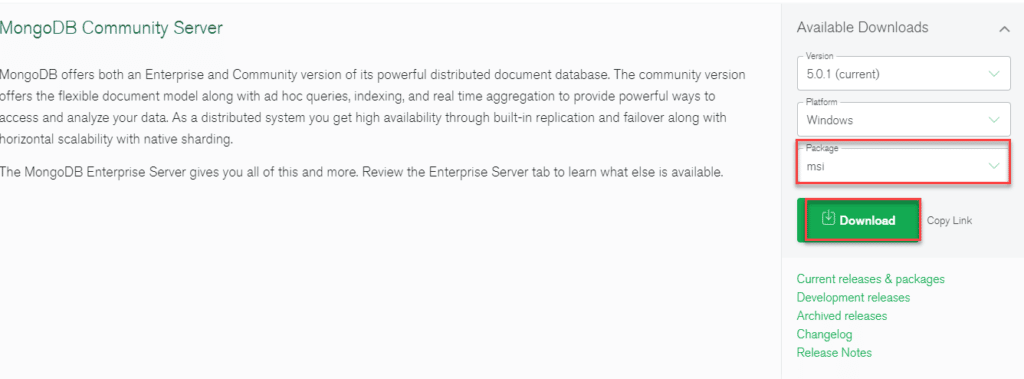
Step 1: The download link to MongoDB has given above which will lead to the same page as mentioned below. Select the version and platform you want to use and make sure you select MSI. In this tutorial, we are dealing with MSI package installation.
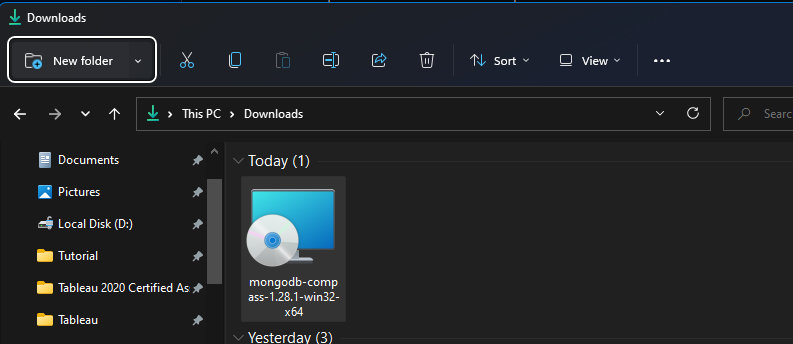
Step 2: The installation procedure is a straightforward one, you can see the MSI file as shown below once you click on the download button. Open the MSI file to install MongoDB on your system.
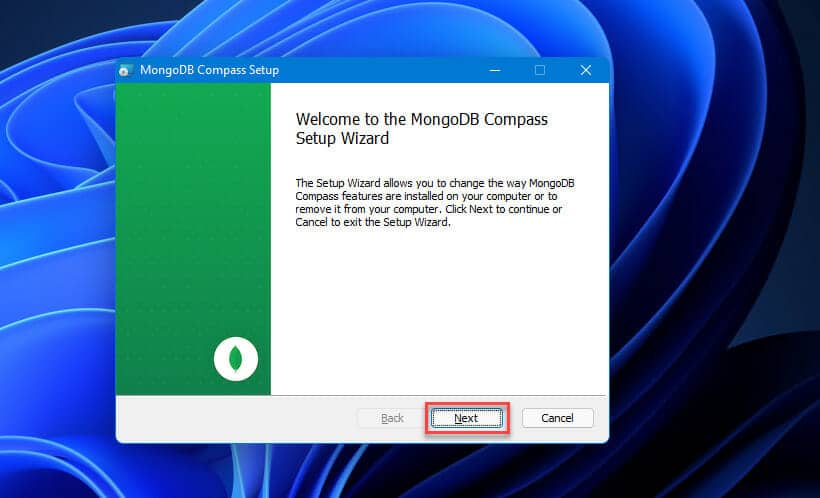
Step 3: Like the normal installation procedure click on next to proceed with the MongoDB installation procedure. There is no custom installation procedure, we follow the standard method.
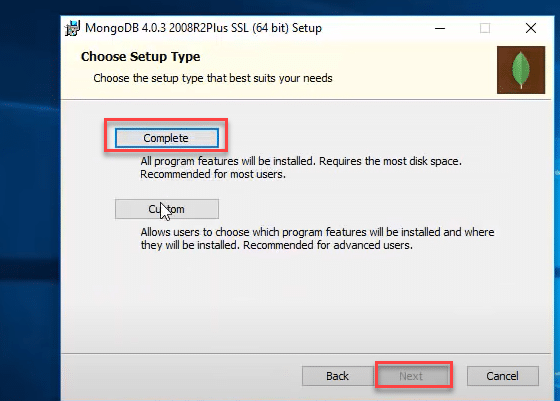
Step 4: As mentioned above click on the complete button this will install all the MongoDB features, Make sure that you have at least 100MB for this process in your hard disk. Then proceed with clicking on the Next button.
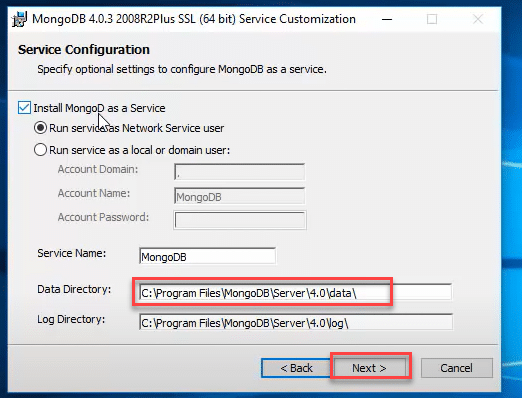
Step 5: Check the first option which is Install MongoDB as a service and select the directory where you want to install the MongoDB, proceed with clicking on the Next button.
Copy the Data Directory & Log Directory to your notepad.
This will be required later.
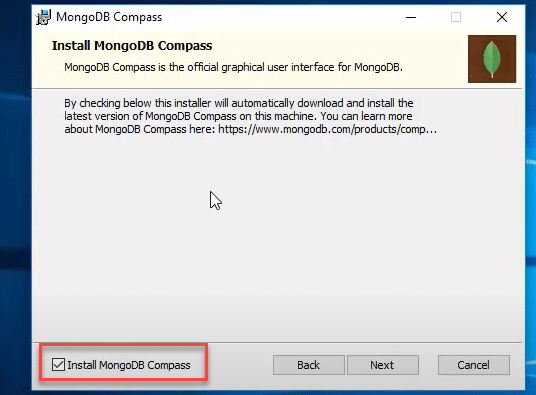
Step 6: This is an important step. Make sure you check the mangoDB compass installation check box. Click next to continue.
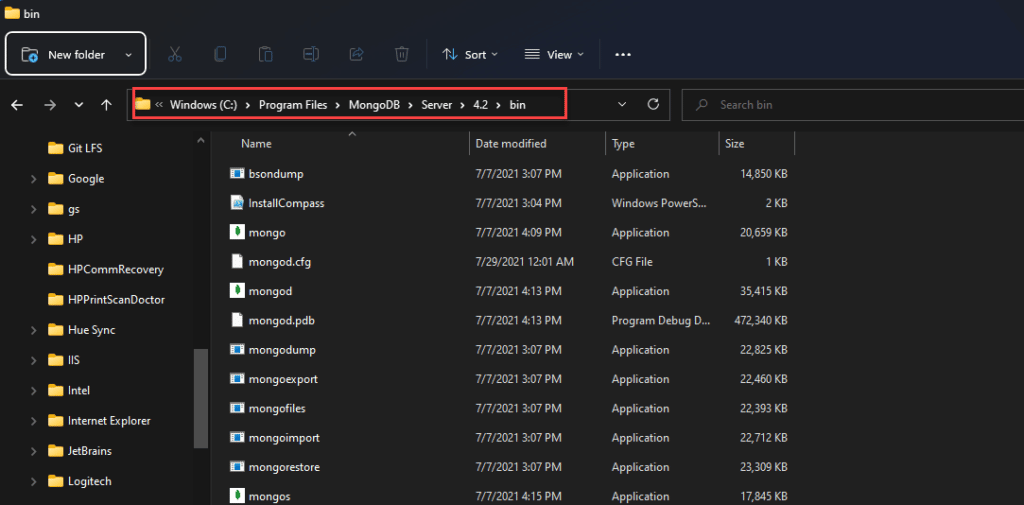
Step 7: The UI installation is done, now head to the bin directory of the MongoDB you may find it under the path as highlighted.
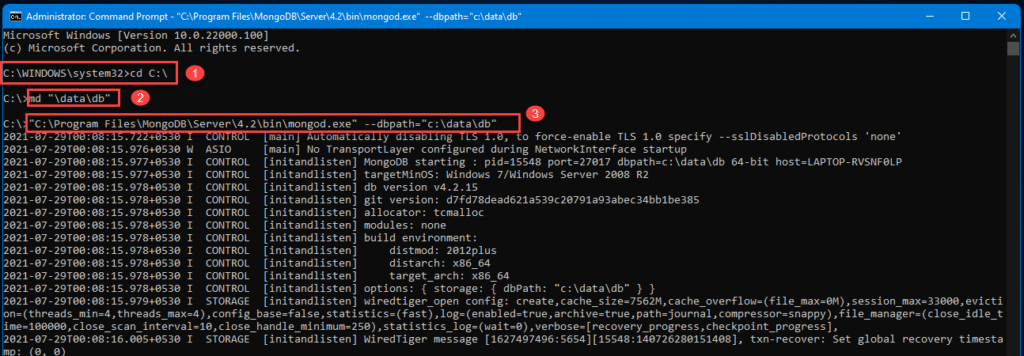
Step 8: Run command prompt with admin privileges, and run the below commands
cd C:\                  -> this will head you to the C Folder
md "\data\db"                             -> This creates a new subdirectory folder
"paste the copied path\mongod.exe" --dbpath="c:\data\db"
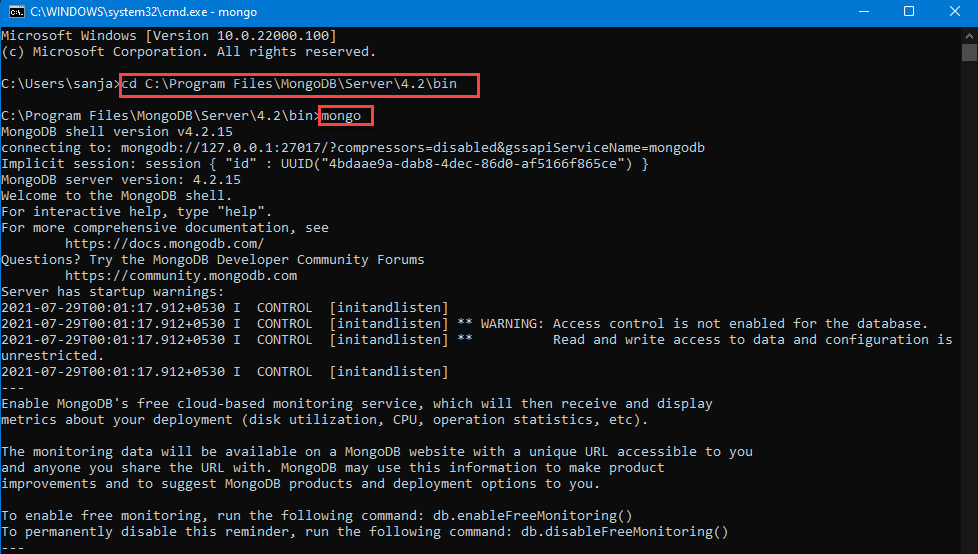
Step 9: Open a new cmd with admin privileges, paste the path you copied before and once that execute type mongo and click enter. you may see the below screen if MongoDB was installed successfully
cd path
mongo
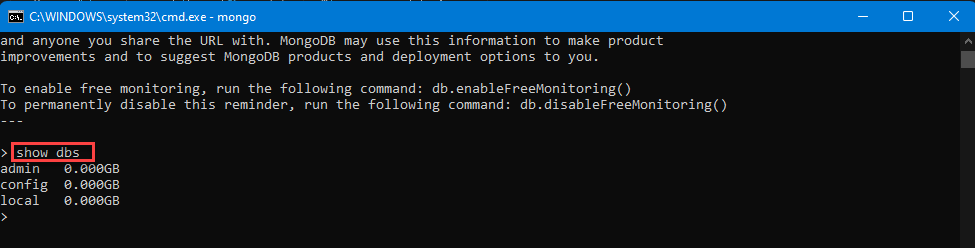
Step 10: (Optional) This step to check the installation has been done in the proper way, type show dbs right after the above step, you can see the below default MongoDB database with storage details.
show dbs
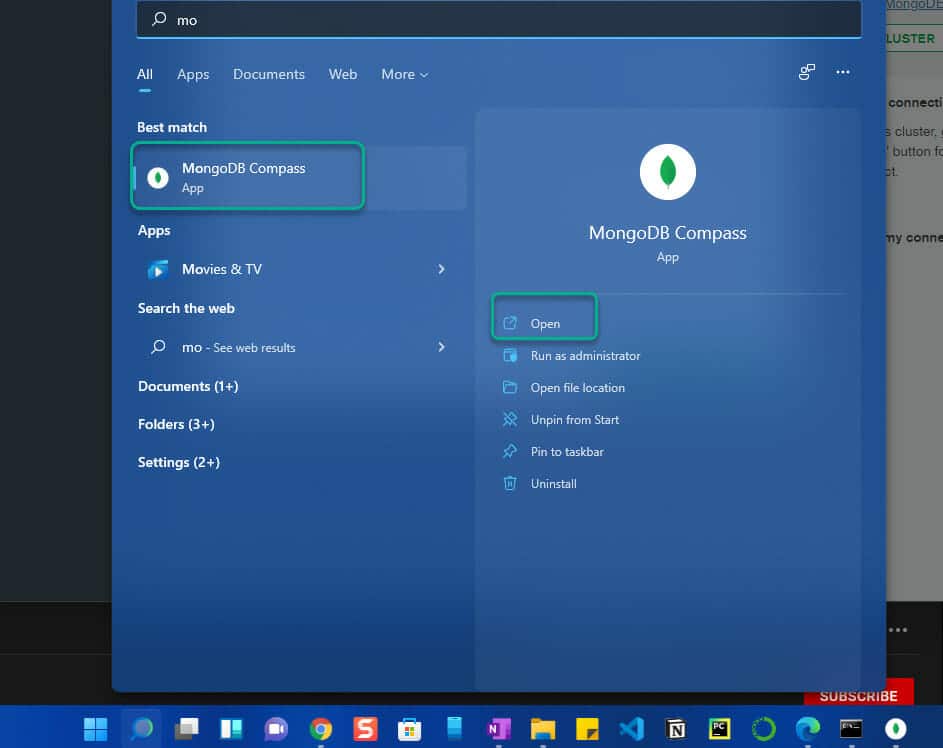
Step 11: Now open the MongoDB compass which will be installed along with the MongoDB while installation.
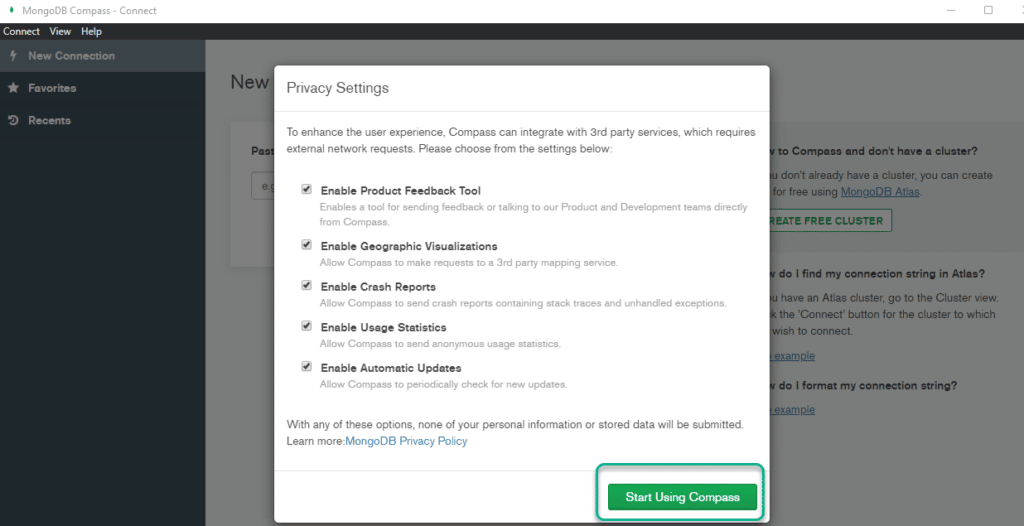
Step 12: Check all the privacy settings and click on Start using compass.
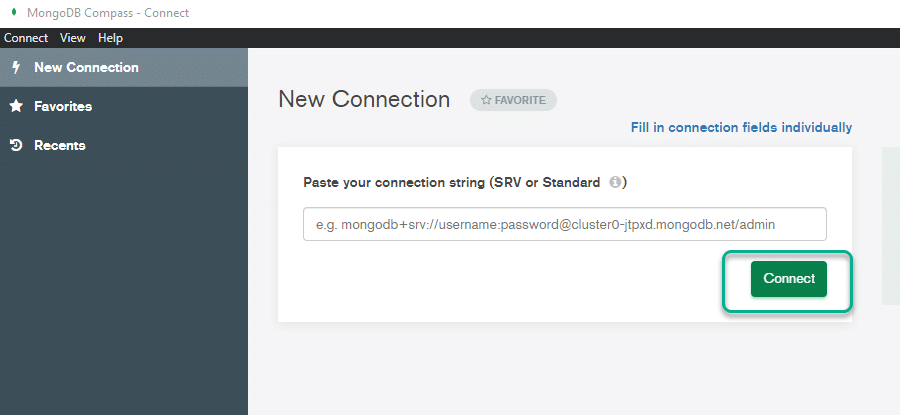
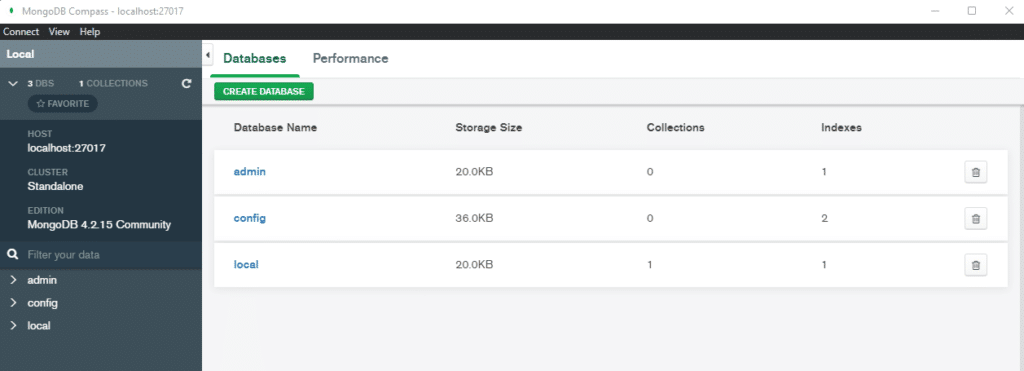
Step 13: That’s it you are almost done, Click on connect button for setting up a new connection. You will be able to see the connection details on the MongoDB compass which is very similar to what you have seen in the command prompt.
These are the database in MongoDB, The installation of MongoDB is now completed.
FINAL VERDICT :
In conclusion, I hope you enjoyed reading this article on “How To Install MongoDB On Windows“, In the upcoming Tutorials we will look at how to query MongoDB using Studio 3T Signing off sanjay@recodehive.com